Client Records & Data Management

Organise clinical data, manage intake history, and maintain accurate health profile. This section covers how to access client profiles, View their data, and manage their clinical records.

1. Manage Records and Sections

The Records tab serves as your primary clinical repository, pre-populated with default clinical sections such as General Info, Measurements, Clinical Data, and Dietary Intake.

1
Open Client Records:

Go to the client's profile, where the Records tab will display as the default view 
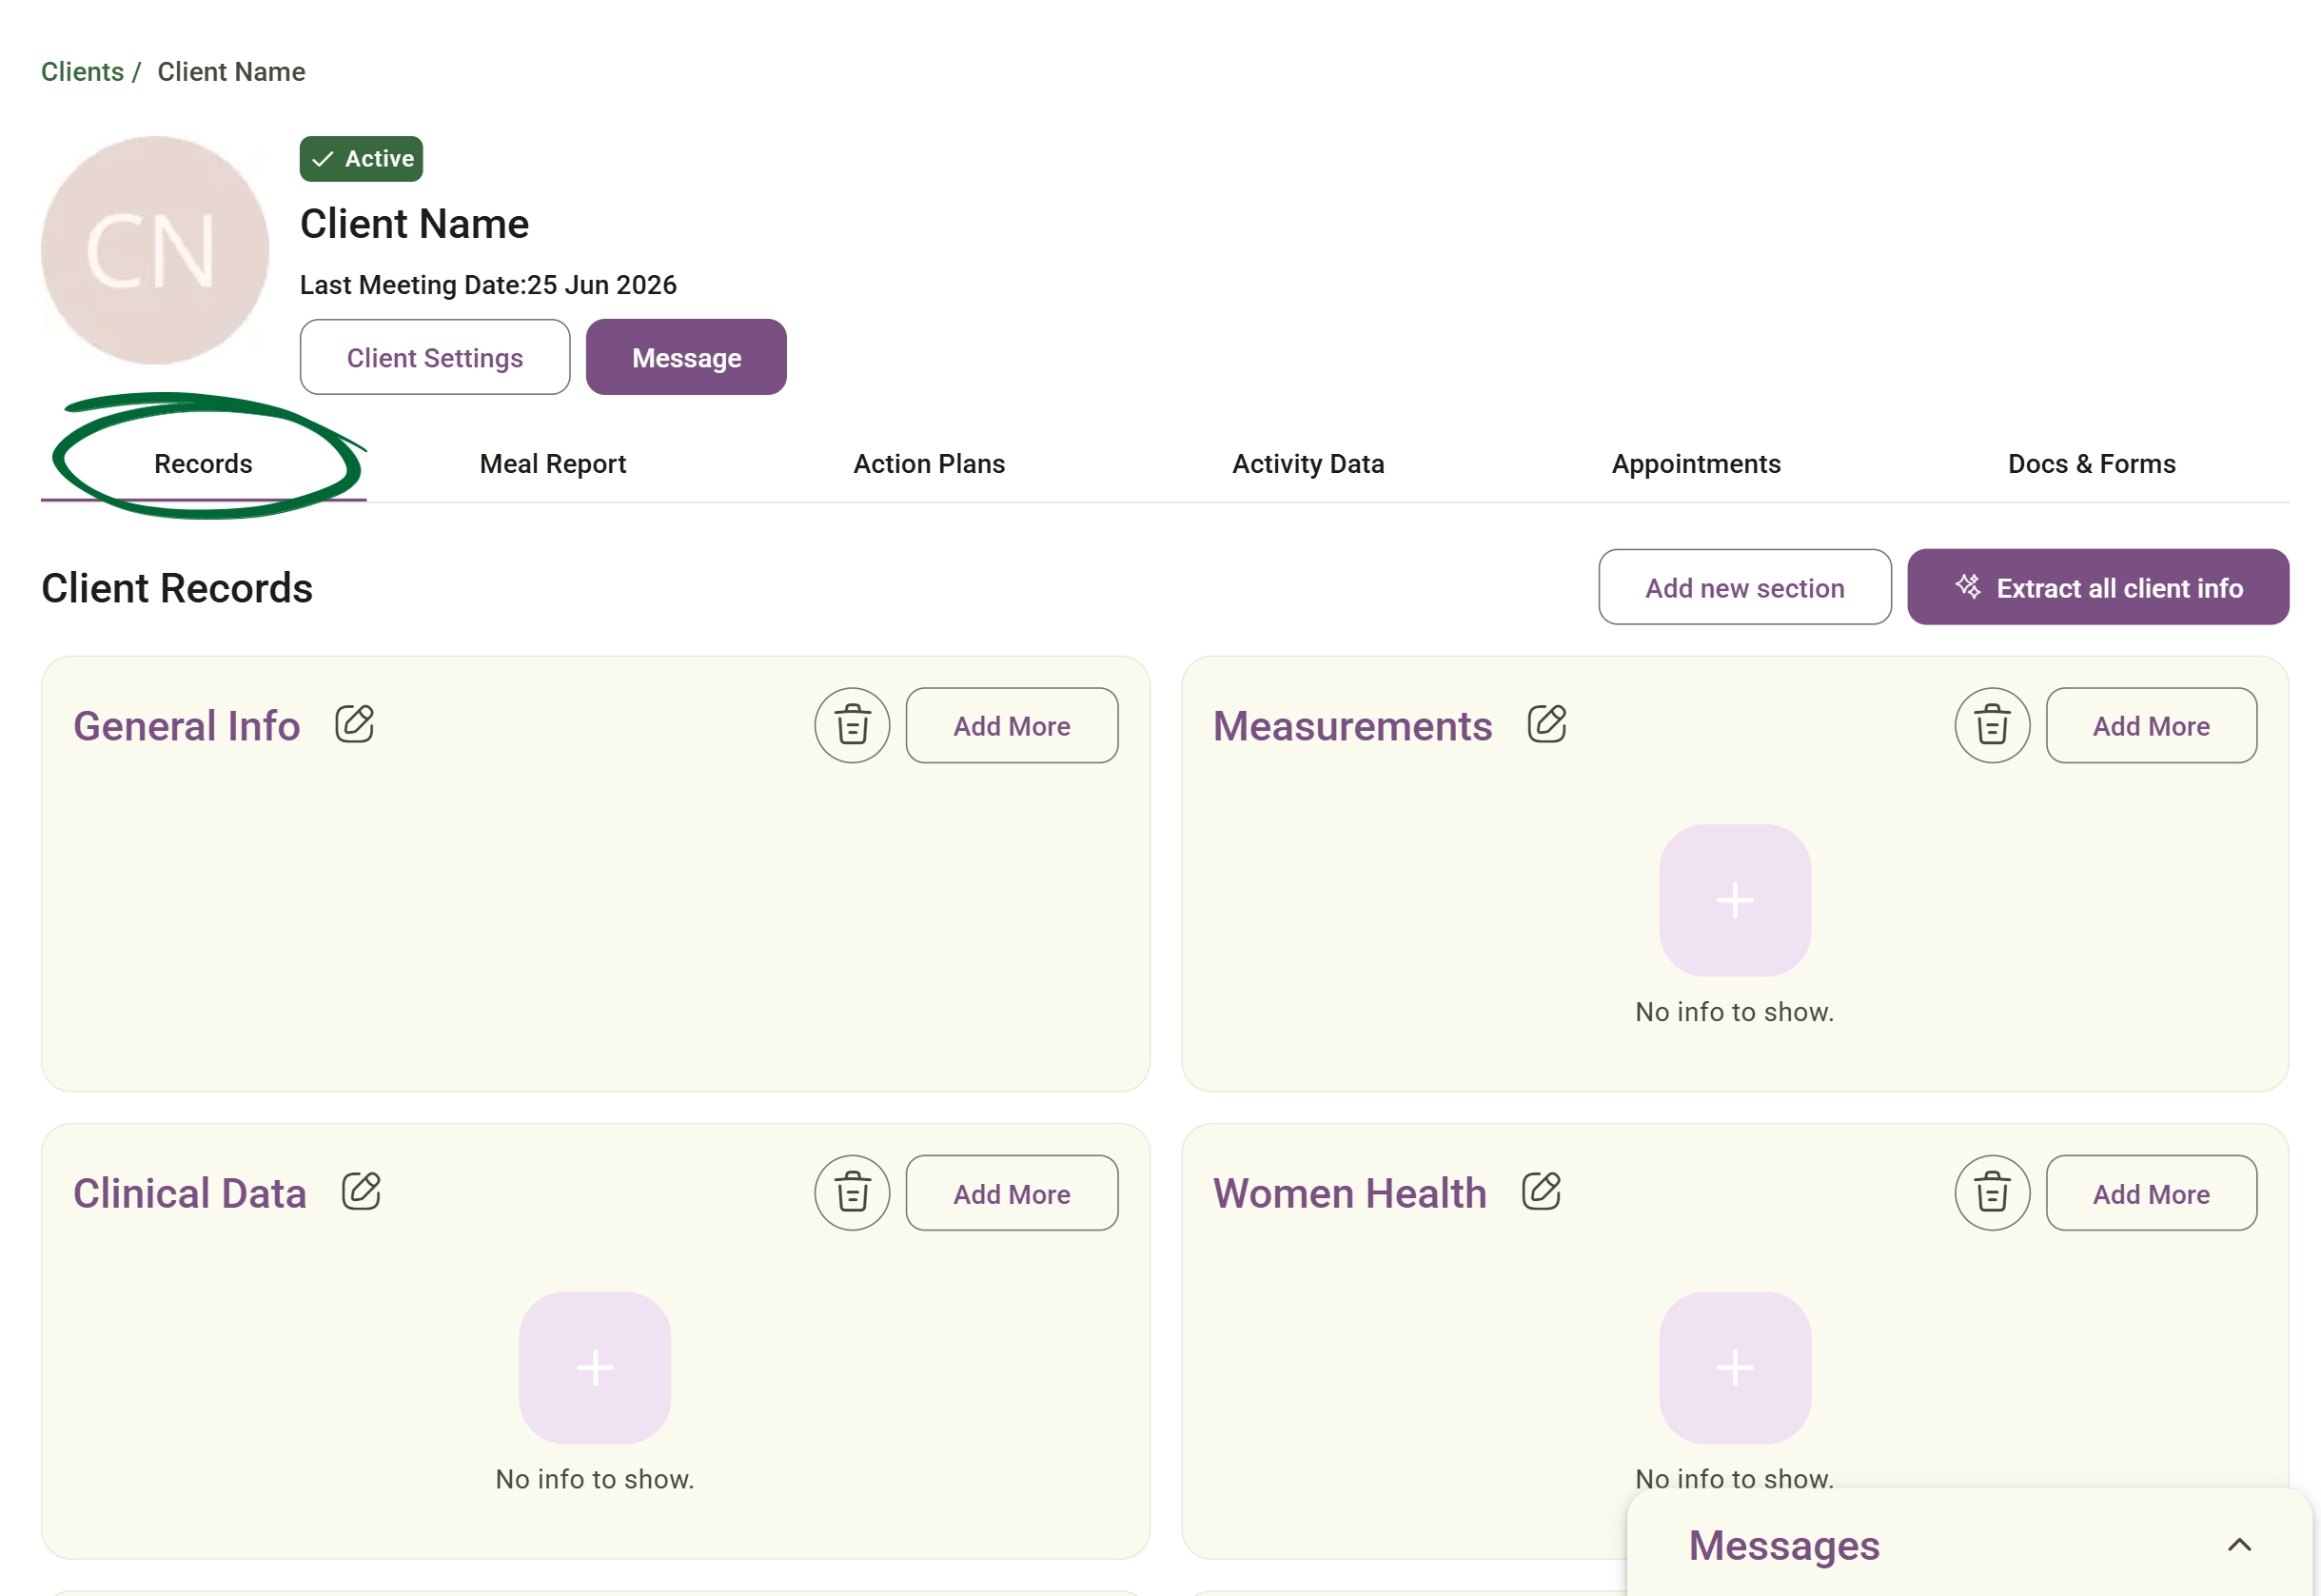
Records Tab screenshot
2
Edit or Delete Sections:
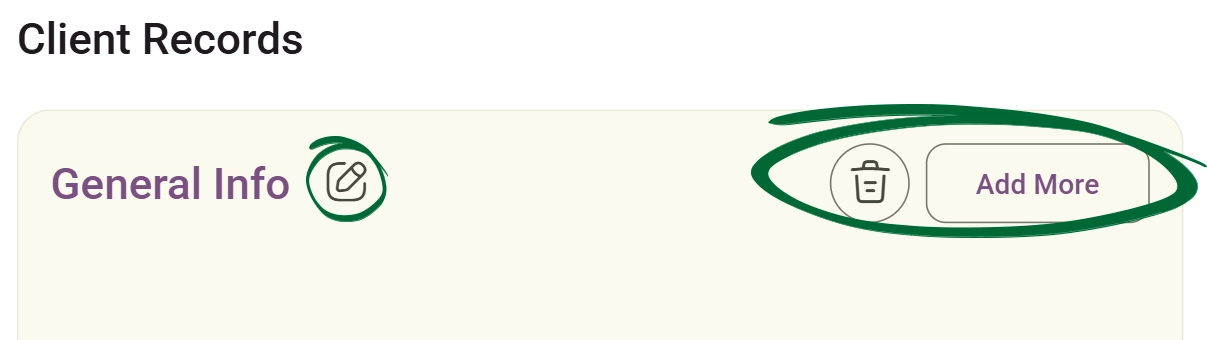
To rename a section, click the Pencil icon on its card. To remove a section and all its contents completely, click the Trash icon.
Edit or Delete Sections screenshot
3
Create a Custom Section:

To expand the client profile, click the Add new section button on the right-hand side. Enter your chosen title into the Section Name field, then click Create Section to finalise your changes.

Create a Custom Section screenshot
4
Add a New Record:

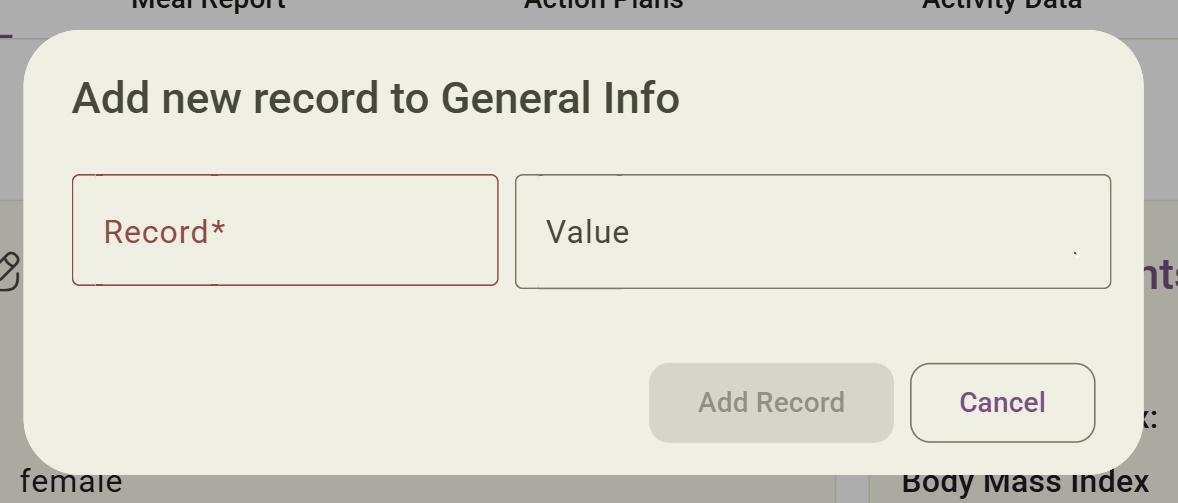
Click the Add More button on your chosen section card to open the "Add new record" overlay. Enter the record name and its value (the value text field is resizable to comfortably accommodate longer clinical notes), then click Add Record to save. 

Add a New Record screenshot
5
Modify Existing Records:

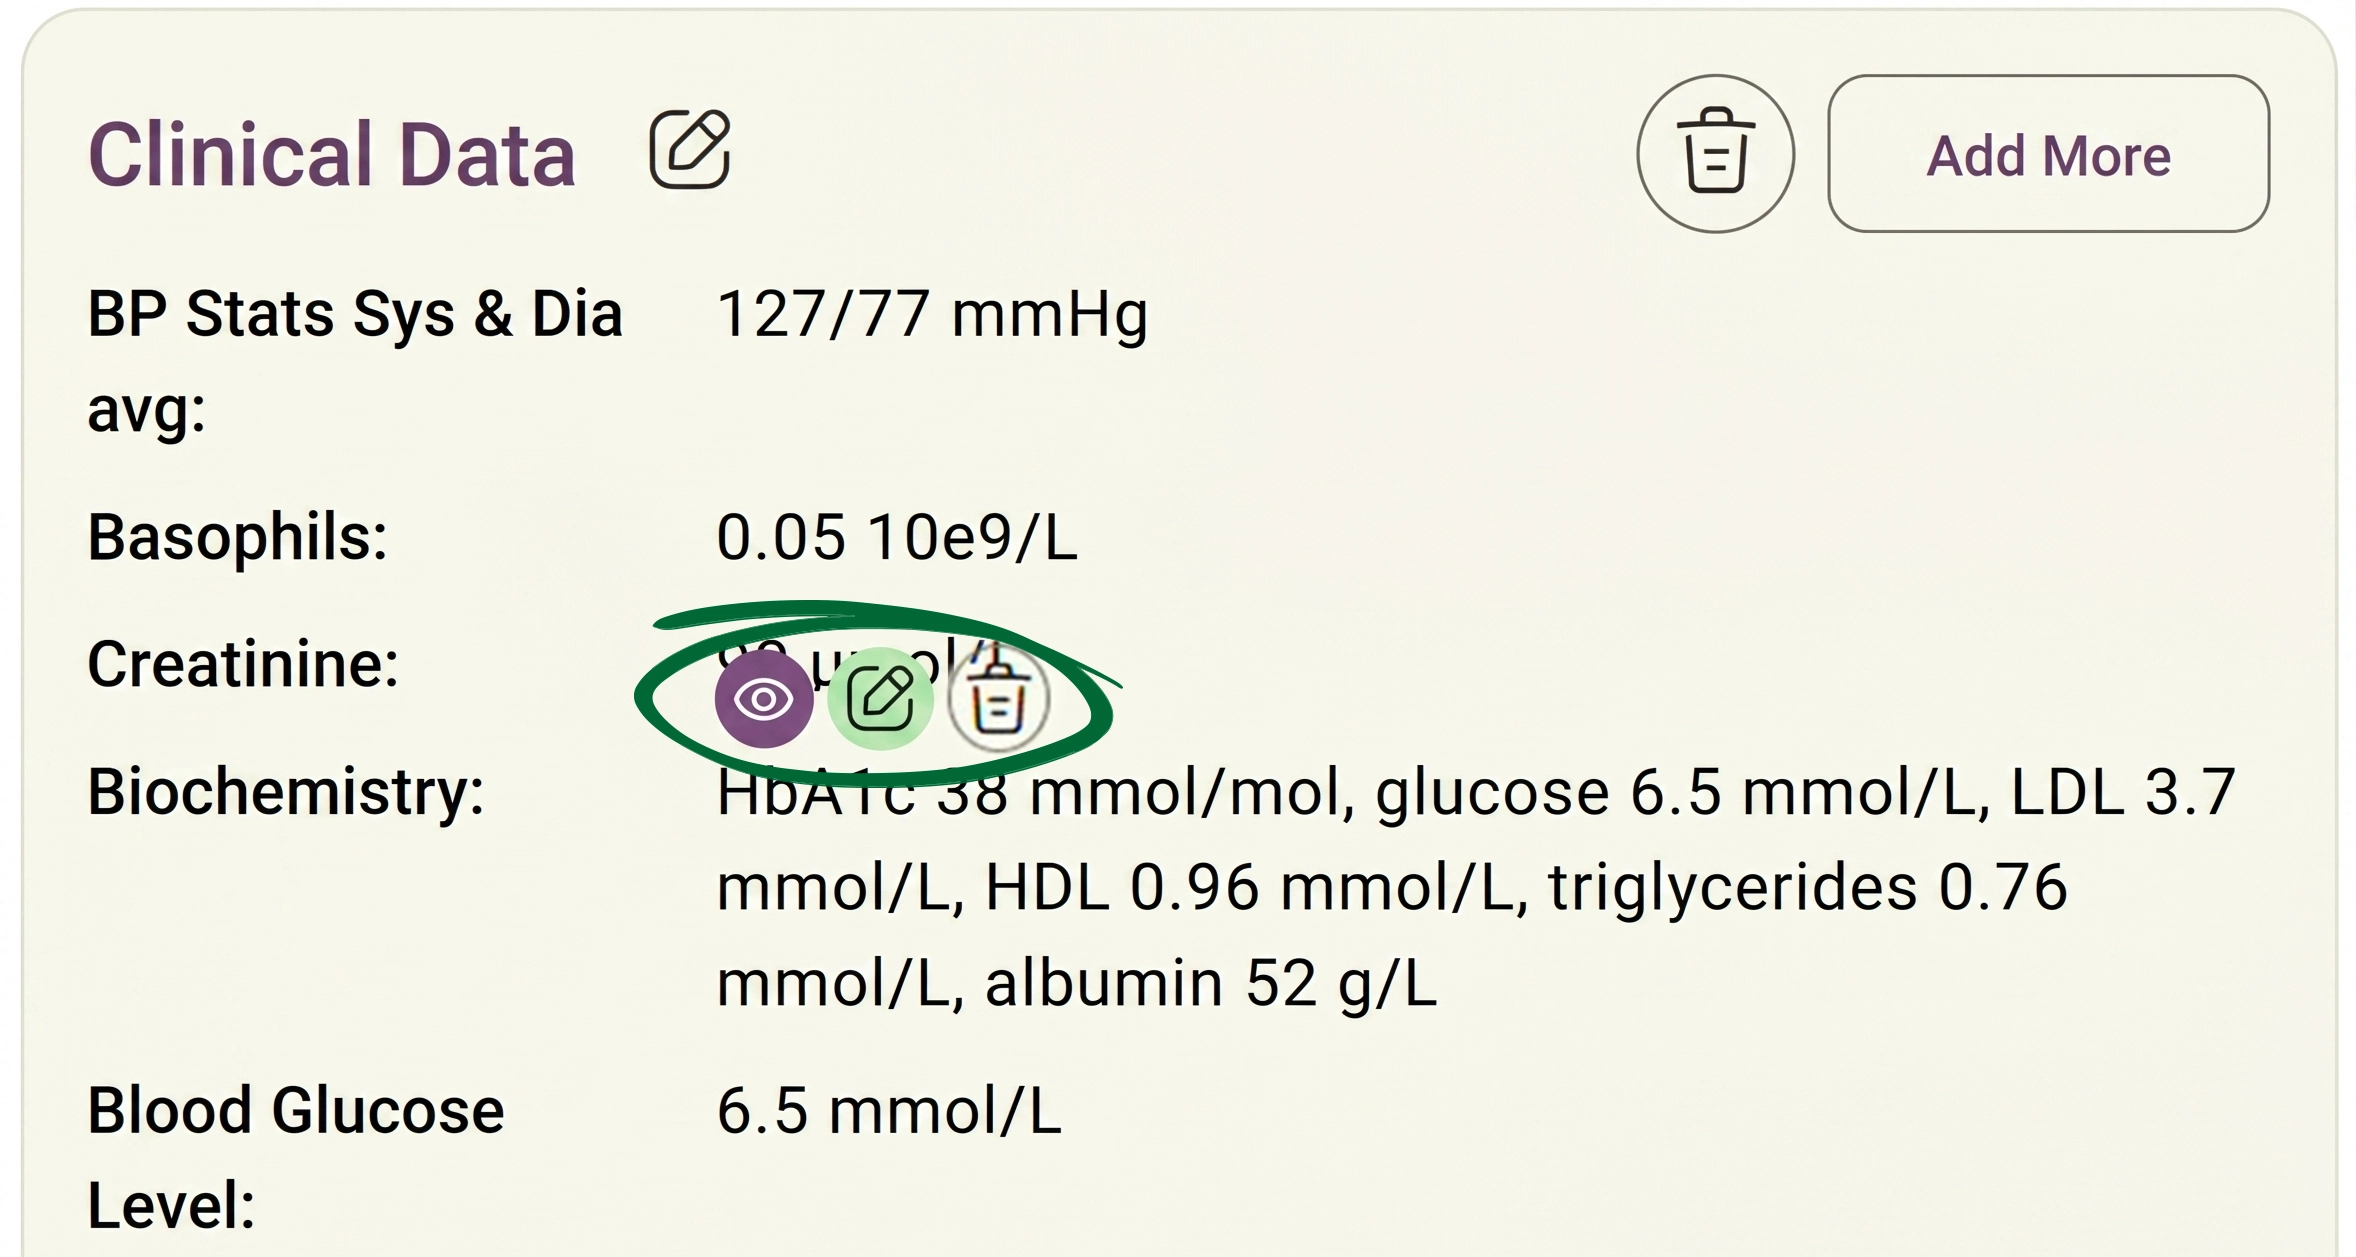
Hover your cursor over any specific record within a section to reveal action icons. Click the Pencil icon to edit the value, or click the Trash icon to delete the record.

Modify Existing Records screenshot
6
View Tables or Charts:
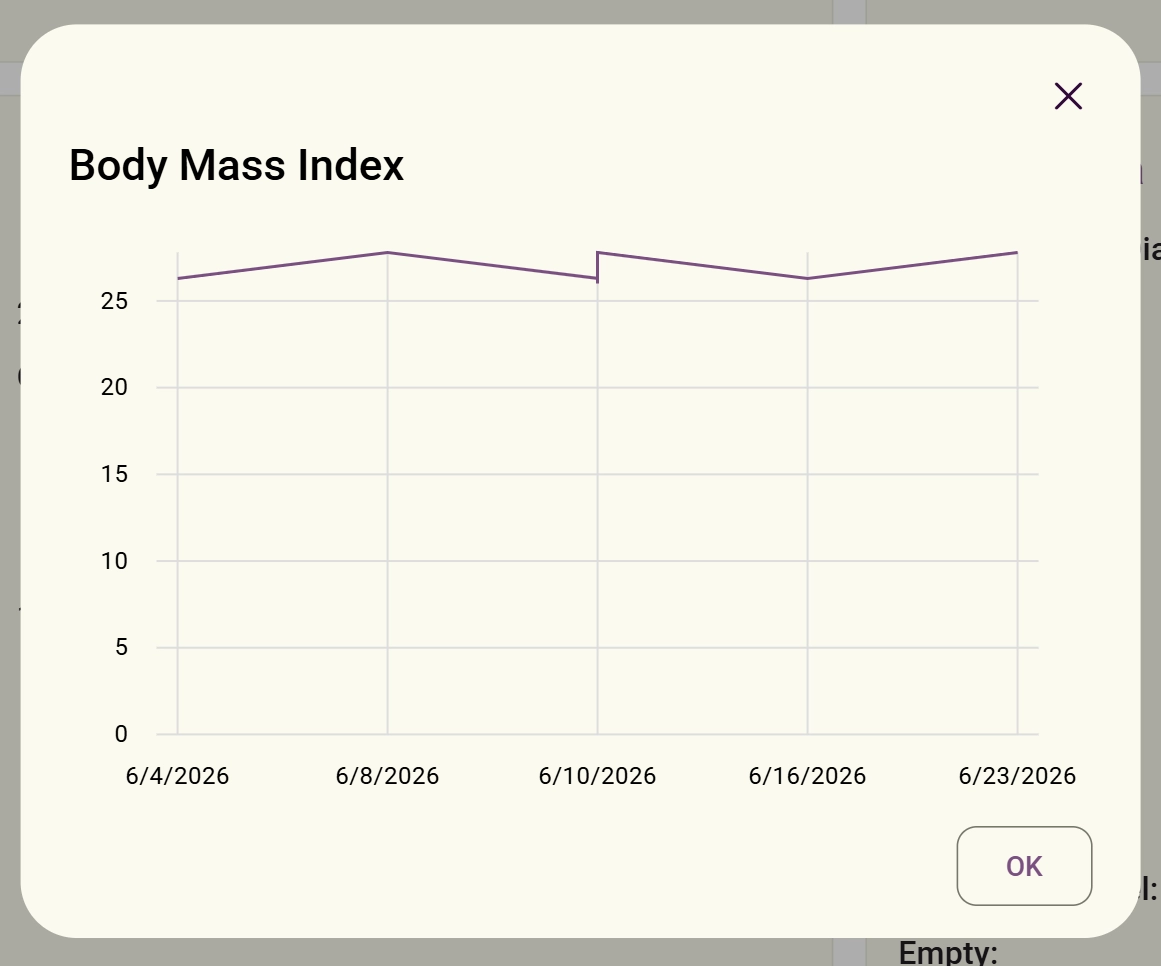
If a chart or table is available for a specific record field, an eye icon will appear when you hover over that field, as demonstrated in the screenshots below. Click this icon to open the corresponding data visualisation.
View Tables or Charts screenshot
2. Extract Client Info with AI

Save time on manual data entry by letting the AI Assistant populate your clinical sections automatically.

1
Access Client Records:

Go to the client's profile, where the Records tab will display as the default view 
Records Tab screenshot
2
Start AI Extraction:
Click the Extract all client info button at the top right of the page. The AI Assistant will instantly scan the client's synced activity data, completed form inputs, documents, and notes to extract all the needed info.
3
Review Populated Records:

The extracted information will automatically populate into your designated clinical sections, and you can review, edit, or delete as needed. 

Tip: To ensure the most accurate data placement, make sure you have created your preferred record sections beforehand. This helps the AI identify where to categorise and insert the extracted information correctly.
Frequently Asked Questions (FAQs)
How does a client upload food diaries for AI analysis?
Once you grant food diary access in the settings menu, the client will see a Diary tab in their app's Health Records sidebar, where they can upload diaries and view automated AI insights. 
Am I restricted to using only the default clinical sections?
Not at all. You can easily expand a client's profile by clicking the Add new section button, entering a custom title, and clicking Create Section to establish your own bespoke categories.
Can I expand the text box if my clinical notes are quite lengthy?
Yes. When adding or modifying a record, the value text field is fully resizable so you can comfortably accommodate longer clinical notes and observations.
Where does the AI Assistant gather information from during an automated extraction?
The AI instantly scans all available source materials attached to the profile, including the client's synced activity data, completed form inputs, uploaded documents, and existing session notes.
Is it possible to modify or correct information populated by the AI?
Yes. Once the AI extracts the data and populates your clinical sections, you maintain full control to review, edit, or delete any generated record as needed.
Troubleshooting & Common Issues
Issue: The eye icon does not appear next to a specific record field.
Potential Solution:  If the icon does not appear when you hover over a field, it means there is currently no chart or table data available for that specific record.
Issue: The "Extract all client info" button did not populate data into the expected area.
Potential Solution:  The AI Assistant categorises data based on existing structures. To ensure accurate data placement, make sure you have created your preferred custom sections before clicking the extraction button so the AI knows where to map the information.

Next Step

Your client records are organised! Now, explore Client Communications to learn how to share these insights and updates directly with your clients.

Go to Client Communications
Contact Support

Still need a hand?

Email Support: [email protected]