Review completed sessions, access clinical transcripts, and manage multi-session programmes.
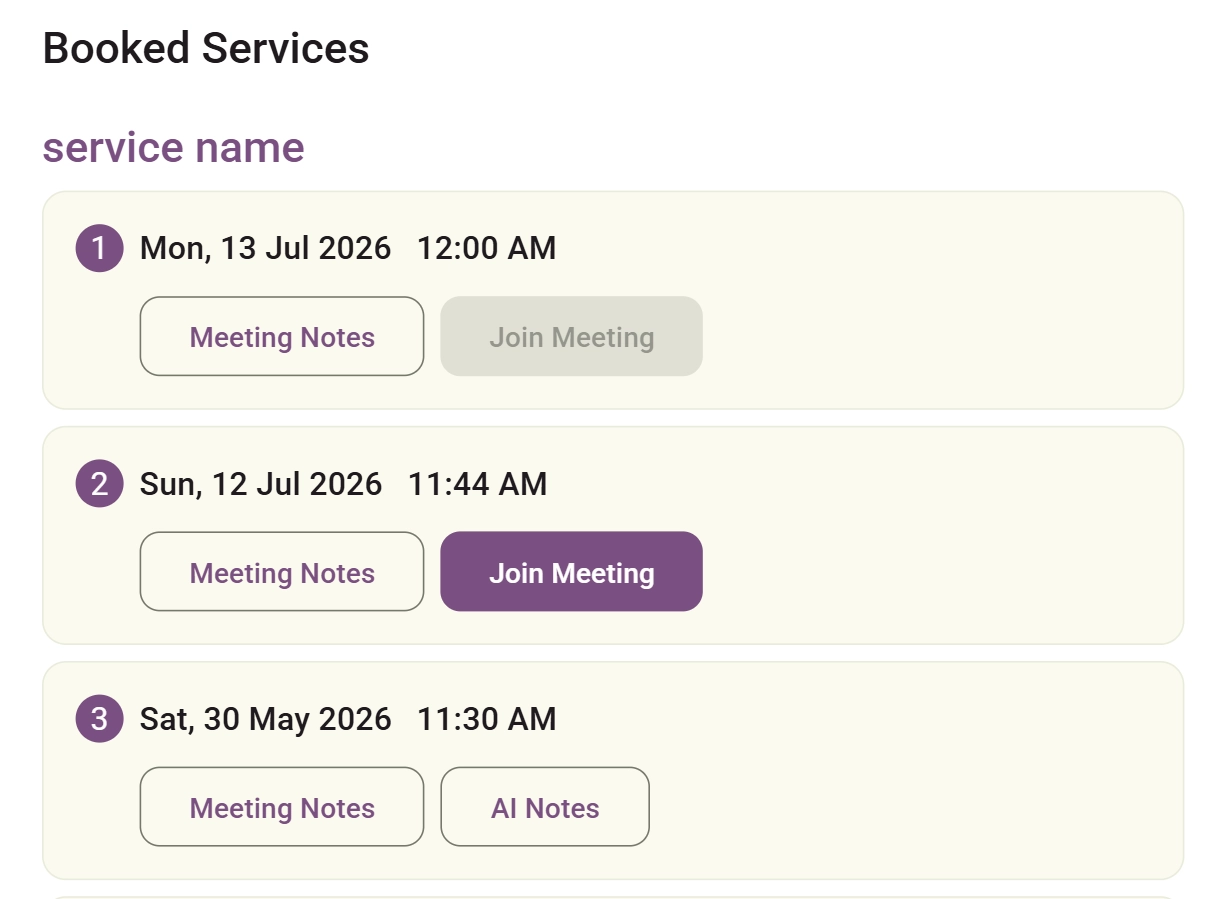
Go to the Clients section from the main navigation sidebar, select your client to open their dashboard, and click the Appointments tab. Your booked services list will display on the left-hand side.
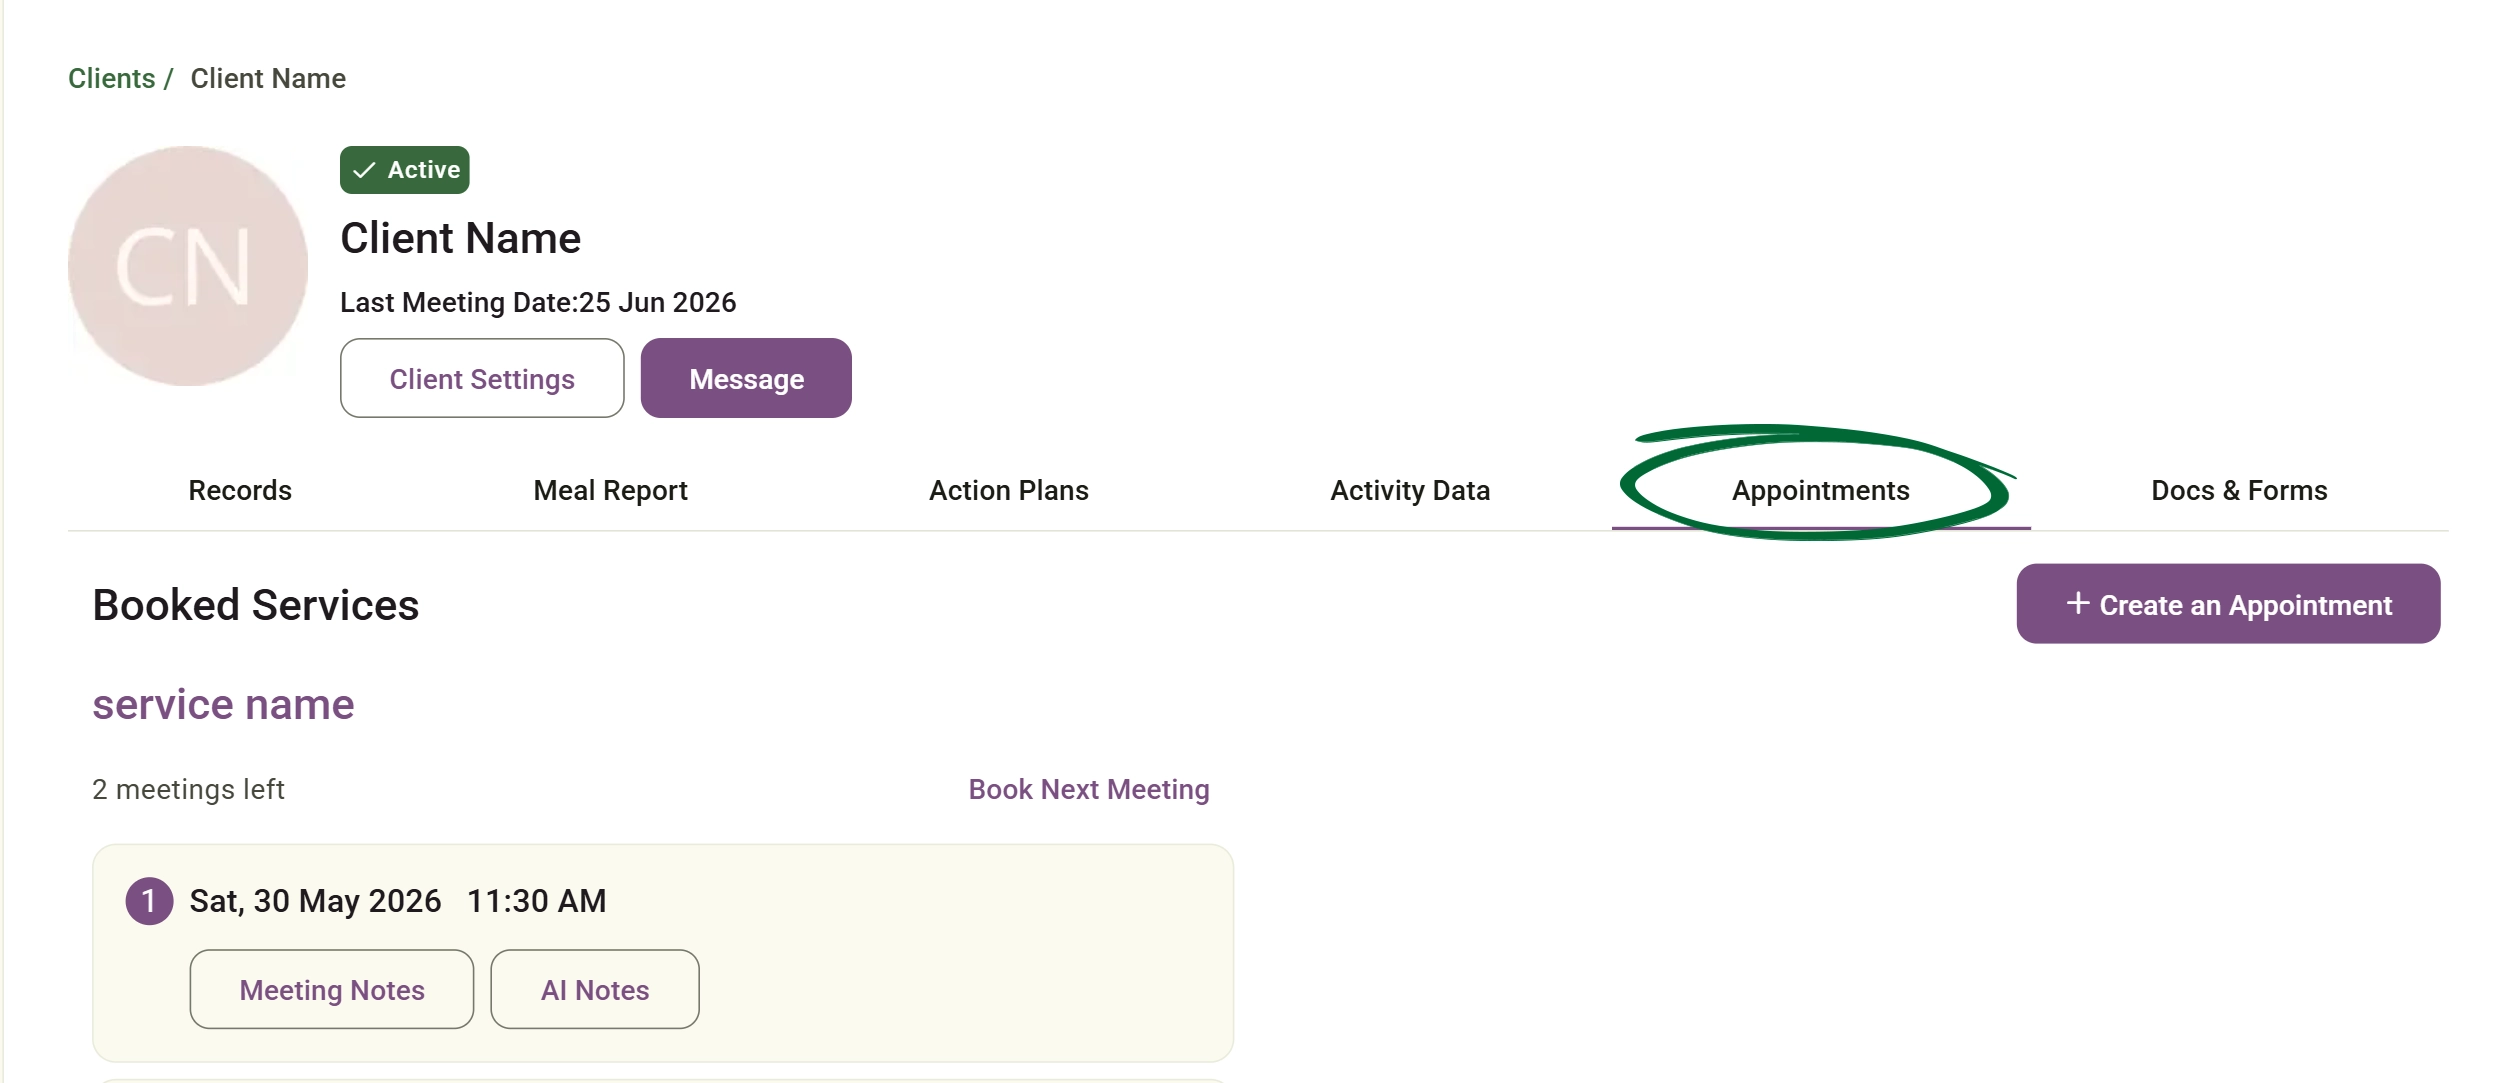
You will see two types of appointments:
- Booked service: Appointments linked to the specific programme services you offer.
- No-service: General appointments that you have created manually using your calendar.
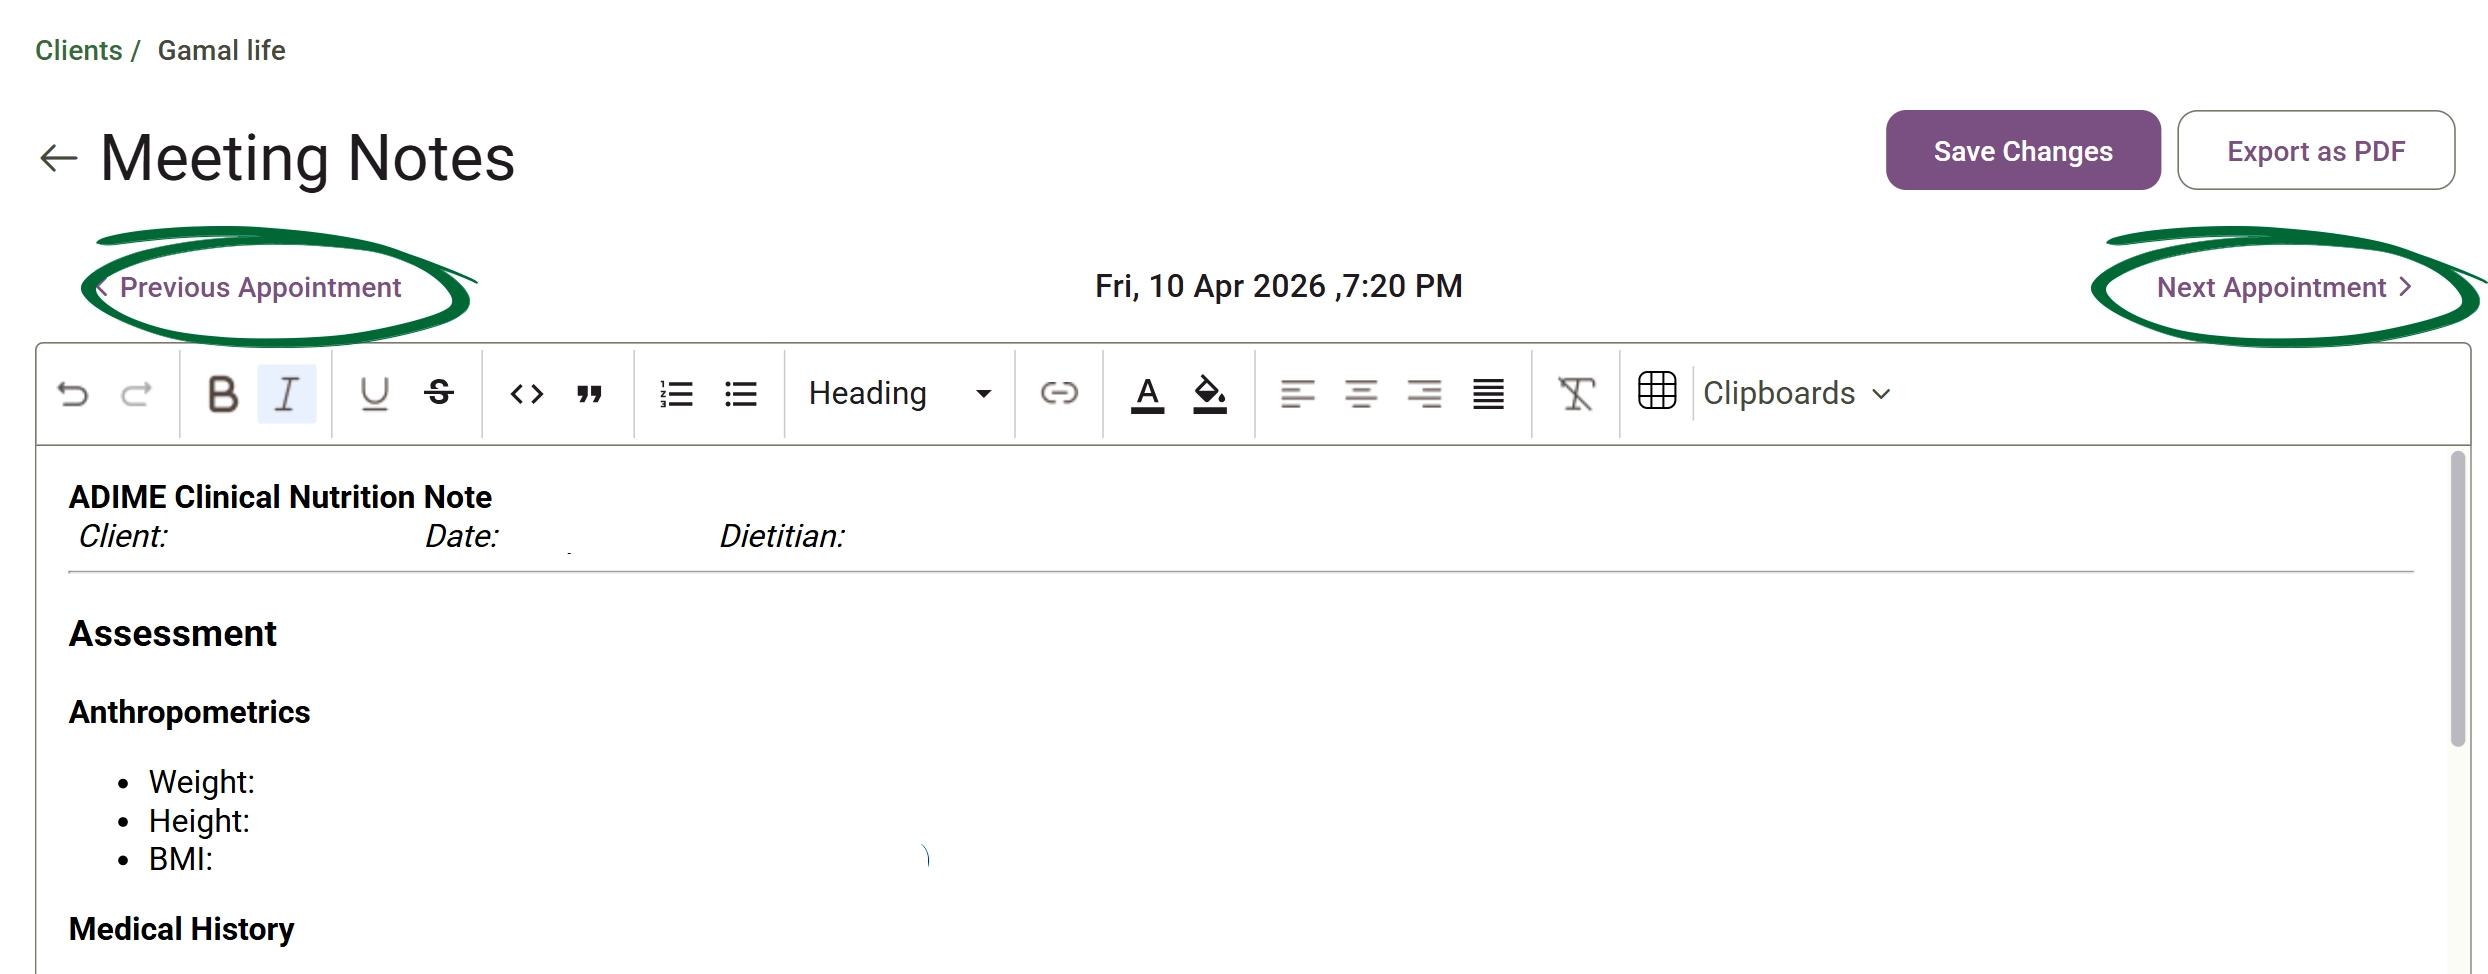
Click Meeting Notes under any scheduled or completed session card. This opens the rich text editor, where you can type, edit, format, add tables and hyperlinks, and finalise your notes using standard styling tools or custom clipboard snippets.
You can also navigate between appointments using the Previous Appointment and the Next Appointment buttons above the rich text editor.
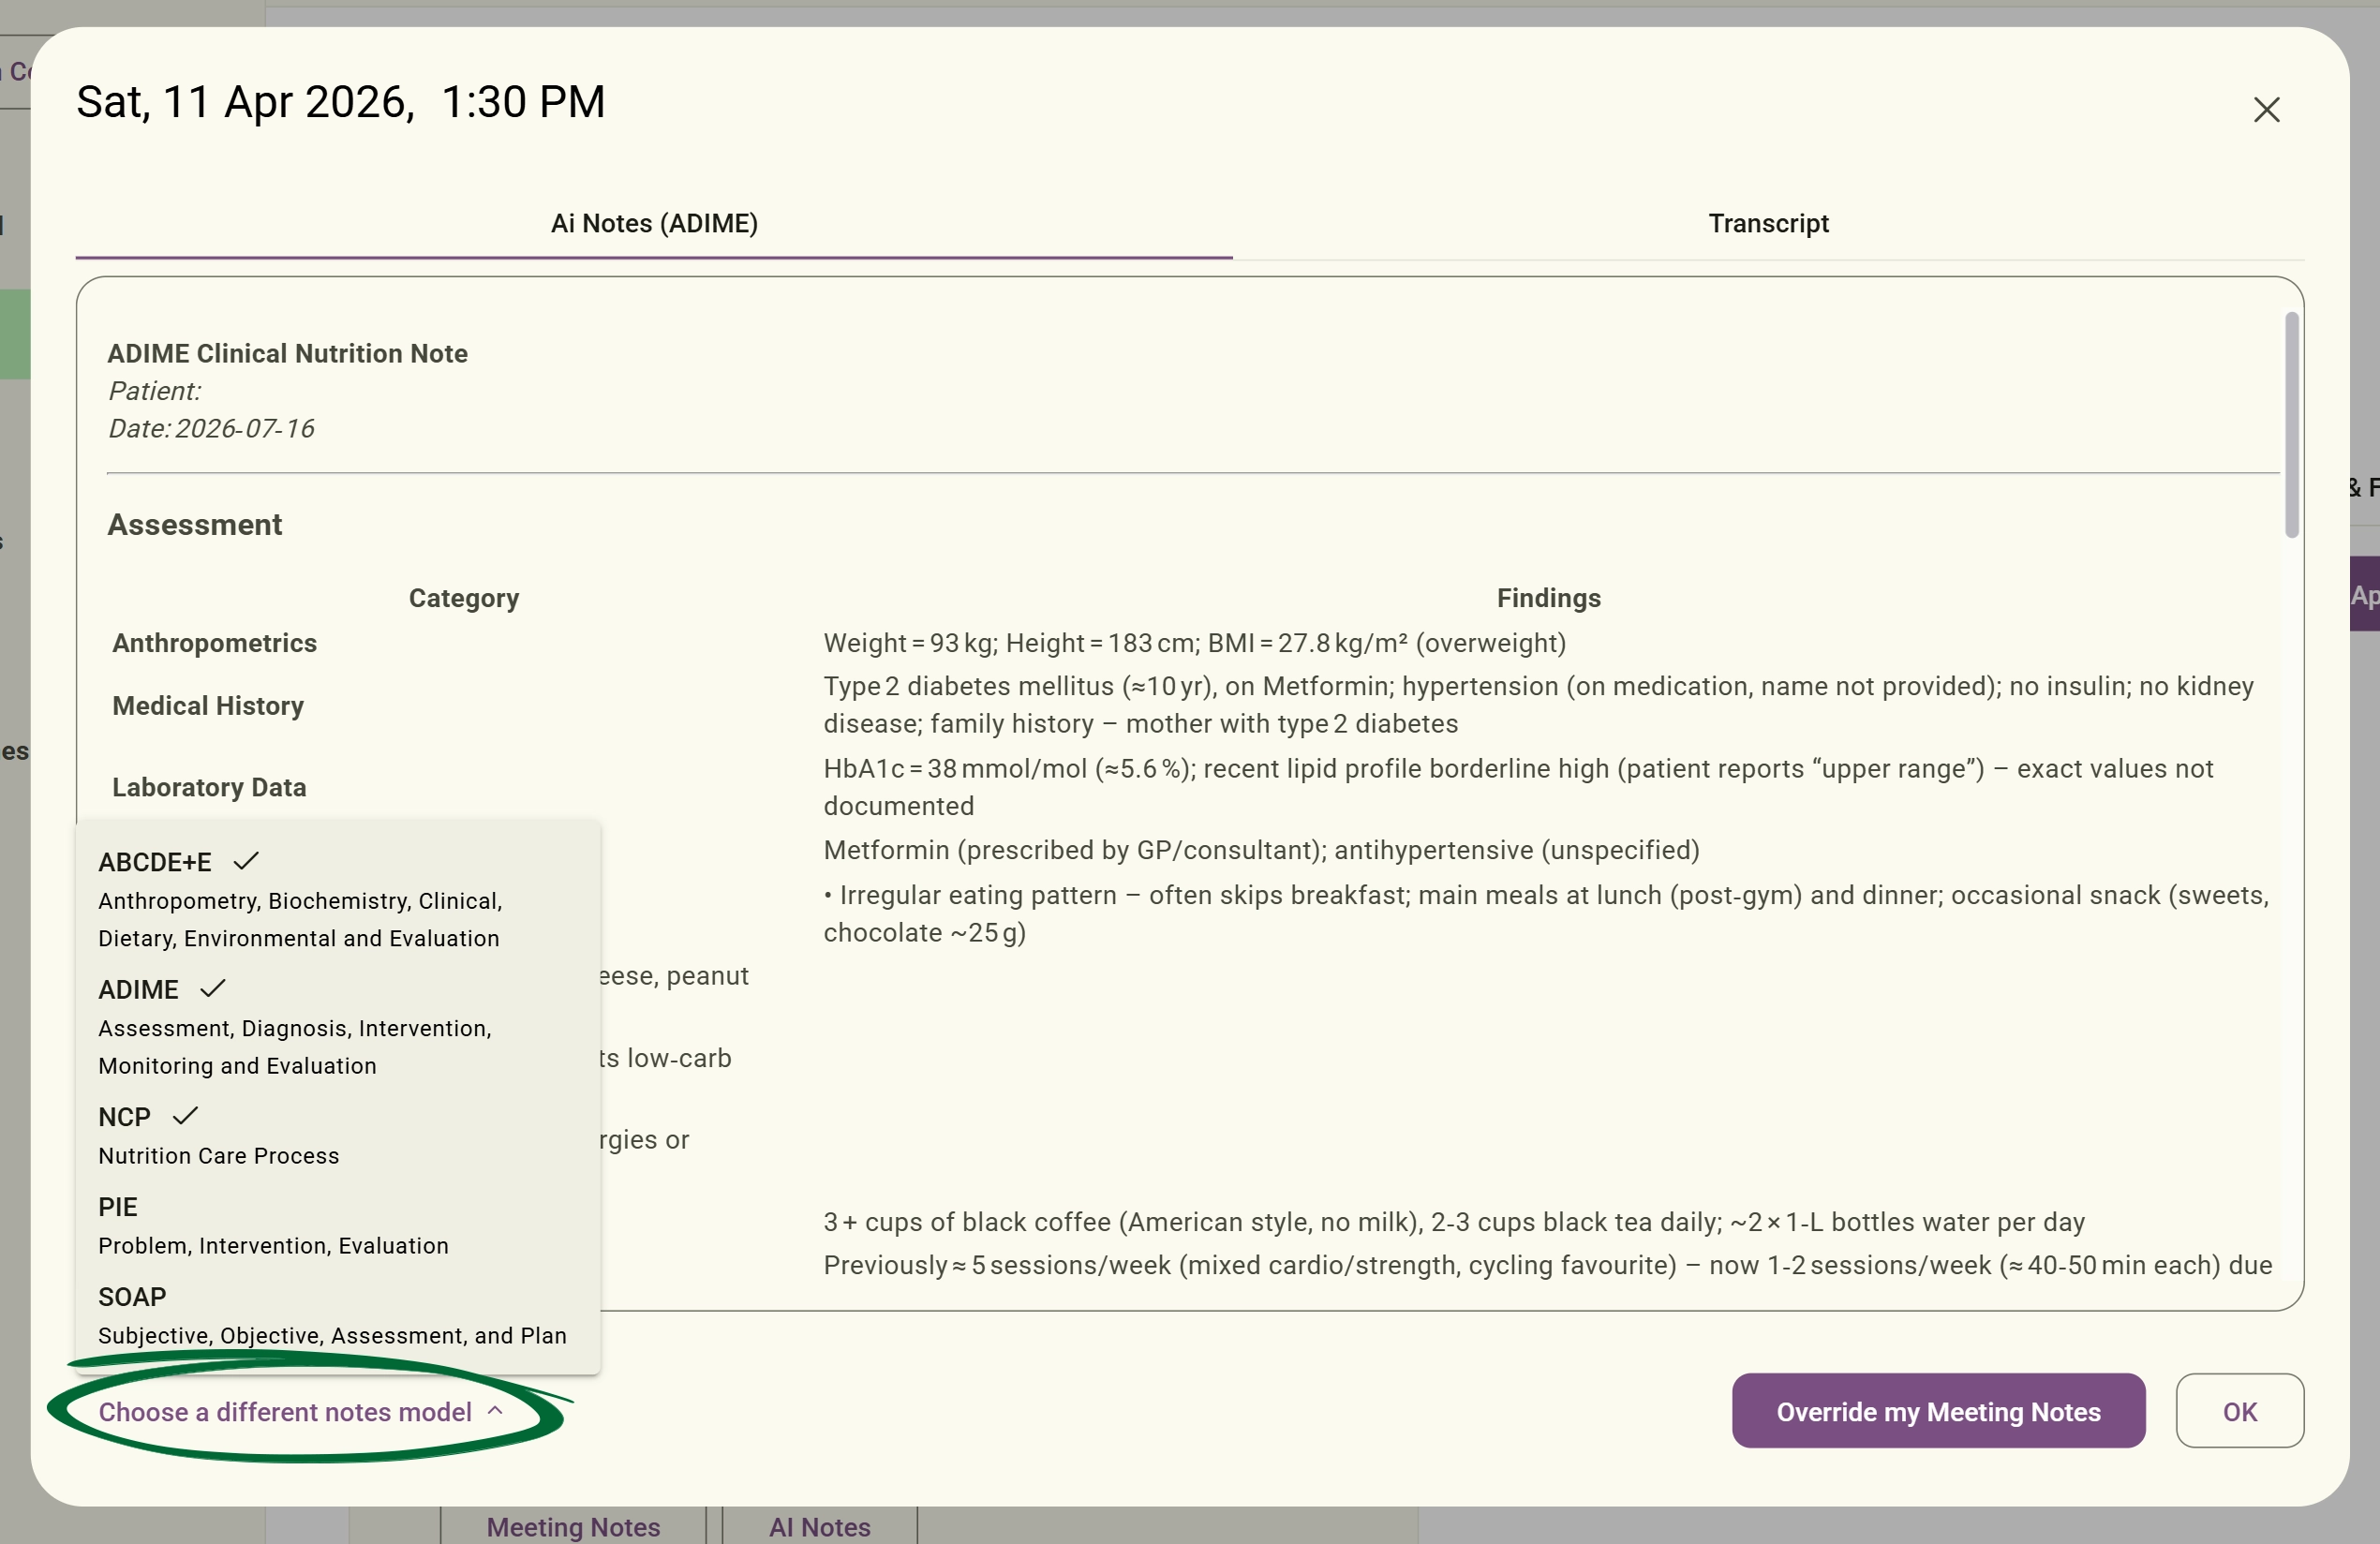
Click the AI Notes button under the same session card to launch the AI Notes overlay. Toggle between the tabs at the top to view the automated clinical summary or the verbatim transcript of your video call. You can dynamically change the notes layout by clicking the Choose a different notes model dropdown at the bottom left and choosing a framework (e.g., SOAP, ADIME, NCP). To replace your current text editor content with this automated summary, click the Override my Meeting Notes button.
Note: Detailed breakdowns of how each clinical framework structures your notes can be found in the [Clinical AI Notes & Assistant] guide.
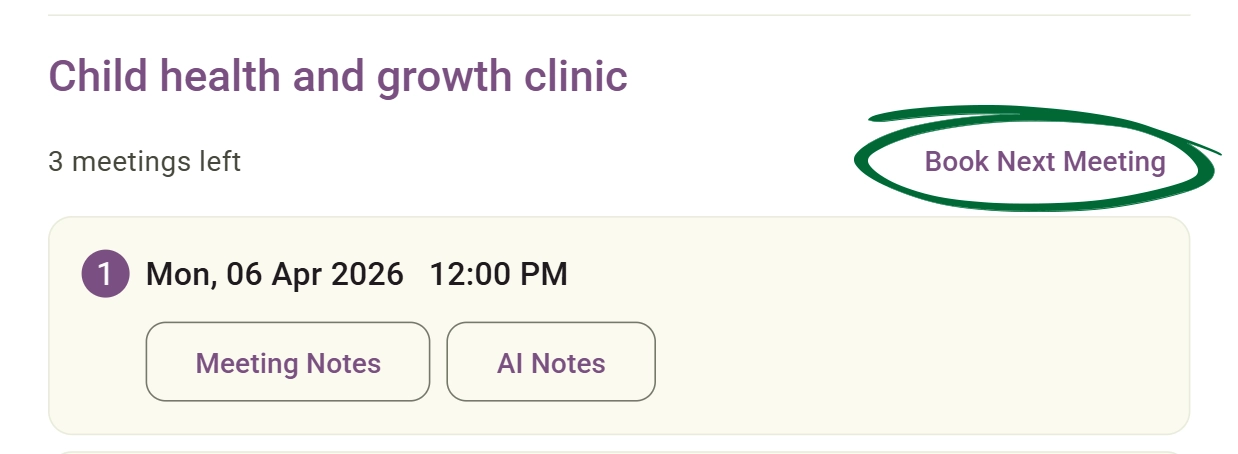
If the session card belongs to a multi-session service (programme), a remaining session count will be displayed at the top of the session card. Click Book next meeting to open a configuration tab. Set the location, duration, date, and time parameters, and click to send an instant session invitation to your client.
Create new client sessions and configure them.
Click the + Create an Appointment button at the top right of the Appointments page.
In the pop-up overlay, fill in the appointment title or choose one of your services from the drop down menu, set the location (such as In-person or Video Call), and select your timing parameters (date, time, and session duration).
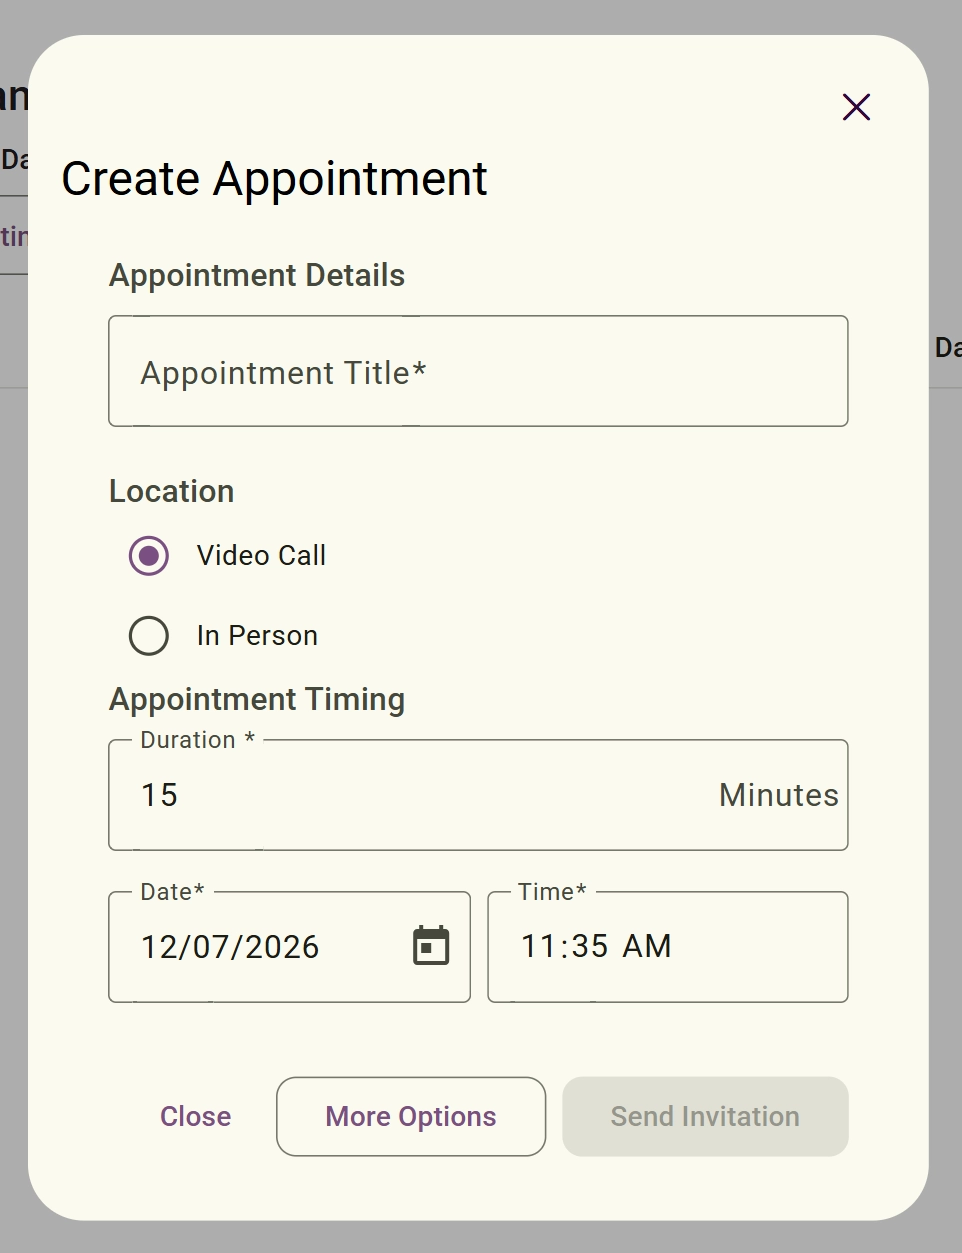
Click More Options if you want to add other attendees or set up a repeating appointment.
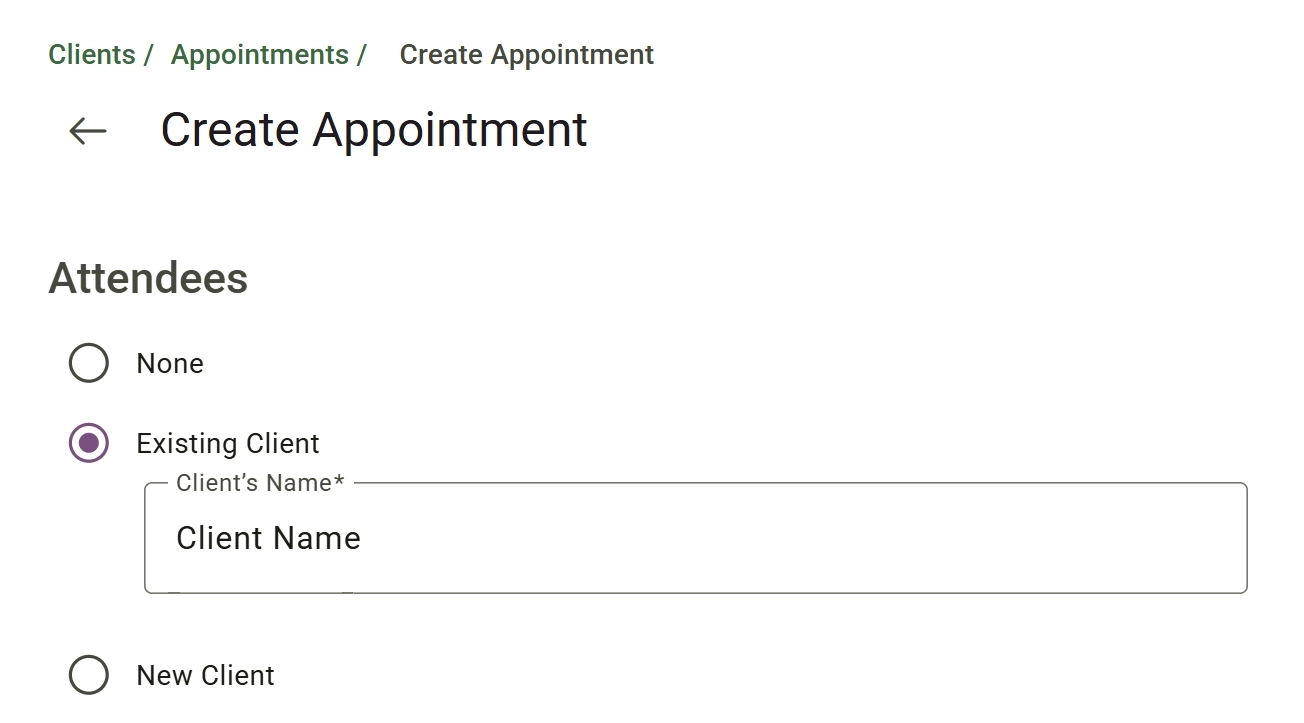
First, select your Attendee Type. You can create appointments for: Existing clients (already in the system), New clients, or None (if needed).
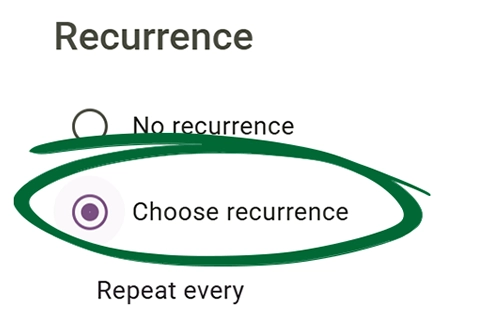
Next, click Choose recurrence to set up a repeating schedule.
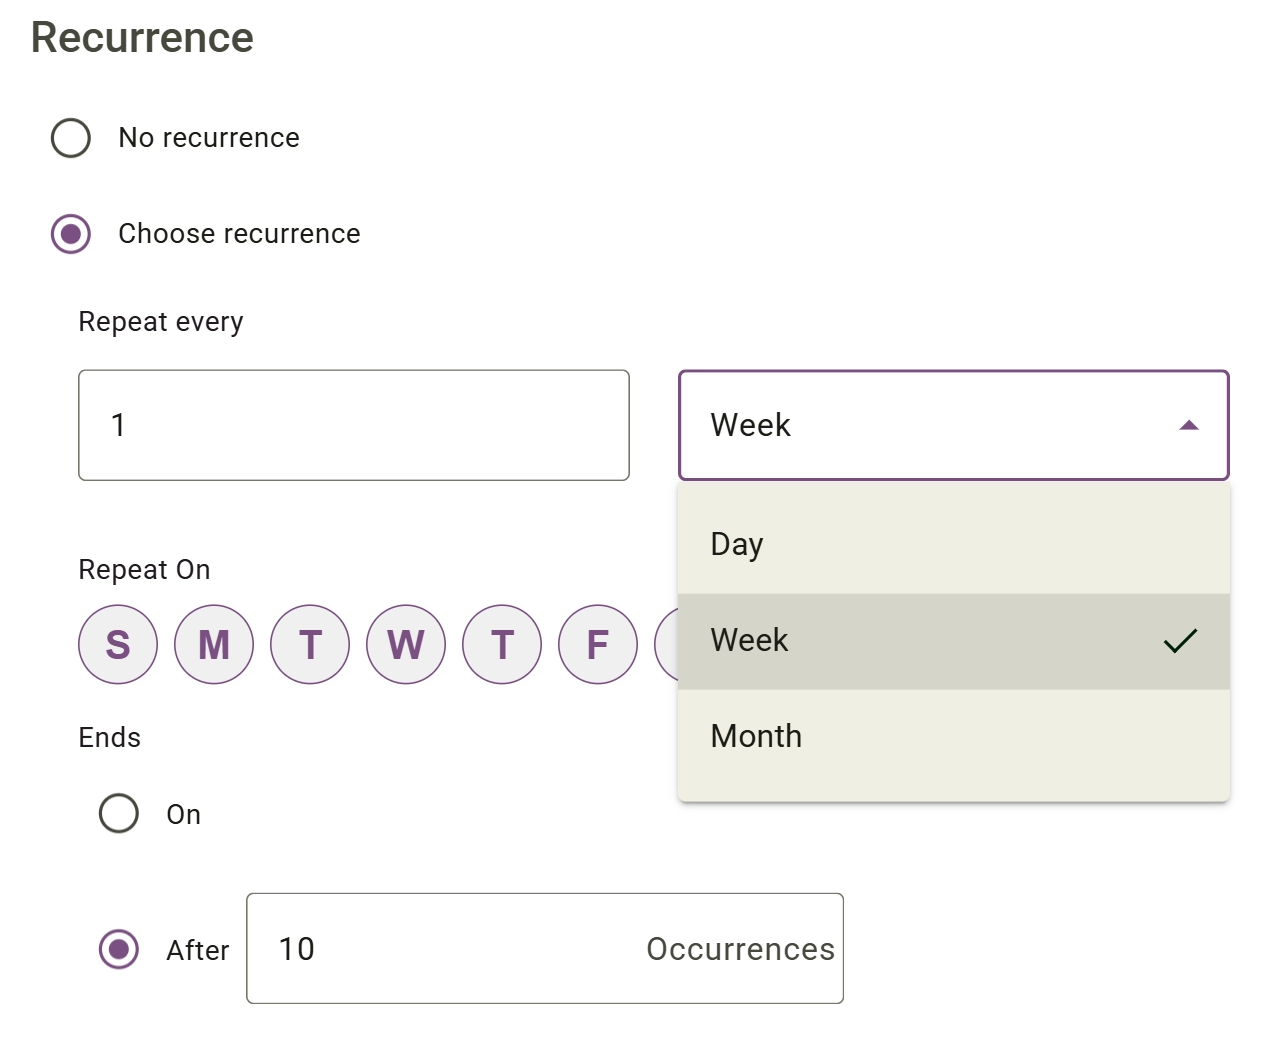
Choose how often the appointment should repeat by selecting Day, Week, or Month.
Finally, choose when the repeating schedule should stop (under End subtitle). You can set it to end After a specific number of sessions, or On a chosen date.
For all virtual sessions, a secure video call button will automatically appear on the relevant session card 5 minutes before the scheduled start time. Click this link to launch your online consultation.
Note: The action button on the right-hand side of the session card changes depending on the appointment status: it turns into an active purple Join Meeting button when a session is live (or starting within 5 minutes), remains a greyed-out, disabled Join Meeting button for future bookings, and appears as AI Notes once a meeting is completed.
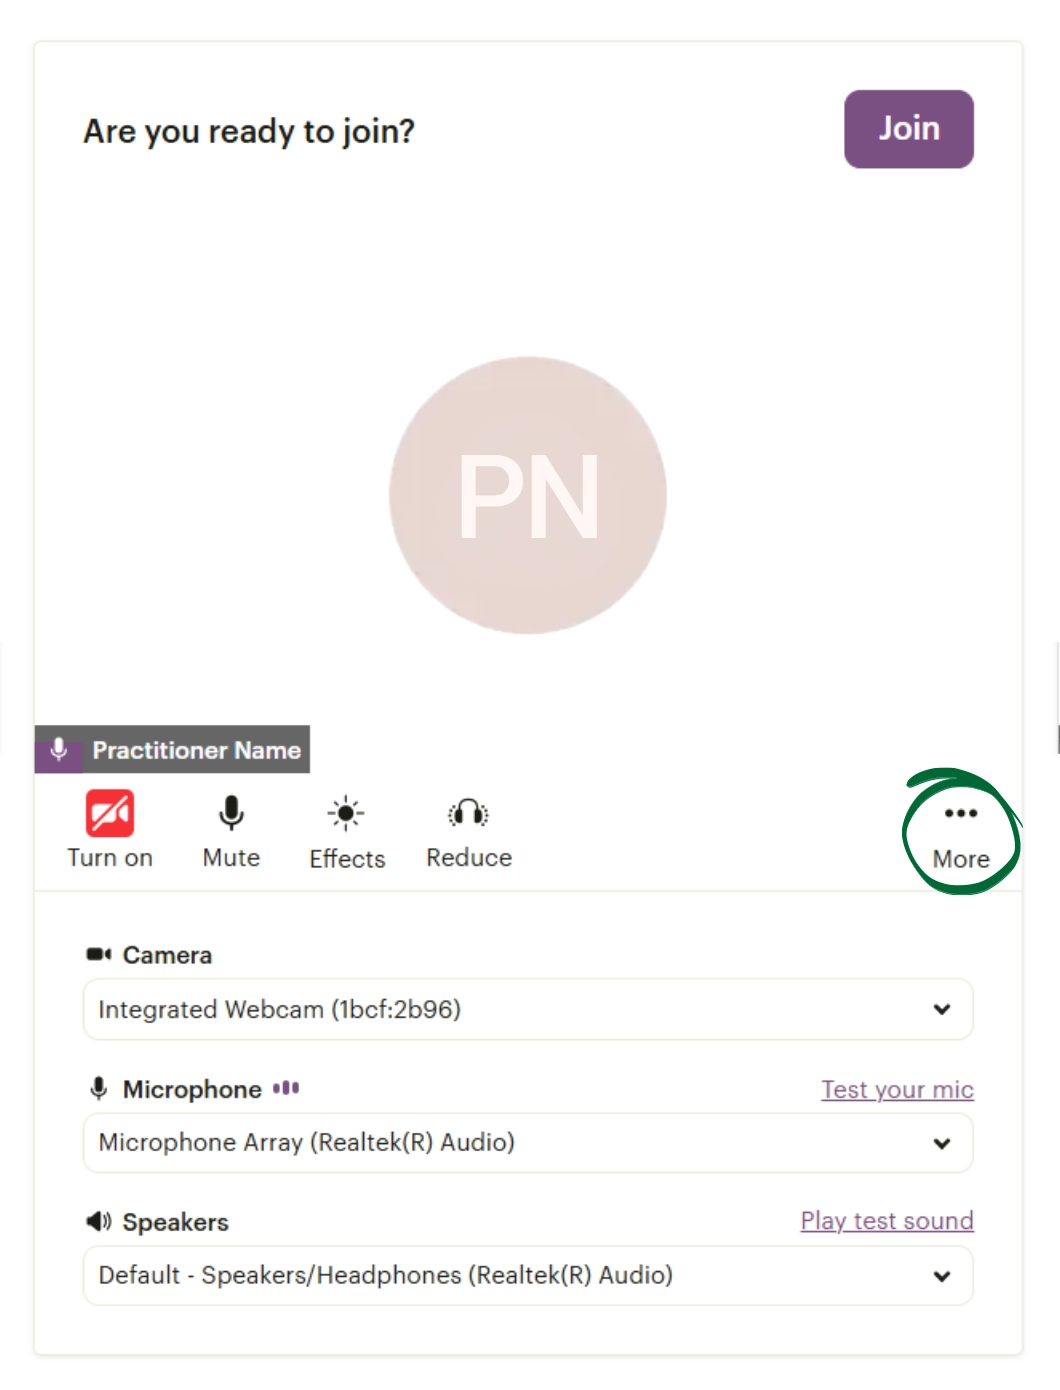
Before entering the meeting, you will see a preview screen where you can test your hardware.
- Use the dropdown menus to select your Camera, Microphone, and Speakers.
- You can click Test your mic or Play test sound to ensure everything is working.
- If you need to change your display name or update your hardware settings, click the More (three dots) icon.
- Once you are ready, click the purple Join button in the top right corner.
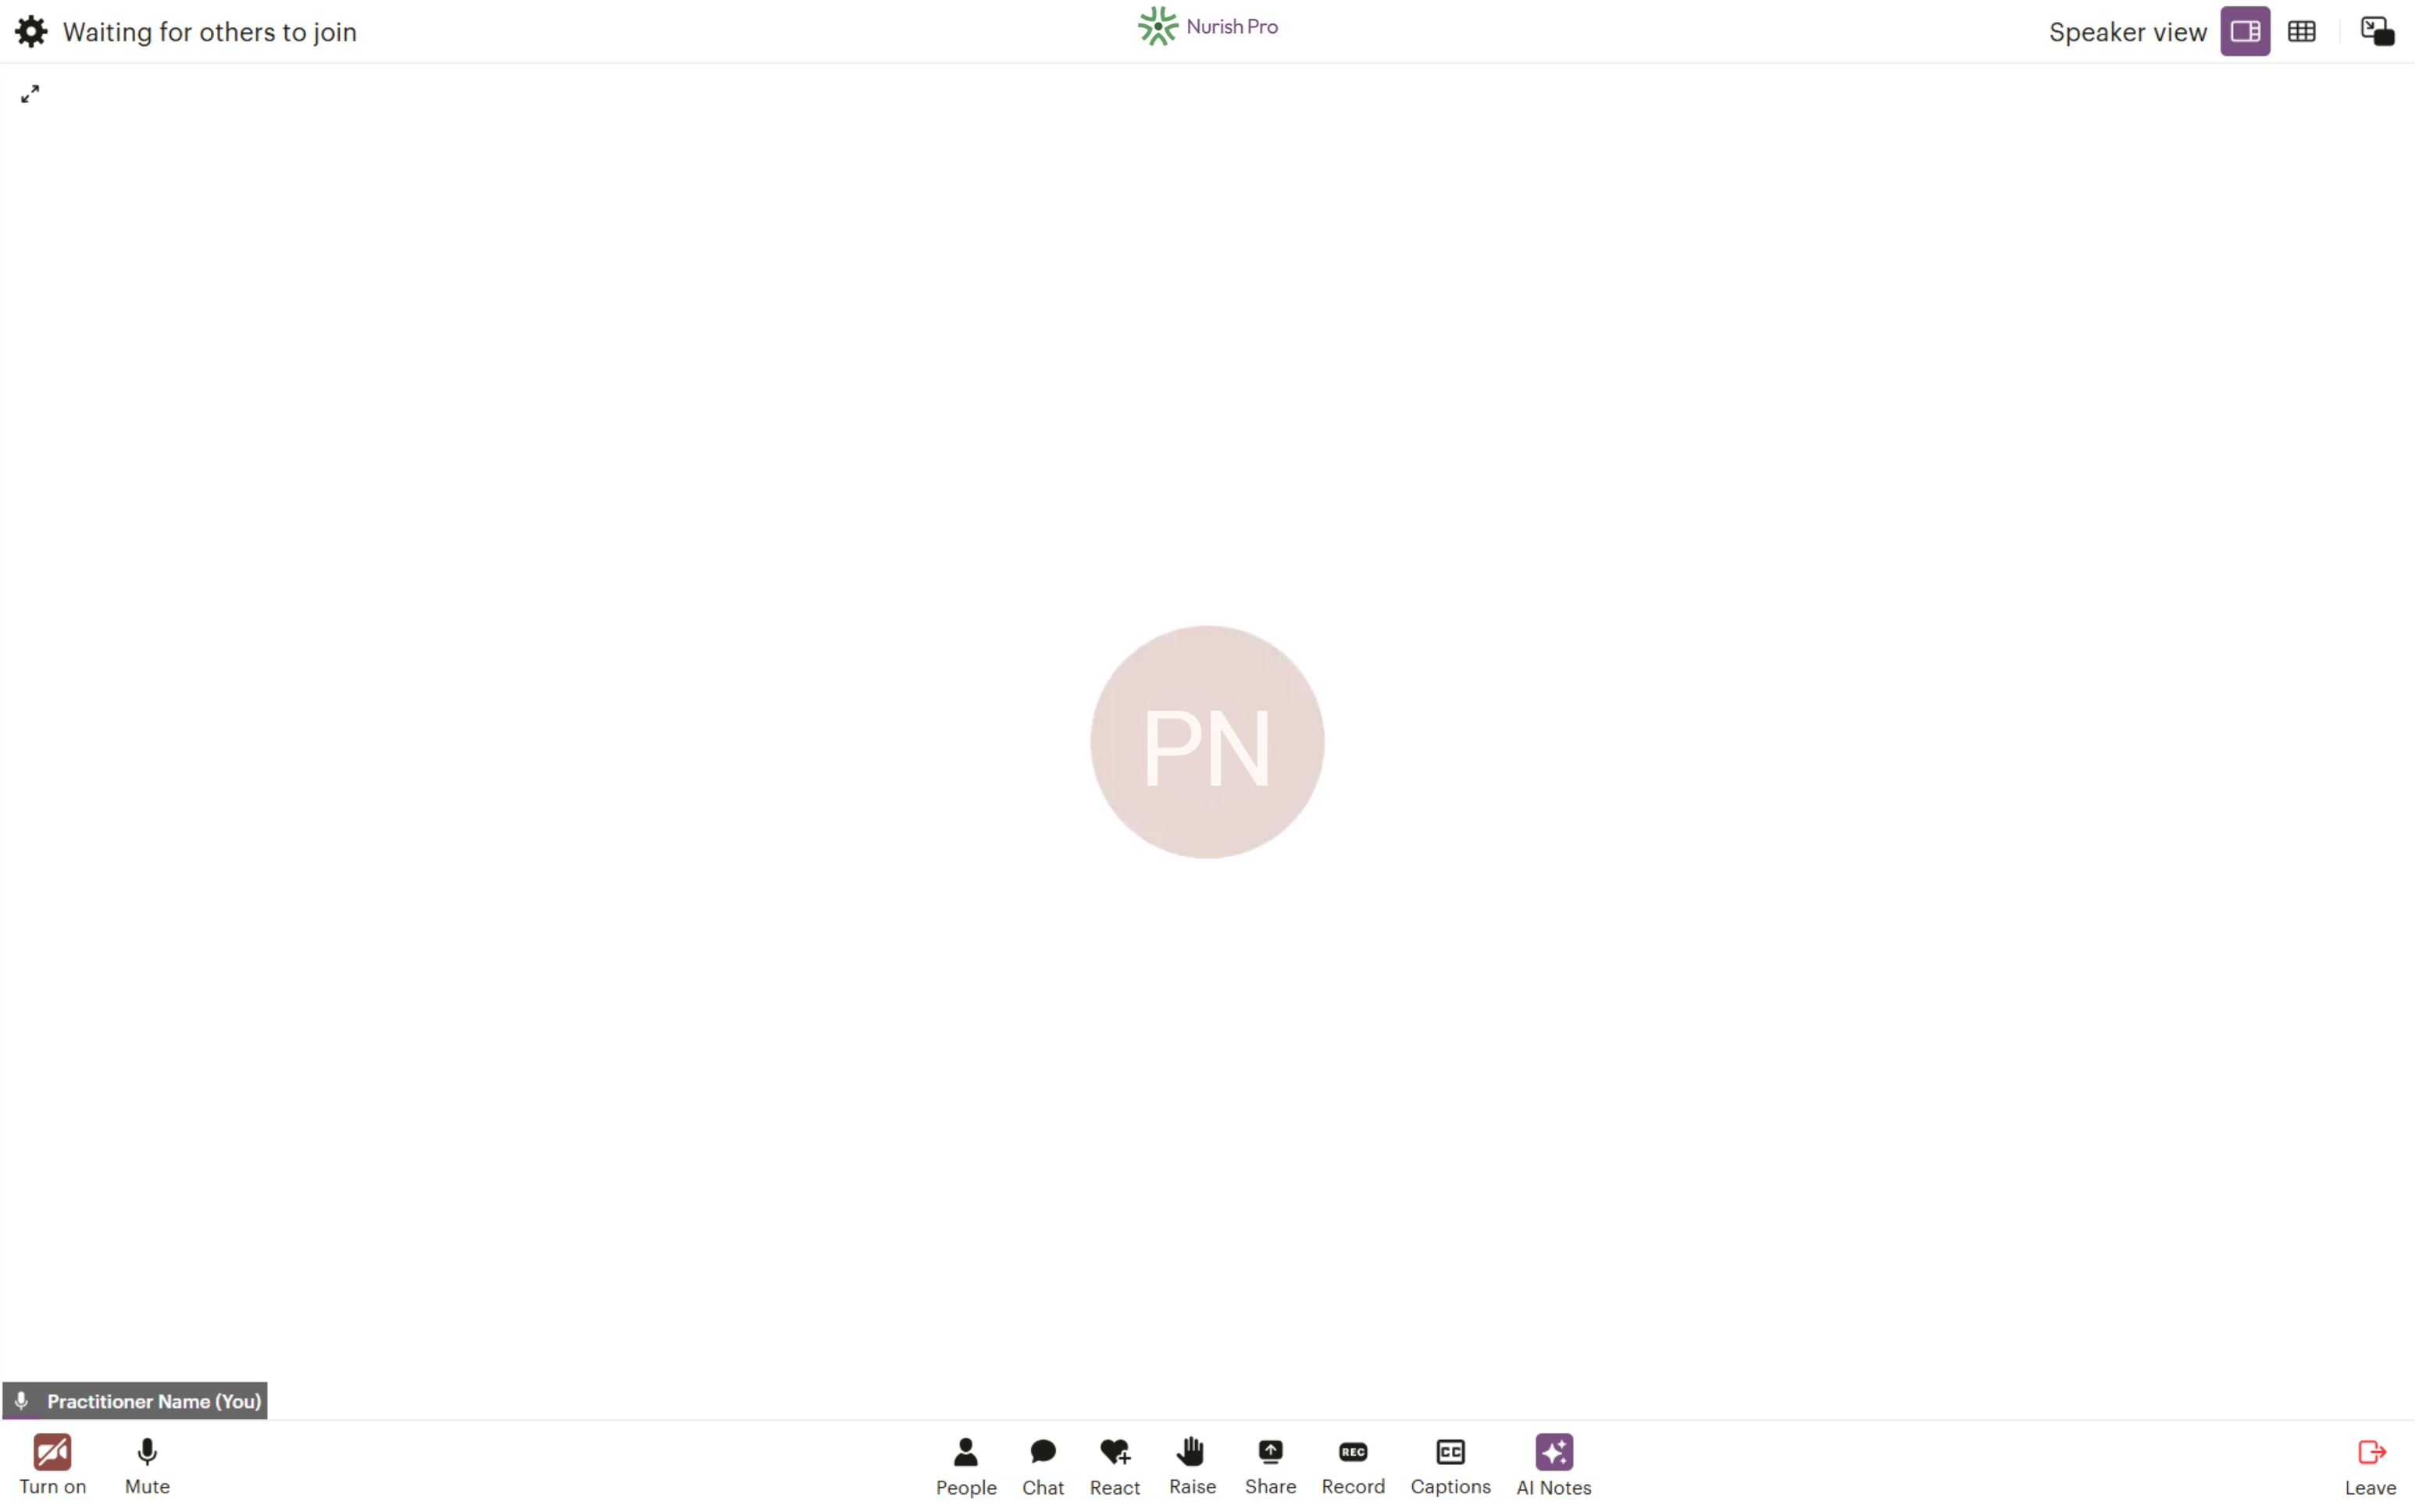
Once the call window opens, you can manage your live session using the top and bottom toolbars:
- In-Call Controls (Bottom Toolbar): The AI Notes tool is turned on by default. Simply click it to turn it off if you don’t want the call to be transcribed. You can also use this toolbar to view the People list, open the Chat, Share your screen, record the session, or turn on Captions.
- Display Settings (Top Right): Change your view settings to switch between grid views or activate picture-in-picture mode. This minimises the video window so you can easily browse other parts of your dashboard during the session.
- Advanced Settings: If you need to adjust your settings mid-call, click the Settings gear icon in the top left corner. This opens an overlay where you can fine-tune your audio and video devices, manage video quality, adjust user preferences, manage background effects, or turn on noise reduction.
Where can I review the detailed notes generated by the AI assistant?
Why is the 'Book next meeting' button missing above some session cards?
Can I still generate AI notes if the client does not join via video?
Issue: The Join Meeting button is disabled on the session card
Issue: The AI Notes pop-up is empty after a completed video call
Next Step
Now that your "Client Appointments" are utterly seamless, it’s time to take things up a gear. Dive into the "AI Notes & Assistant" section right away to discover how to effortlessly generate and summarise clinical data on the fly.
Go to AI Notes & Assistant