This section guides you through manually building a highly tailored strategy, giving you complete control over every piece of nutritional advice and health recommendation.
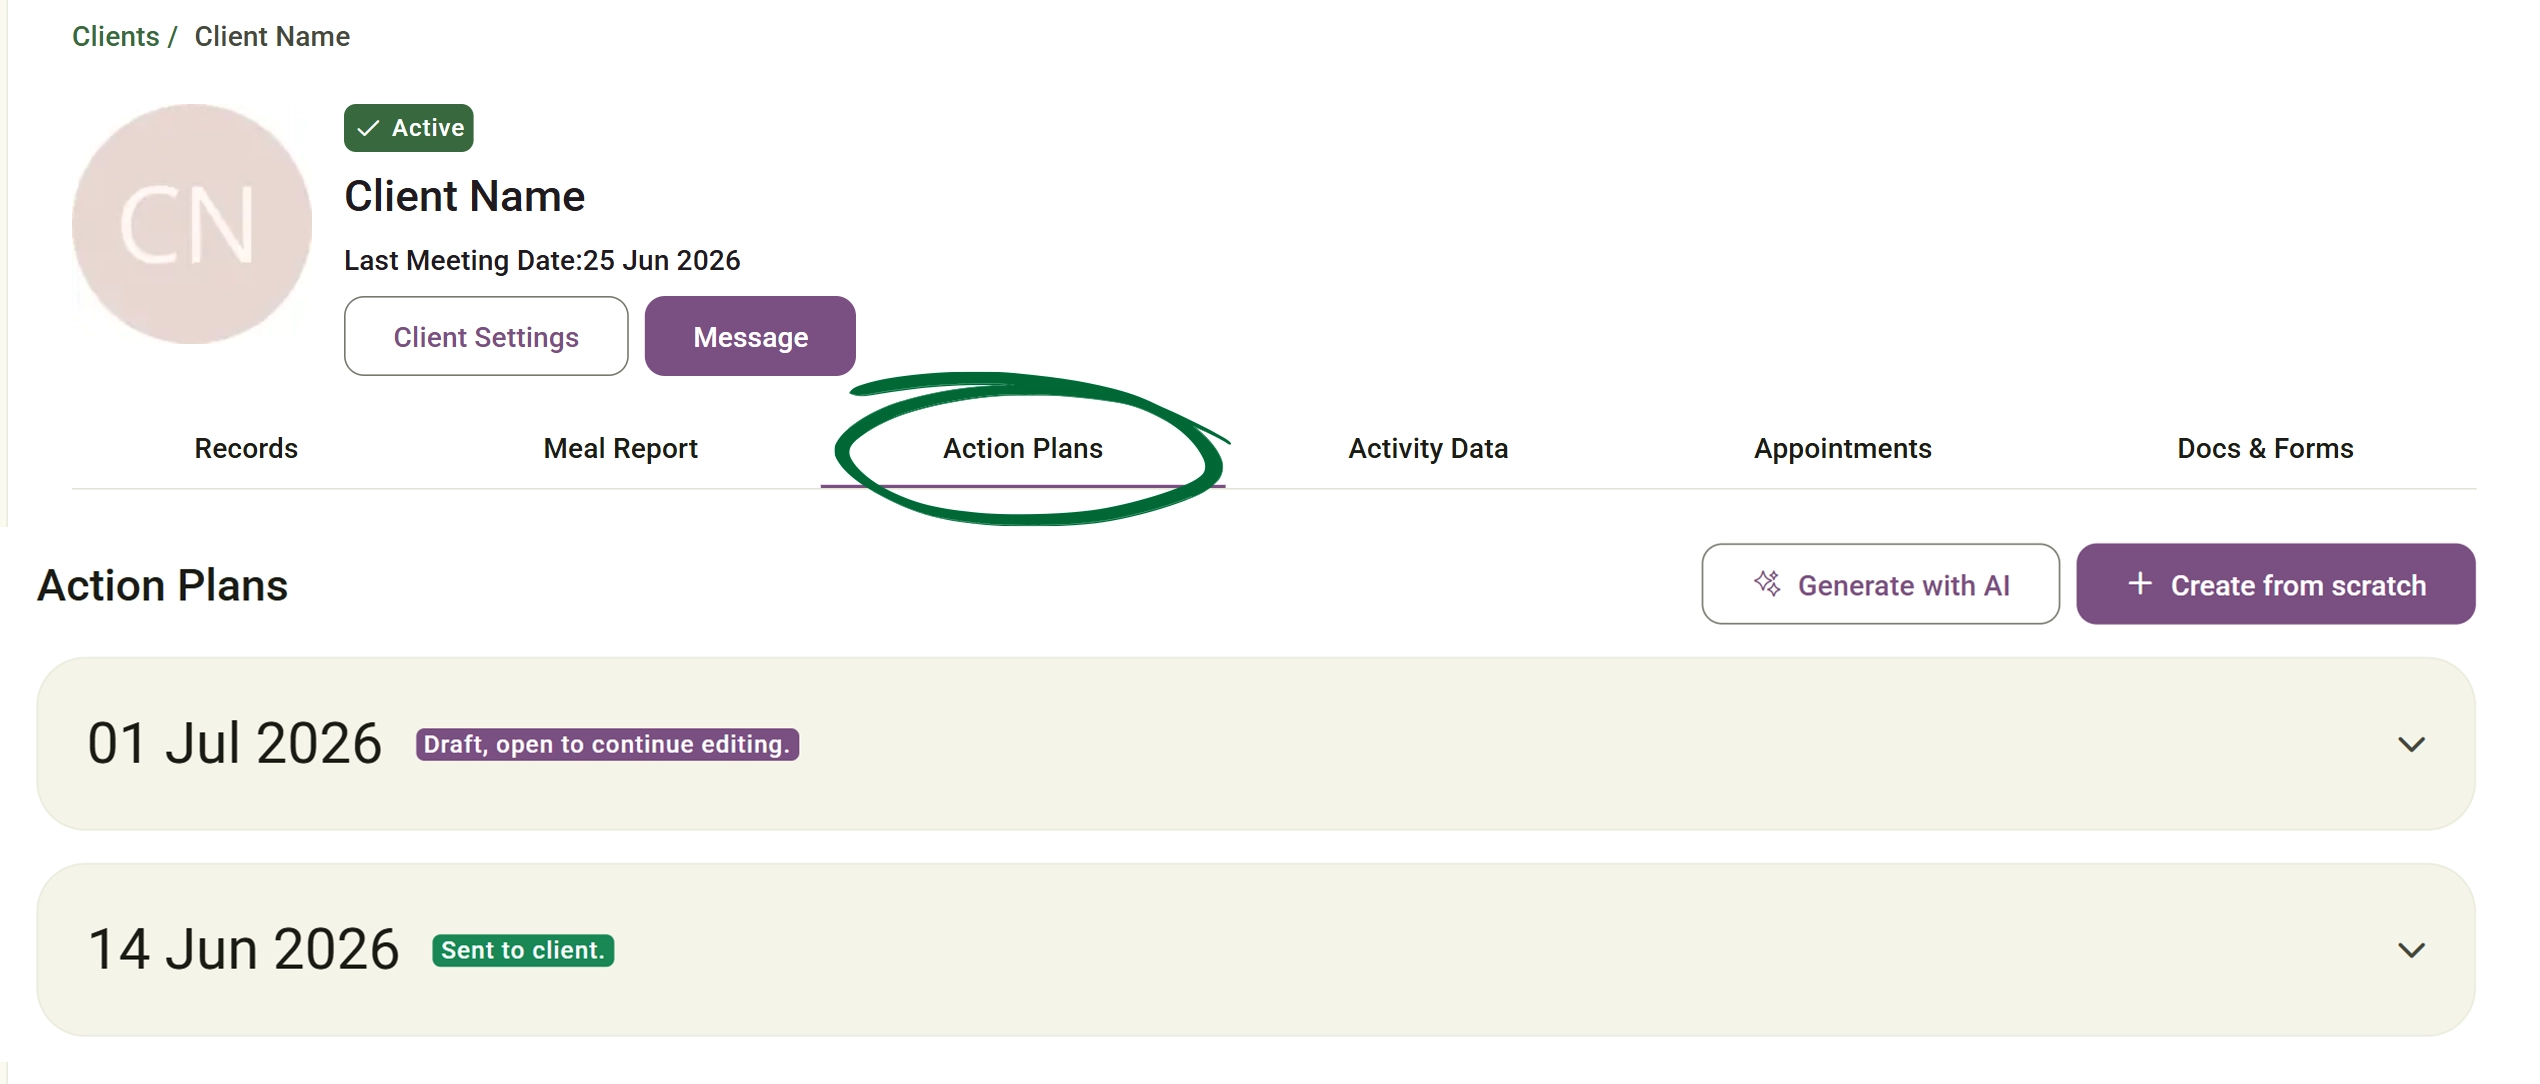
Navigate to the specific client's profile page, click on the Action Plans tab, then click the “+ Create from scratch” button located at the top right. This opens a fresh, empty workspace where you can build your custom strategy.
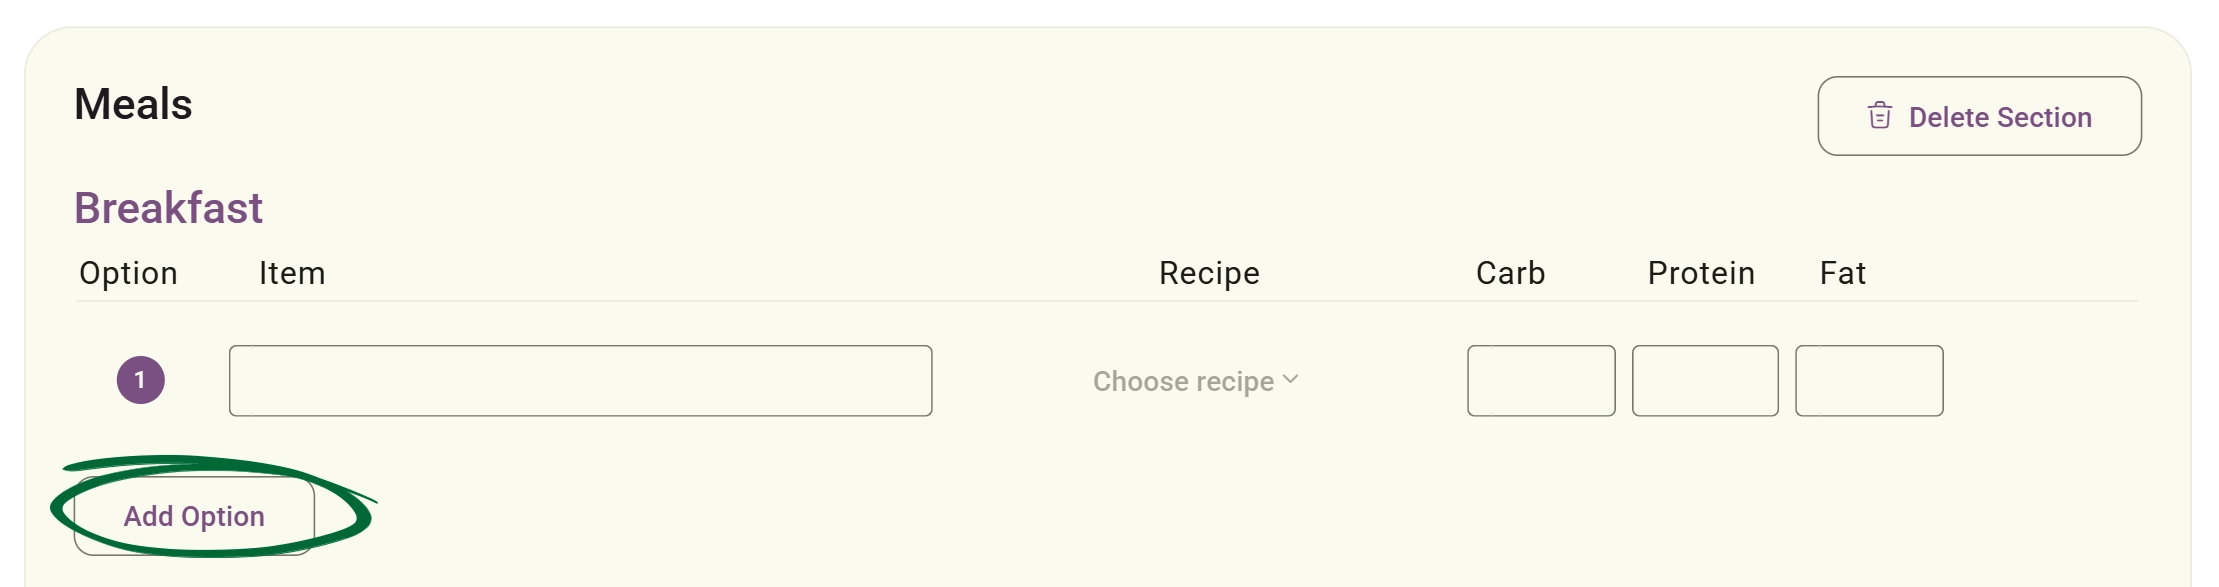
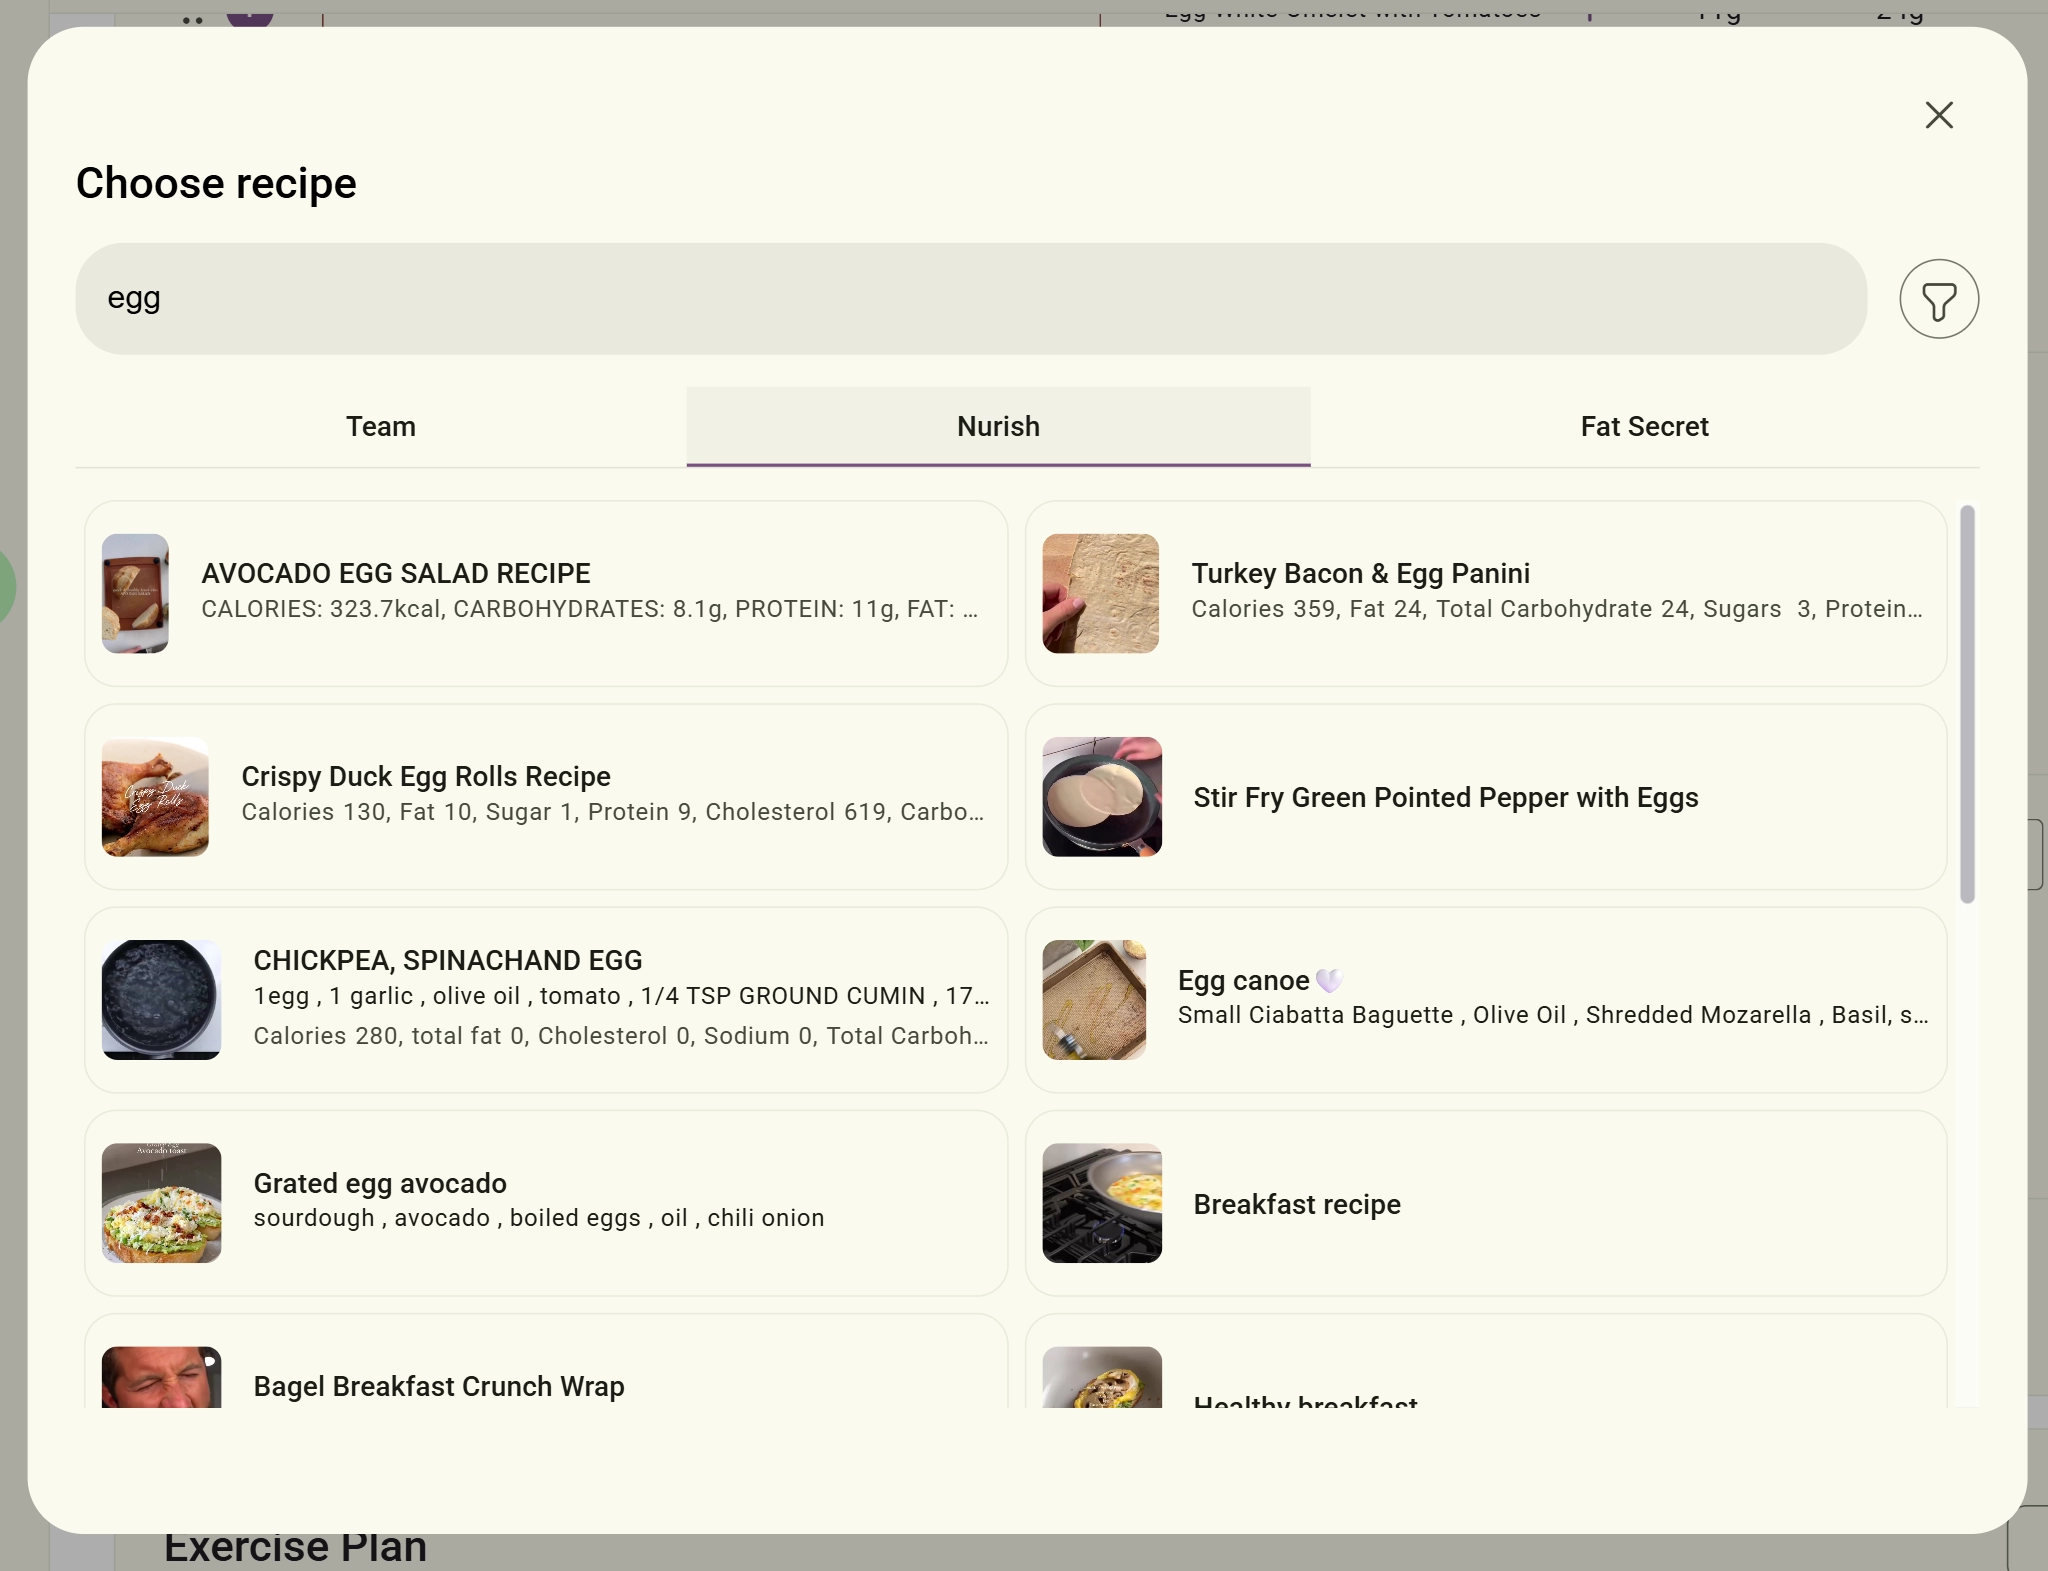
- Team: Browse through recipes created by you or saved by your team members.
- Nurish:Search within Nurish's comprehensive internal recipe database.
- Fat Secret: Access an extensive external database containing thousands of ready-made recipes.
Fill in the dedicated fields for each lifestyle module:
- Exercise Plan: Input the specific activity, duration, frequency, intensity, and any additional notes.
- Sleep Recommendations:Outline targeted guidance for sleep duration, quality, and schedules.
- Supplement Recommendations: Detail the specific item names, dosages, optimal timing, and clinical purposes.
If you need to expand the plan further, click the Add New Section dropdown menu at the bottom to introduce specialised modules like Monitoring, Attachment, and Additional Notes.
Use the built-in rich text editor to build clear, professional layouts for your notes. You can apply standard formatting (bold, italic, underline), structure data with headings and bullet points, adjust alignment, and embed tables, images, or hyperlinks. Additionally, you can insert saved Clipboard text directly into the plan editor.
Once you are satisfied with your manual entries, click the Save and Edit Later button at the top right of the screen to secure your work without immediately publishing it to the client.
Use our integrated AI engine to save time and streamline your clinical workflow. This feature automatically compiles your client's body measurements, nutritional targets, intake form inputs, clinical records, and lifestyle activity data to generate a complete, data-driven, and highly customised plan.
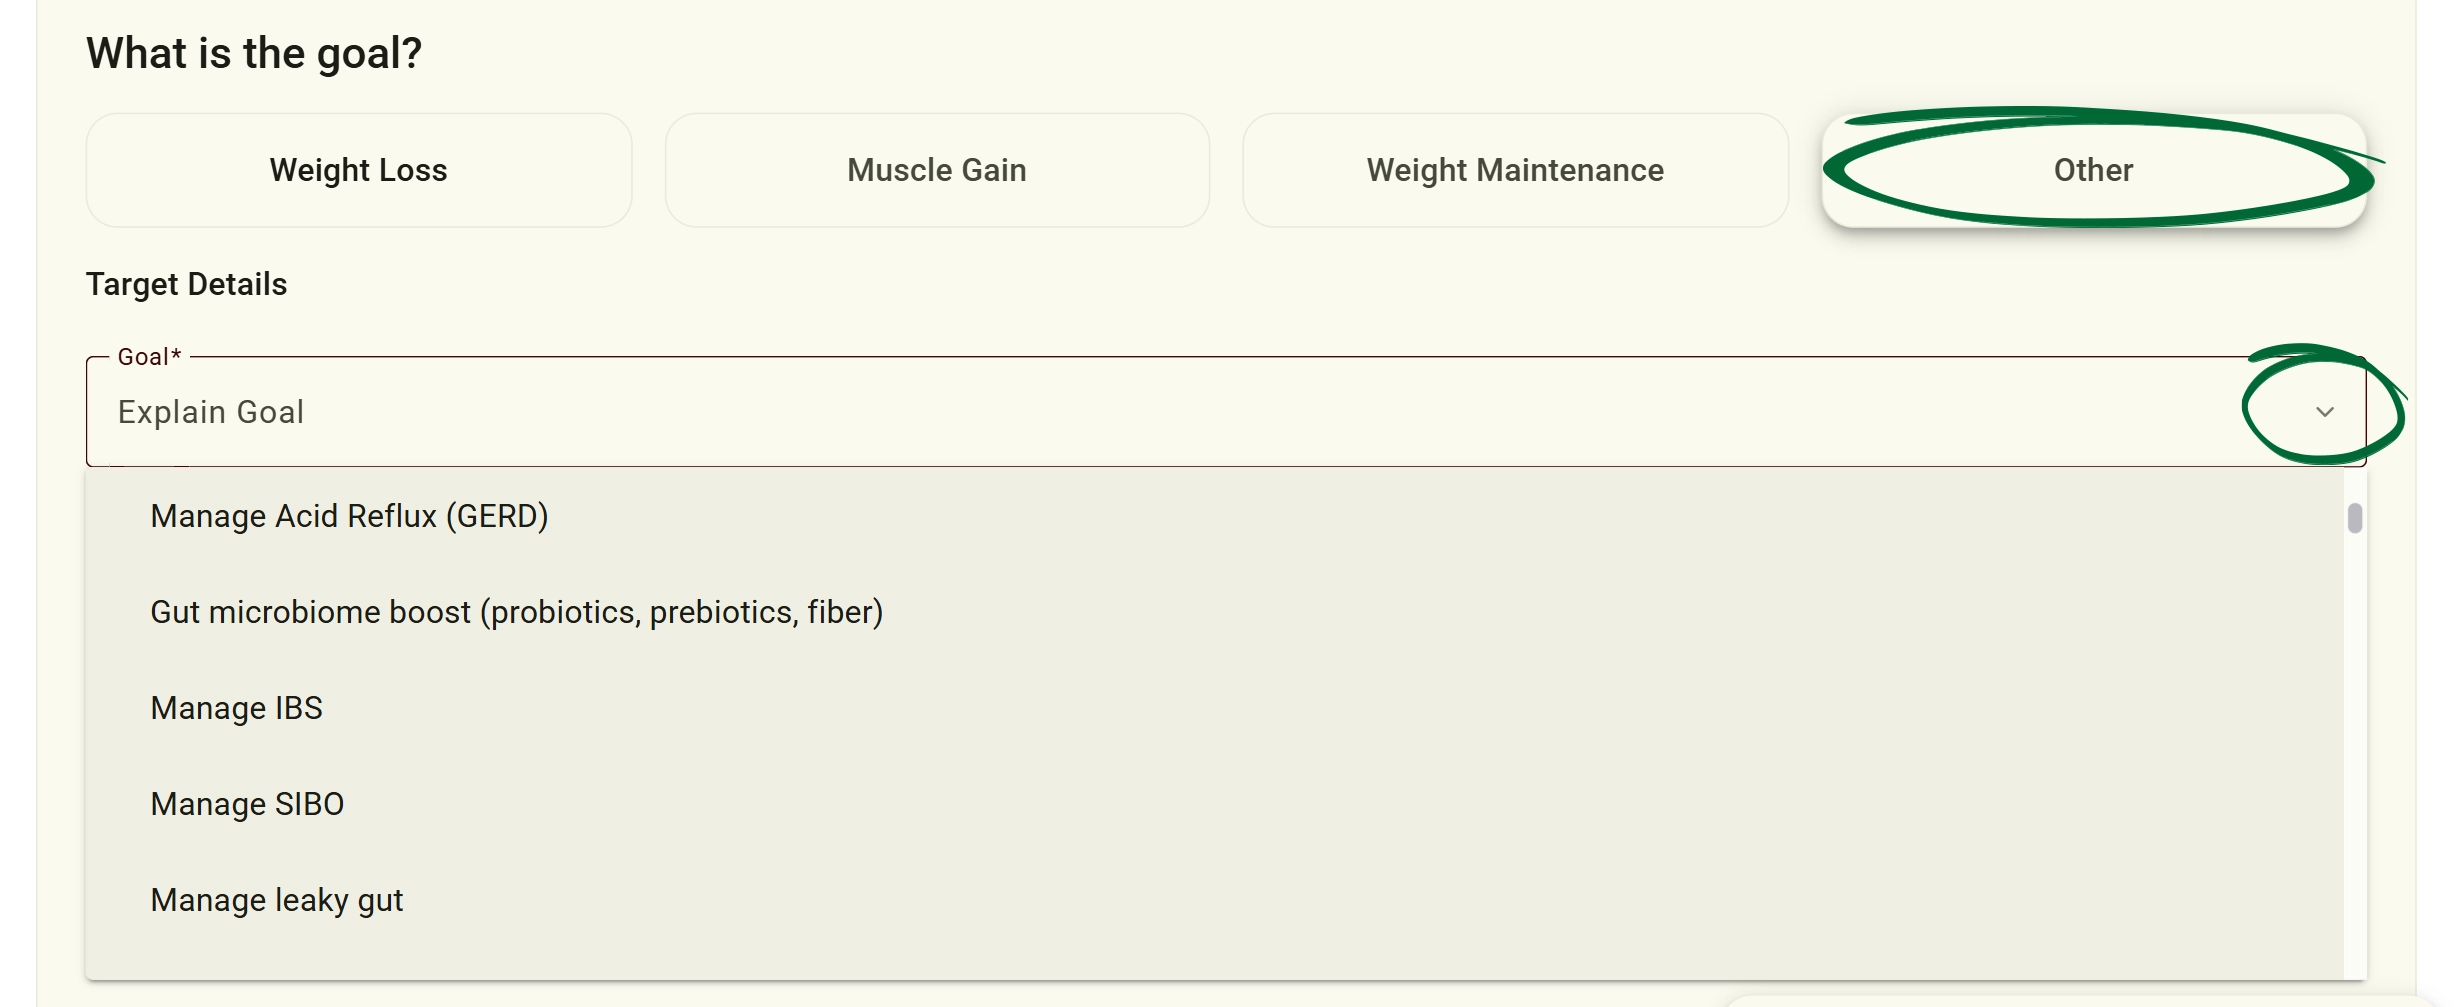
- For Weight Loss or Muscle Gain, fill in the Target Weight and Plan Duration.
- For Weight Maintenance, select this option if the client wants to maintain their current weight.
- For Other, select this option to address specific medical nutrition therapies or complex health targets. Click the Goal dropdown list to choose a tailored focus across these specialised categories:
- Digestive Tract Health (e.g., managing constipation, diarrhoea, bloating and gas, or acid reflux/GERD).
- Chronic Conditions Care (lifestyle-related protocols).
- Medical Nutrition Therapy (MNT).
- Autoimmune Conditions (responsive to targeted nutrition therapy).
- Food intolerances and sensitivities.
- Healthy Aging and Longevity.
- Women's Health.
- Enhance Athletic Performance.
- Common Nutrient Deficiencies.
- Paediatric nutrition.
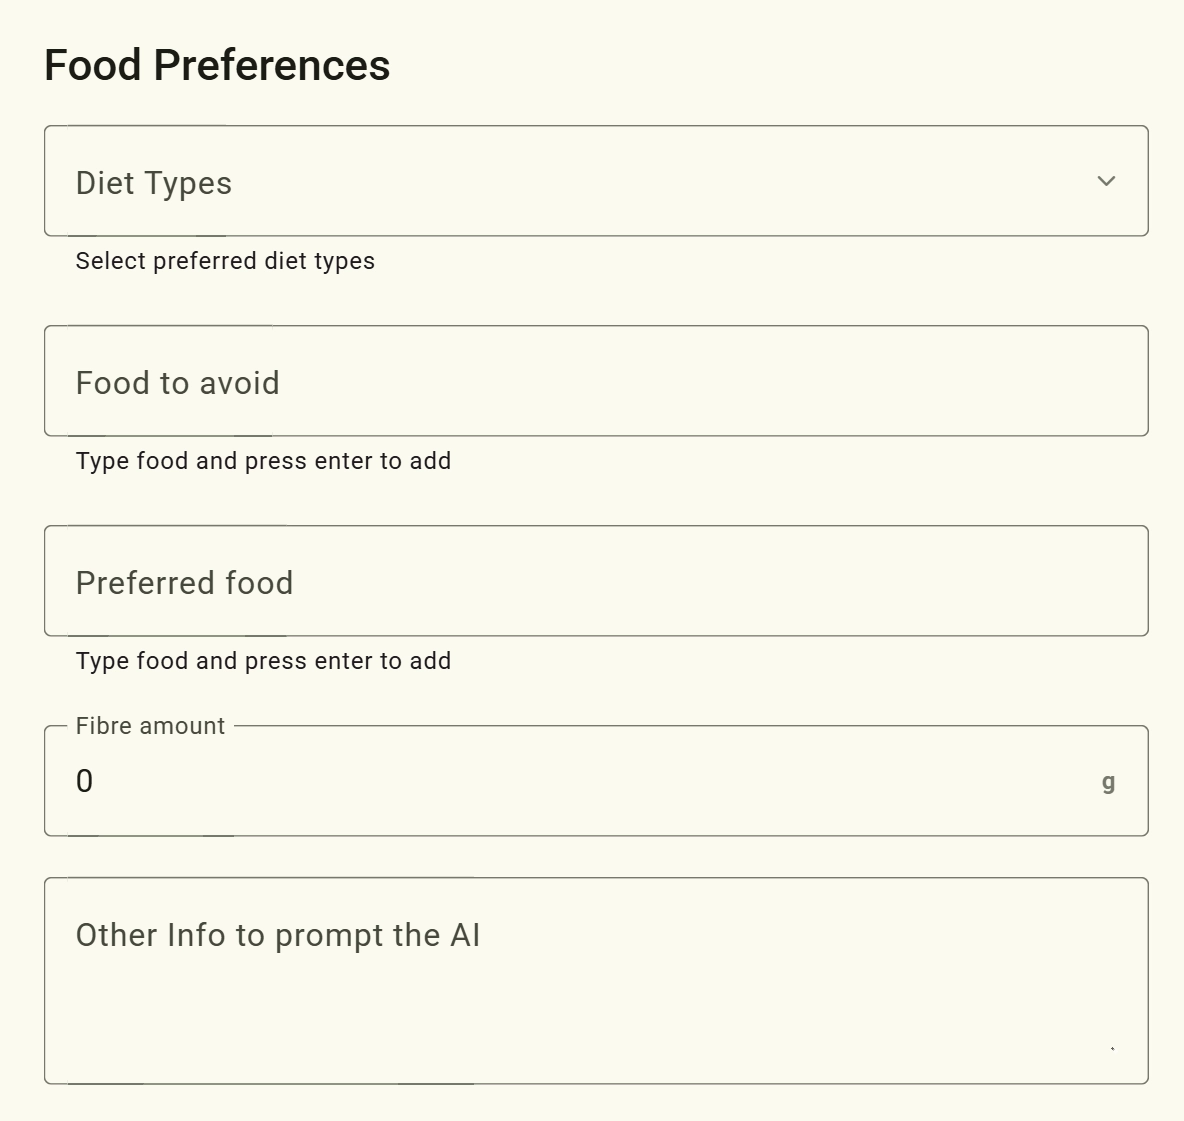
- Dietary Fields: Choose specific Diet Types from the dropdown menu, list ingredients to exclude in the Food to avoid field (pressing enter after each), specify Preferred food, and input any targeted daily fibre requirements.
- AI Guidance Box: Before moving forward, utilize the Other Info to prompt the AI text area. Use this space to input custom clinical context, specific background notes, or unique dietary constraints to guide the AI's generation strategy more precisely.
Using the Action Plan checkboxes, tick the specific elements you want the AI to create (Meals, Exercise Plan, Supplements, or Sleep Recommendations). Once your selections are active, click Generate Plan button. A loading screen will appear while the system analyses form inputs, client records, and activity data to generate the client’s AI plan.

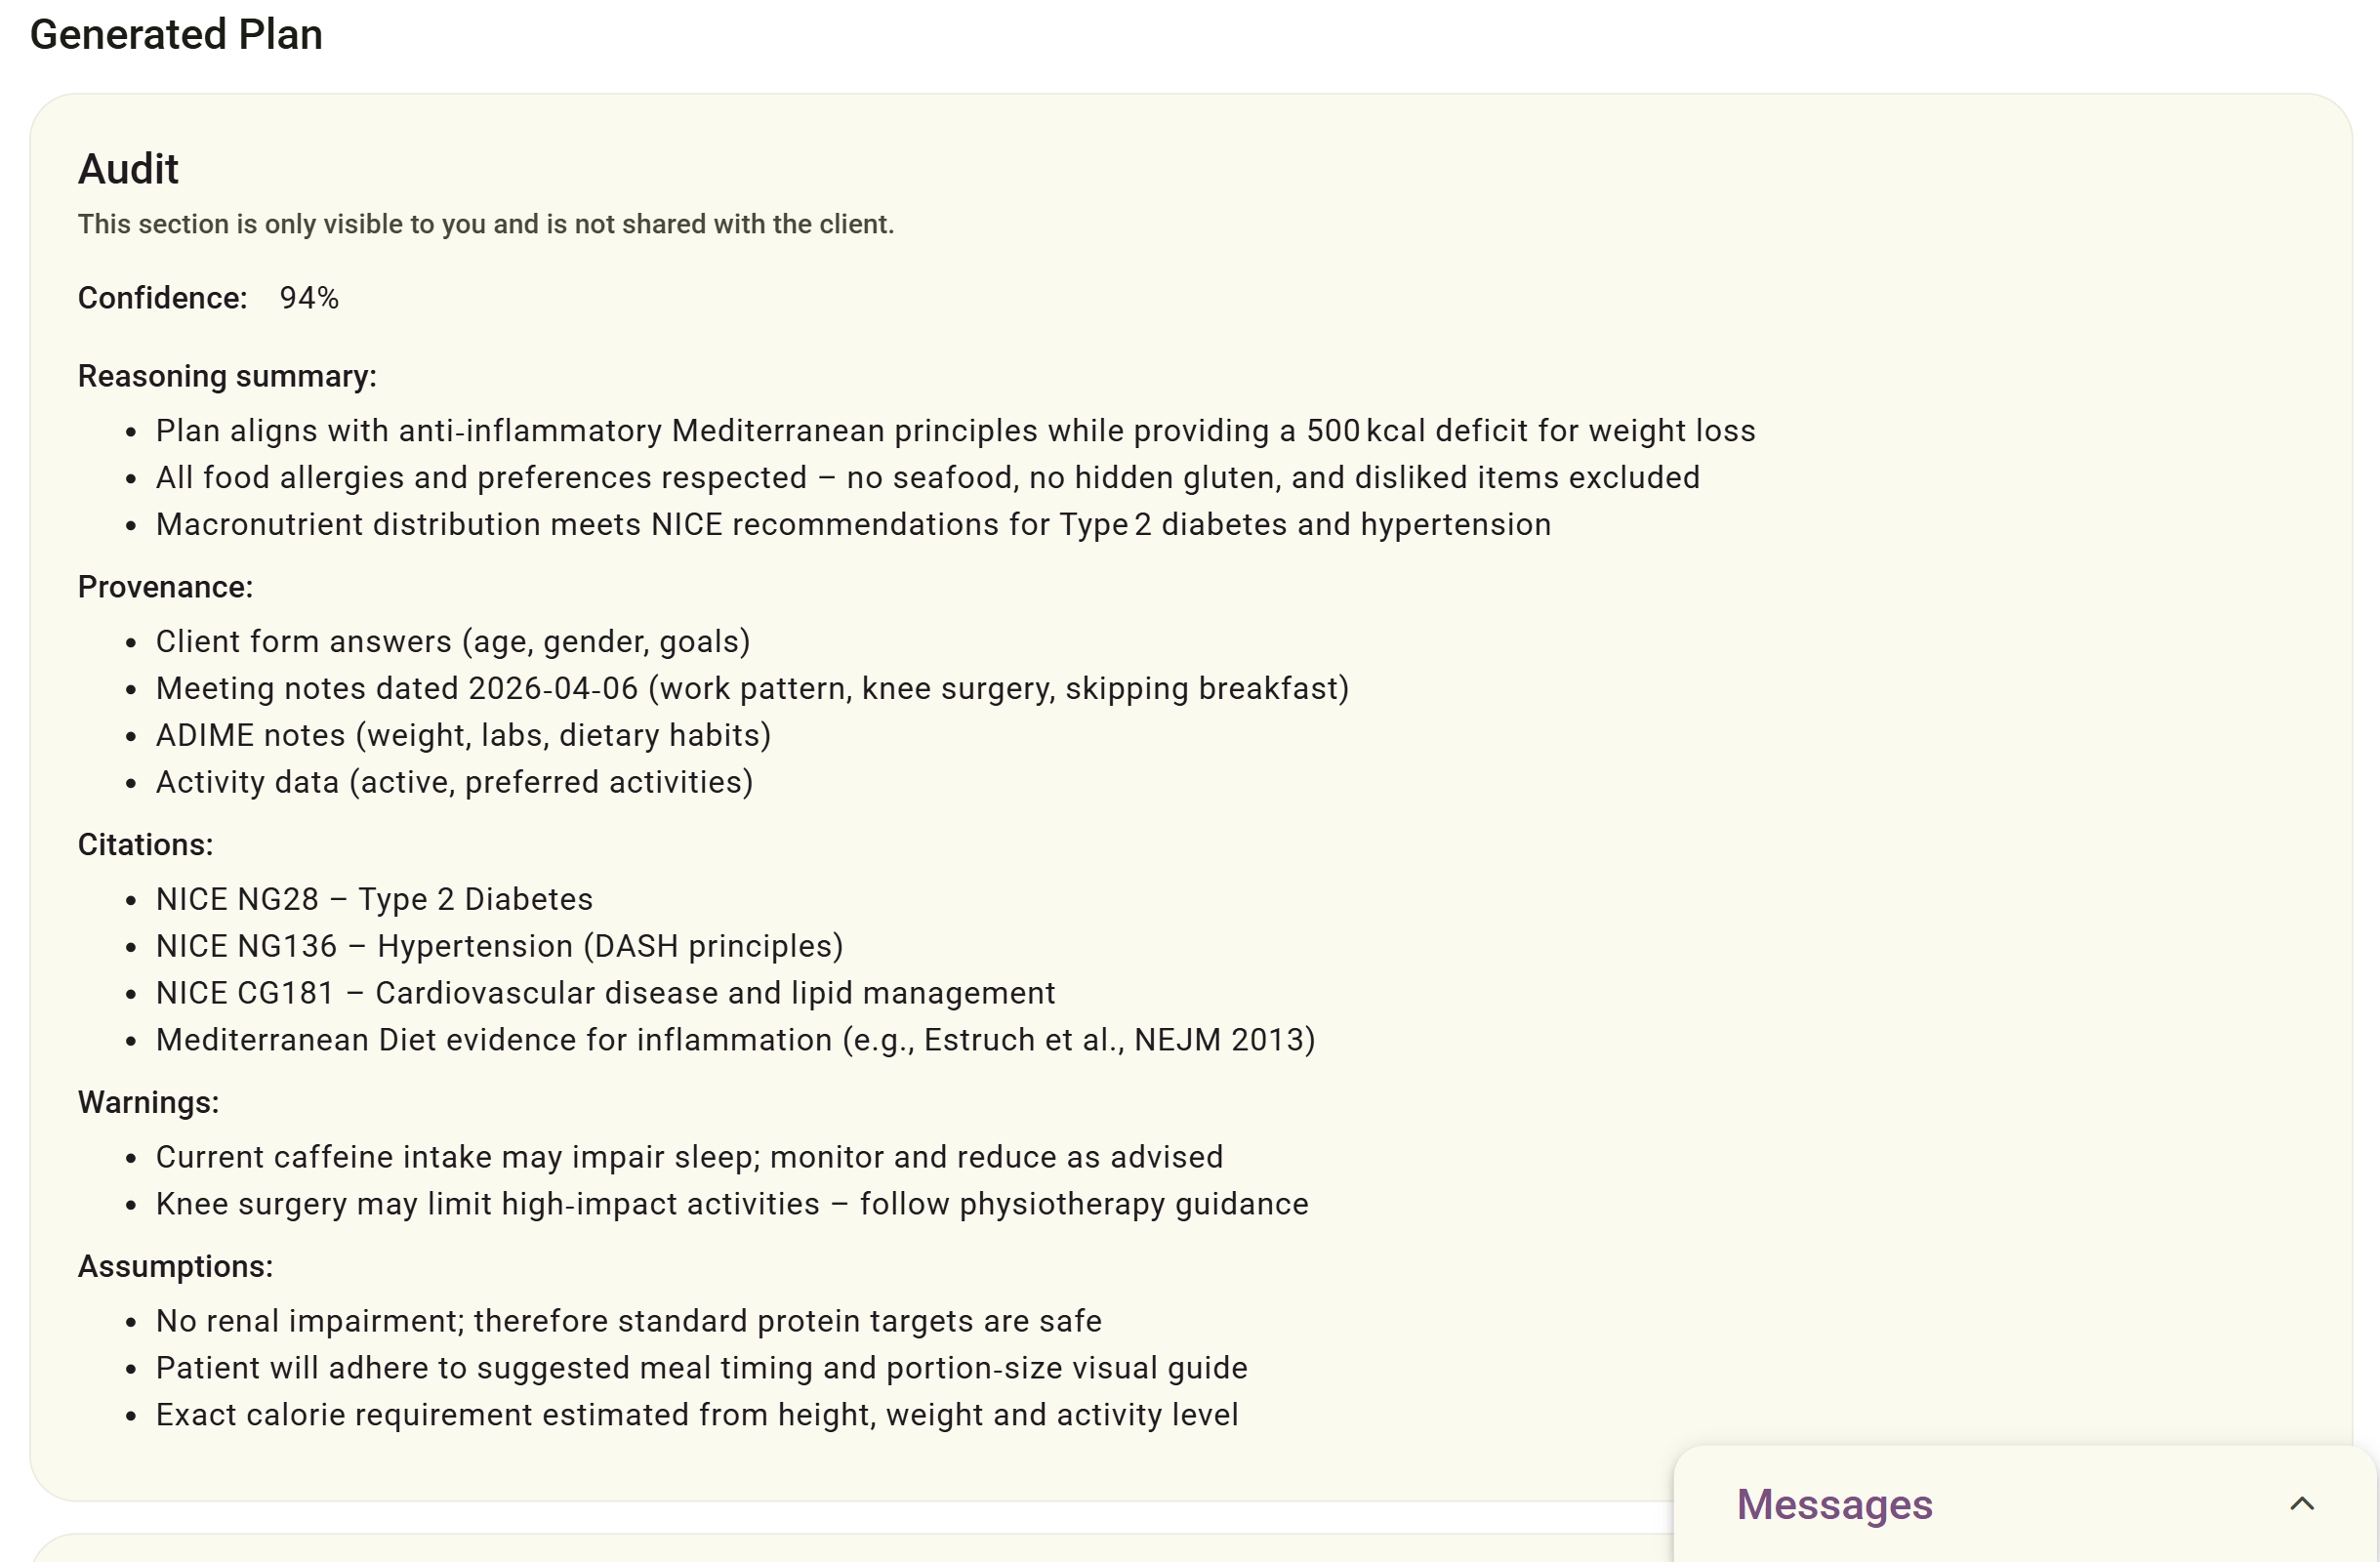
Once the plan is successfully generated, an Audit panel will appear at the top of the Generated Plan workspace.
Note: This section is exclusively visible to the practitioner and is never shared with the client. Review this panel to evaluate clinical reasoning and validation metrics:
- Confidence Rating: Displays a percentage score reflecting the AI's alignment with the provided data.
- Reasoning Summary: A concise breakdown explaining why specific macronutrient deficits or dietary structures were chosen.
- Provenance: Tracks the exact source materials utilised to construct the plan (e.g., client form answers, meeting notes, ADIME notes, or activity tracking).
- Citations: References official, evidence-based guidelines (such as NICE guidelines or peer-reviewed dietary evidence) that underpin the recommendations.
- Warnings & Assumptions: Highlights potential lifestyle risks (e.g., caffeine impacts on sleep) and clinical boundaries assumed safe for the protocol.
Scroll past the Audit block to review and customise the client-facing plan components. The platform gives you complete flexibility to edit, reorder, or delete any generated asset:
- Action Plan & Macronutrients: Review the core objectives and the automated macronutrient distribution breakdown.
- Meals & General Recommendations: Refine the daily nutritional setup by adjusting general guidelines or altering the generated options for breakfast, lunch, dinner, and snacks.
- Lifestyle Cards: Customise the specific targets generated within the "Exercise Plan", "Sleep Recommendations", and "Supplement Recommendation" blocks.
- Expand or Attach Files:Scroll to the bottom of the page and click the "Add New Section" dropdown menu to insert your own custom rich text blocks or add an "Attachment" for the client.
Note: If any section or specific meal choice is no longer relevant while editing, you can easily remove it by clicking the corresponding "Delete Section" or "Delete Item" button within that specific block.
Click Share with Client to publish it immediately, or choose Save and Edit Later to convert it to a draft and make manual adjustments before the client sees it.
Use this section to monitor all past plans you have created for your client. You can quickly see which plans are live, keep track of unfinished drafts, and use the action buttons to print or update them.
- Sent to client (Green Badge): The plan is finalised, live, and fully accessible by the client on their portal.
- Draft, open to continue editing (Purple Badge):The plan is currently a work in progress and hidden from the client.

- Click Save as PDF to download a clean, printable copy of the layout for offline archiving or physical handover.
- Click Resend to Client to send an updated notification or re-share a previously sent plan.
- Click the Green Trash Icon if you need to permanently remove a plan. Please note that this icon is only active for draft plans; it is completely disabled for live plans that have already been shared with the client.
Can my client see a plan while I am still editing it?
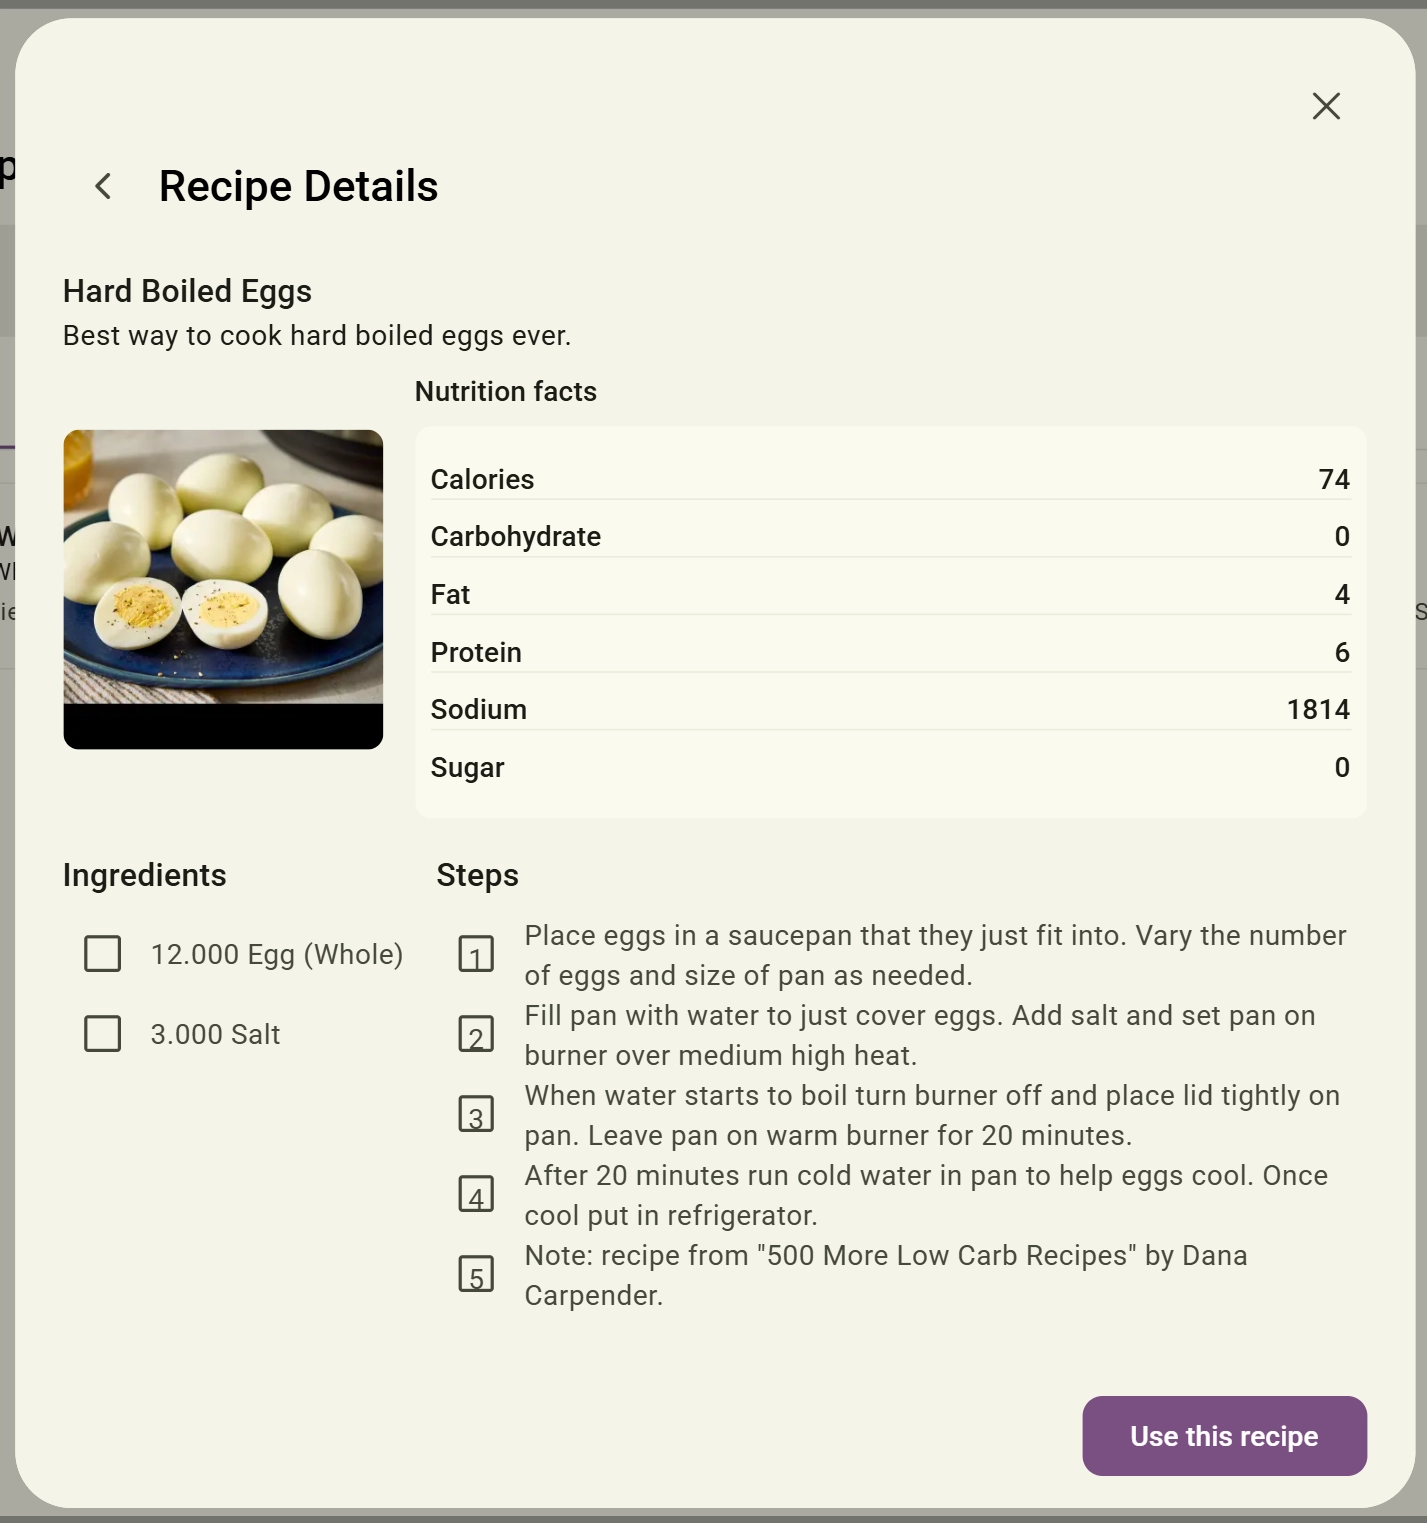
Where does the recipe data come from when I choose a recipe?
Will the client see the internal AI Audit summary?
Can I mix AI generation with manual writing?
Issue: The AI generated an inaccurate plan with the wrong calorie counts or targets. How I fix this.
Issue: the "Resend to Client" button is greyed out and unclickable.
Next Step
Now that your client action plans are brilliantly mapped out, it’s time to see how they’re getting on. Head straight to Client Activity Data next to slickly monitor their daily movements and keep them completely on point!
Client Activity Data