Create a new form from scratch, tailored specifically to your needs.
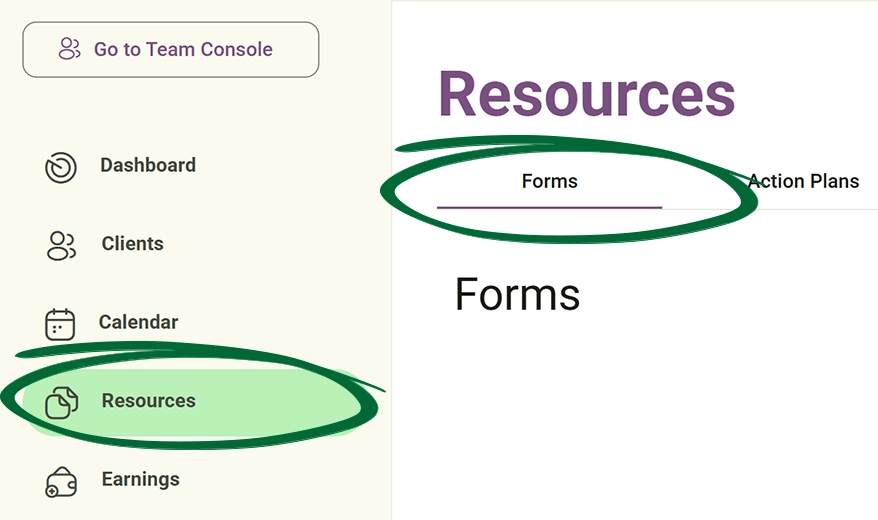
Create comprehensive forms designed to collect detailed client information throughout the client journey. Standard Forms are ideal for intake assessments, health questionnaires, feedback surveys, and ongoing client data collection.
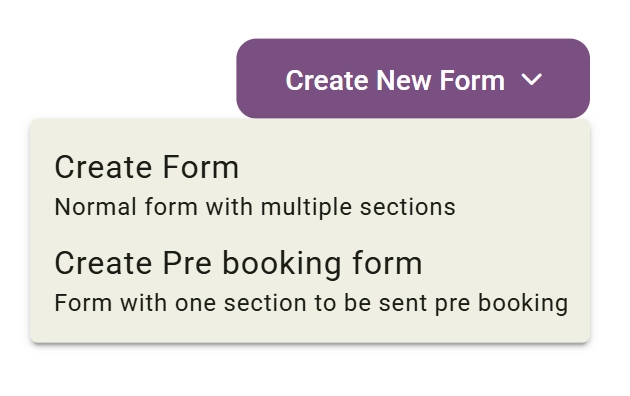
Click "Create Form" to begin building your form.
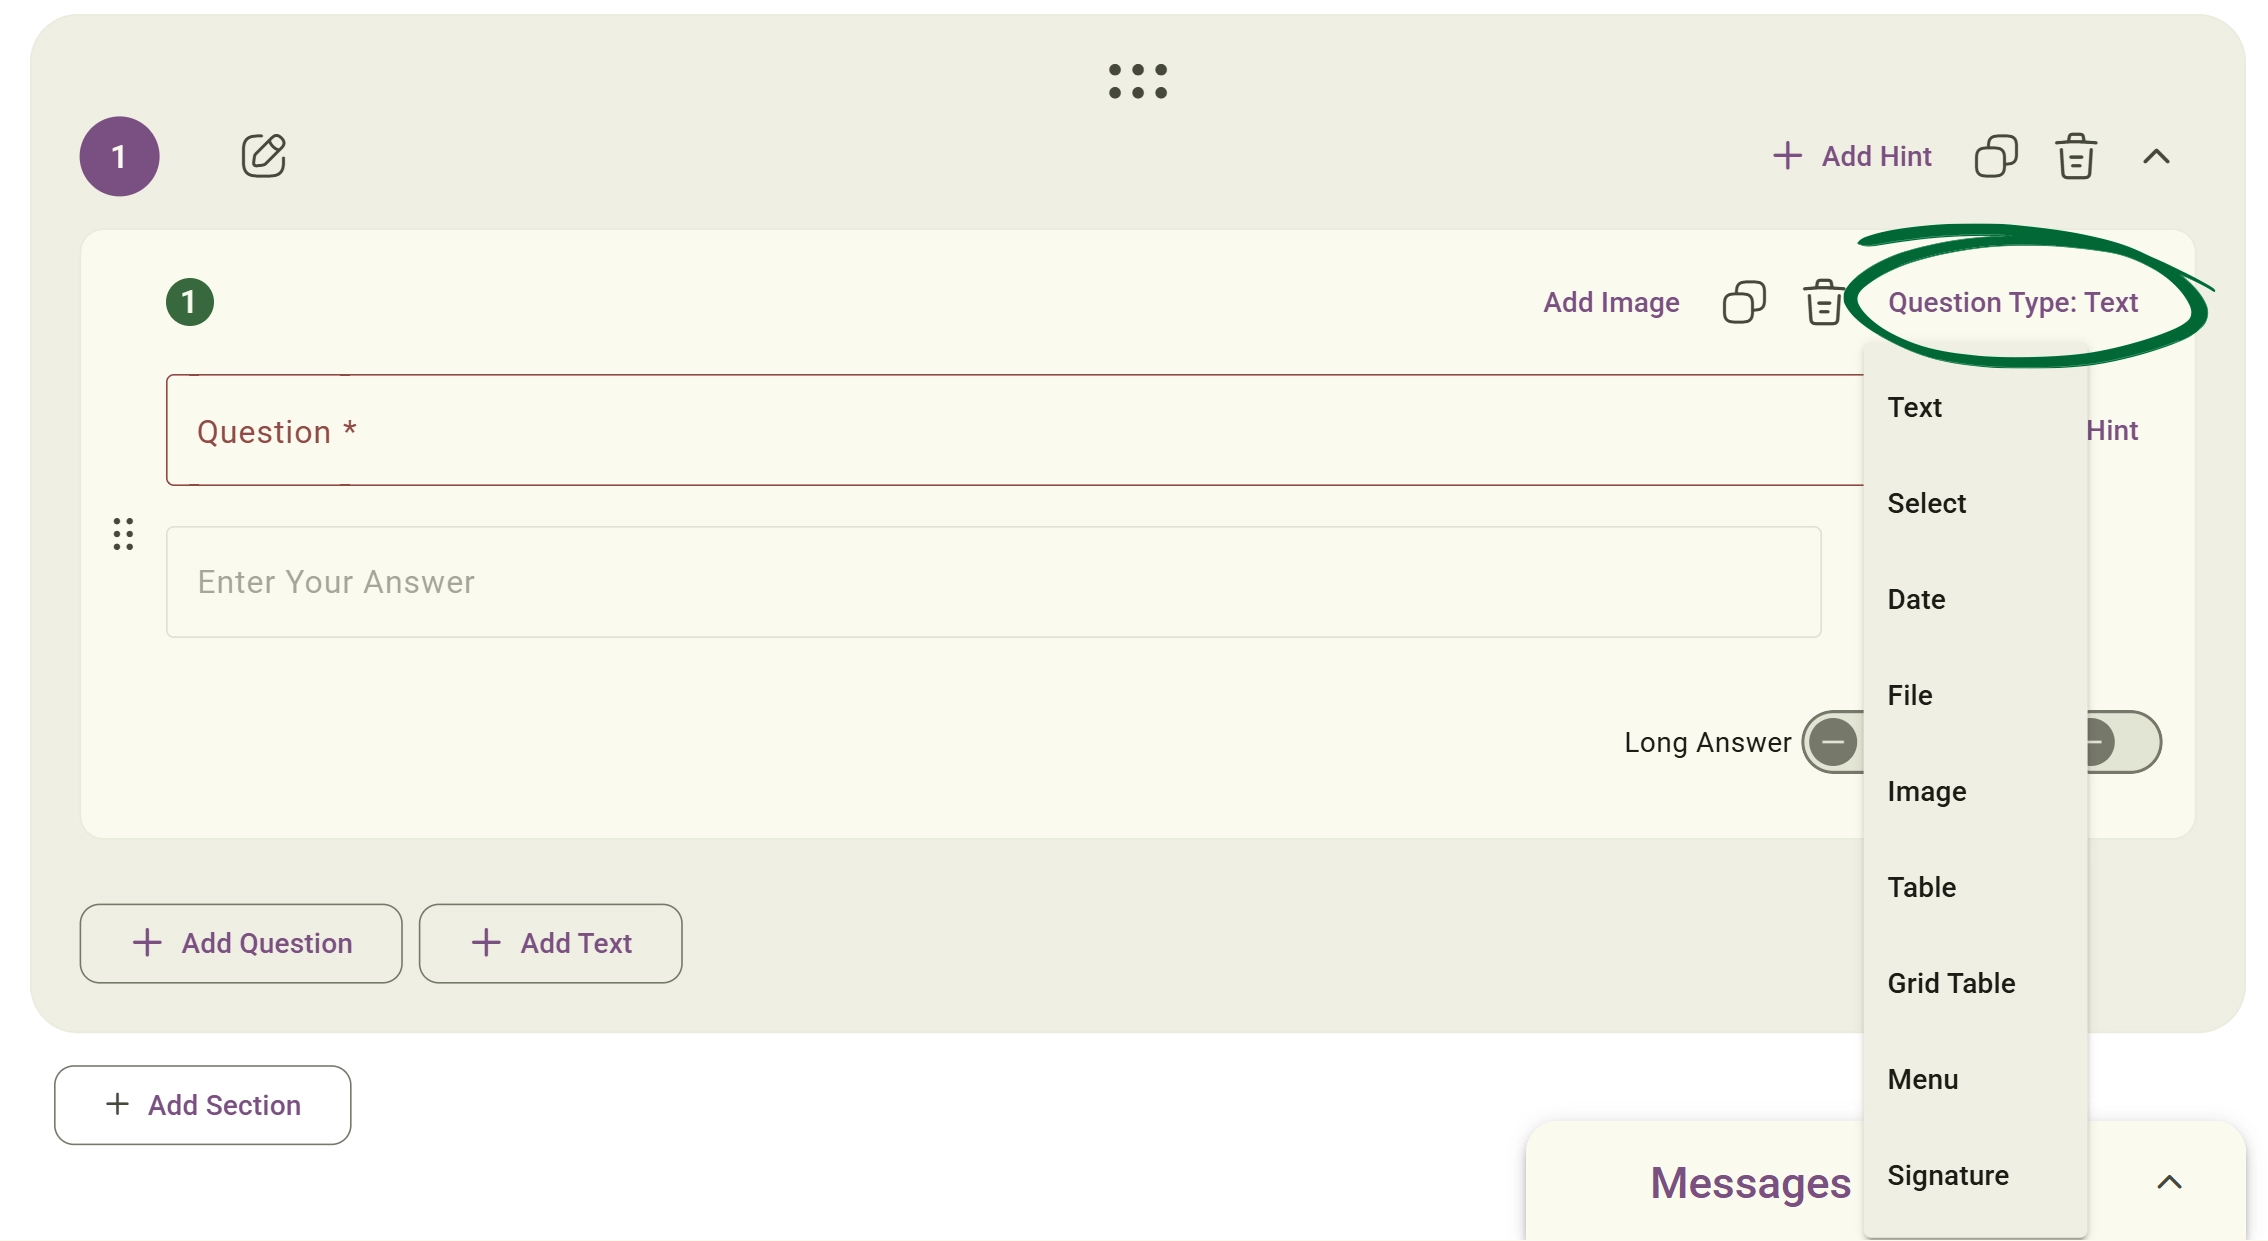
Build your form using a variety of interactive question types.
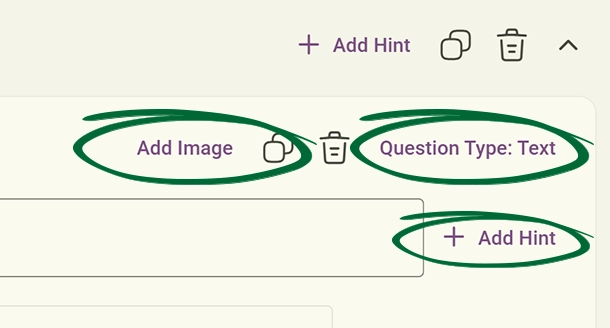
Select a question type from the top-right dropdown menu button. Nurish Pro supports multiple interactive question formats, including: Text Answer, Long Answer, Multiple Choice, Select Options, Table Questions, Grid Tables (Multiple Choice or Single Choice), Date & Time, Rich Text Blocks, Signature Fields, and File/Image Support.
Use table questions for medications, supplements, or symptom tracking.
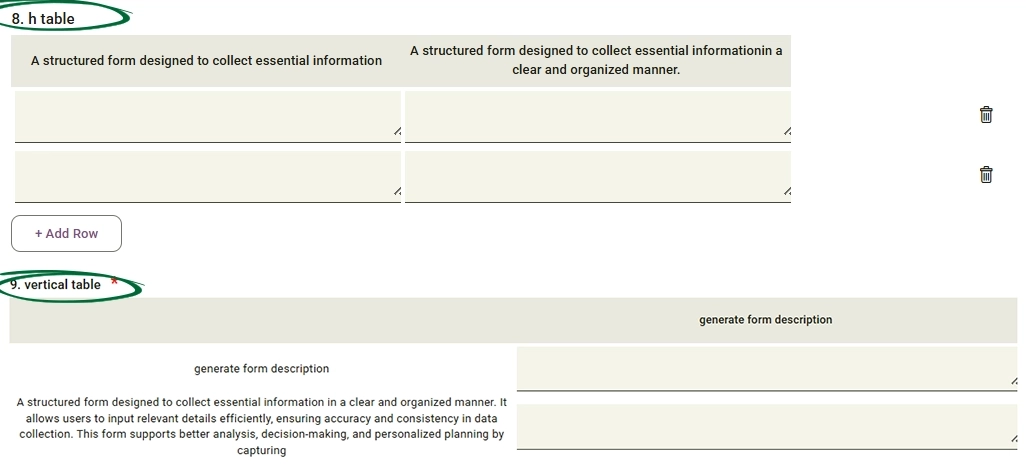
Select the table layout that best matches the information you want clients to complete.
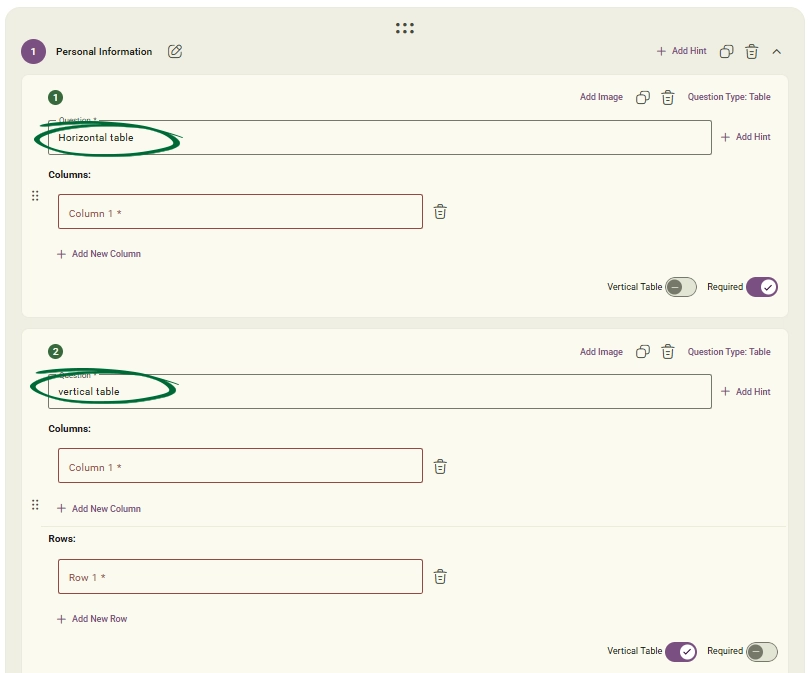
A "Horizontal Table" places questions or labels across the top row, with users filling answers horizontally underneath. This layout is ideal for side-by-side comparisons, structured data entry across columns, and rating or comparison forms.
A "Vertical Table" places labels vertically on the left side and in the header row, with users entering answers directly beside them. This layout is ideal for detailed client information, traditional form-style layouts, and clinical or assessment-based forms.
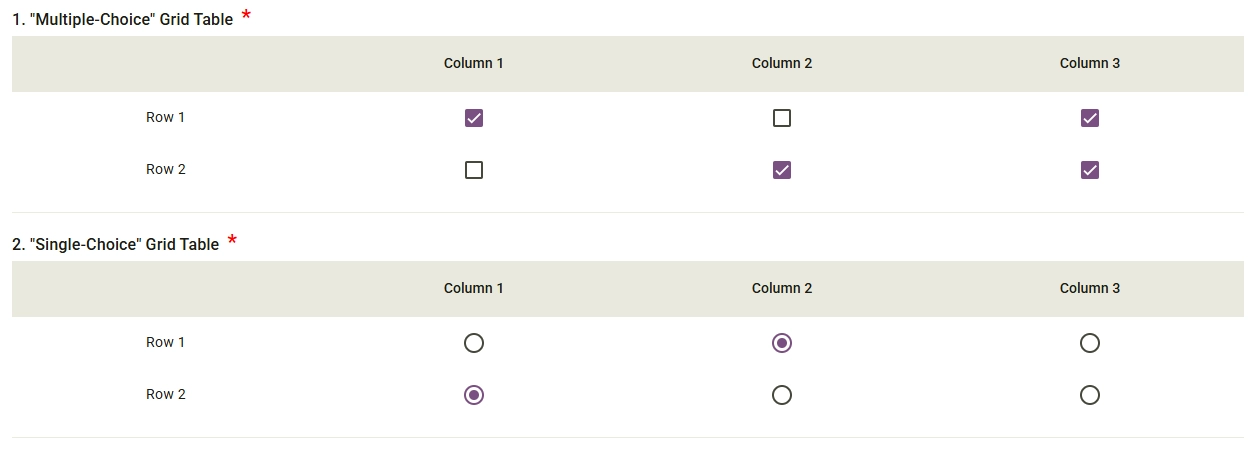
A "Multiple-Choice" Grid Table presents questions or labels in rows and options in columns, using checkboxes. This layout allows users to select more than one option per row, making it ideal for tracking multiple symptoms, or complex preferences.
A "Single-Choice" Grid Table presents questions or labels in rows and options in columns, using radio buttons. This layout restricts users to selecting only one option per row, making it perfect for standard rating scales, or frequency tracking (e.g., Daily/Weekly/Never).
Toggle the Required switch for mandatory questions such as: Contact details, Consent confirmations and Medical information.
Use Long Answer for: Medical history, Lifestyle descriptions and Detailed clinical responses

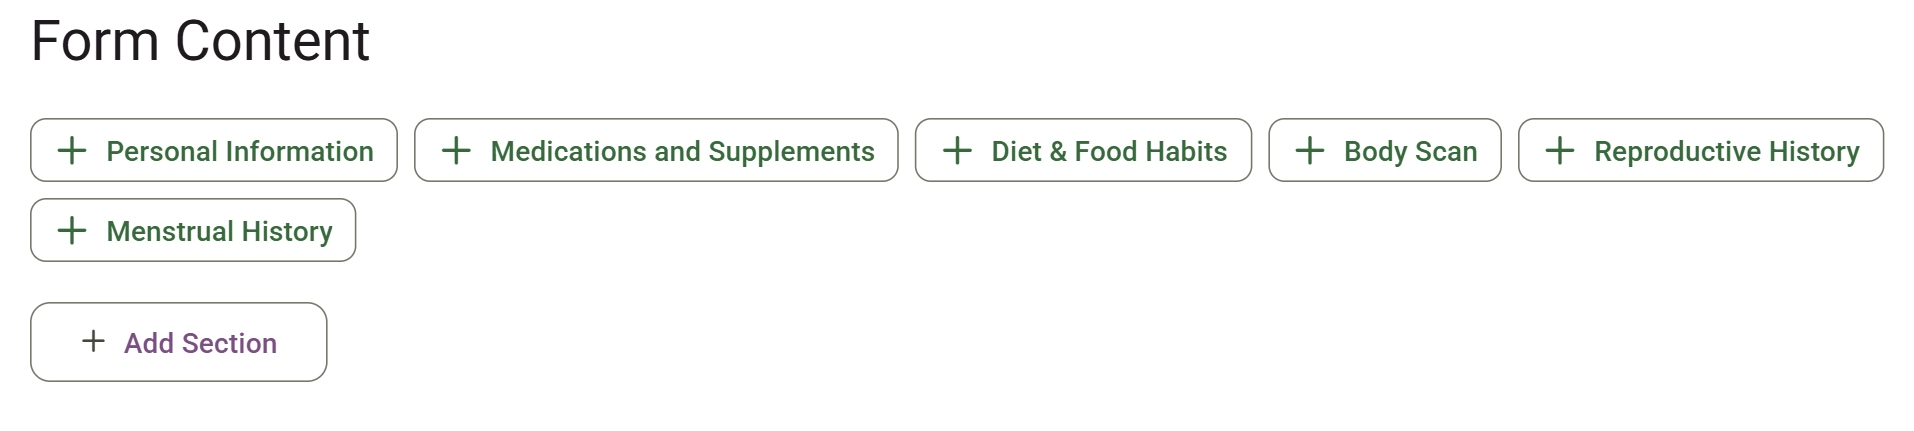
Group questions into organised sections for easier navigation and better completion rates. Common examples include: Personal Information, Medications & Supplements, Diet & Food, Habits Body Scan, Reproductive History and Menstrual History.
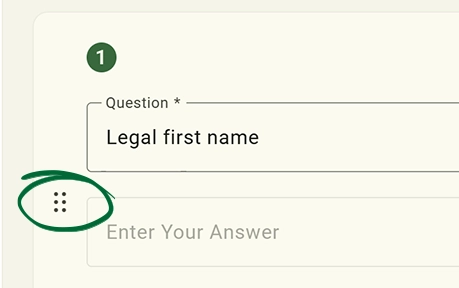
Click "Add Section" to create and rename your section. You can easily drag to reorder them, and collapse or expand sections while editing.
Quickly manage question blocks while building your form. You can duplicate or delete questions, duplicate or remove sections, and save time when building similar assessments.

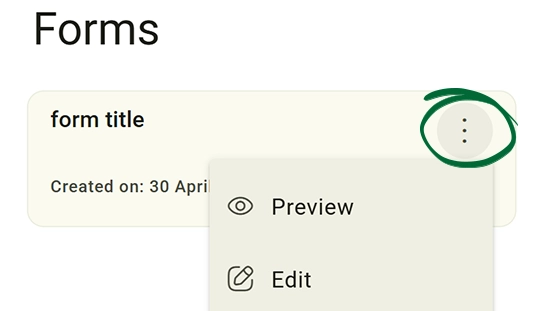
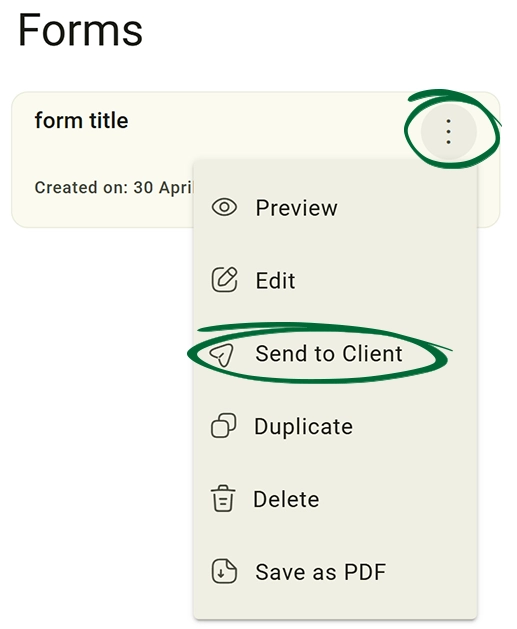
Access additional form actions from the options menu (⋮).
Preview Form
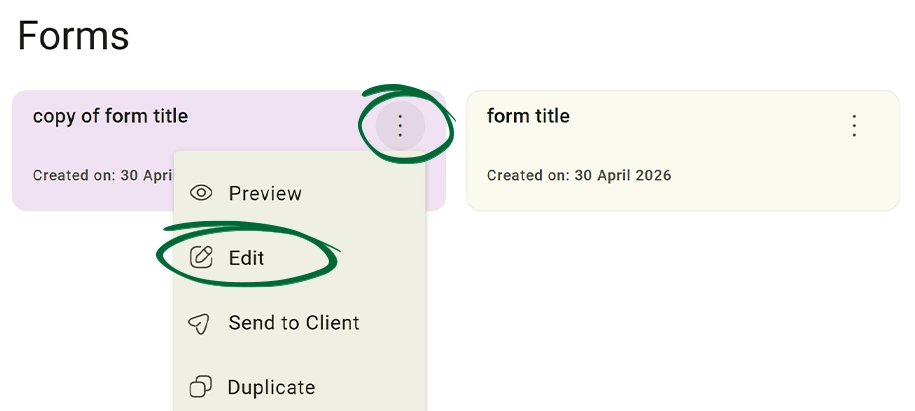
Edit Form
Send to Client
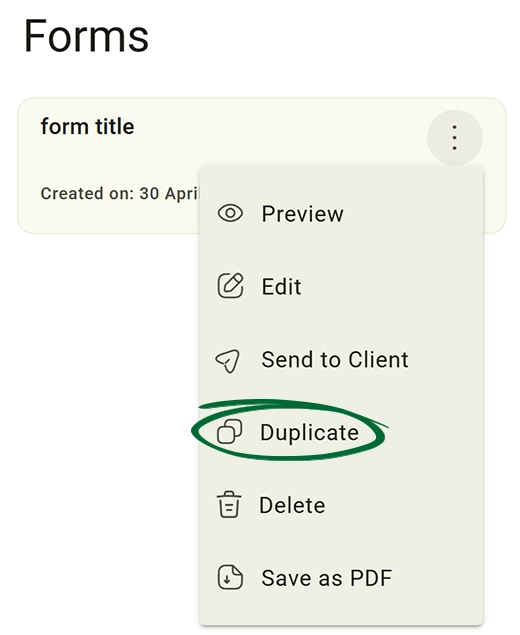
Duplicate Form
Delete Form
Share with the Team
Save as PDF
Reuse your best-performing forms to quickly create variations for different services.
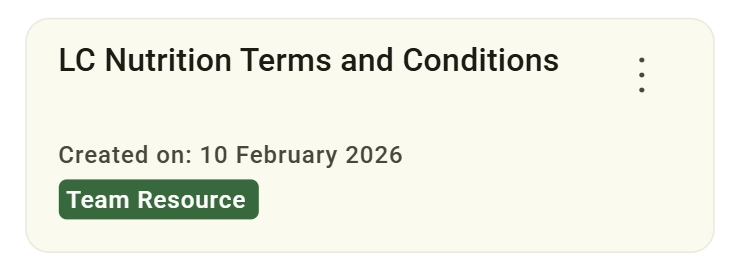
Forms marked as Team Resource can be shared across practitioners within the same workspace. (Note: This feature is exclusive to Team and Enterprise subscriptions.)
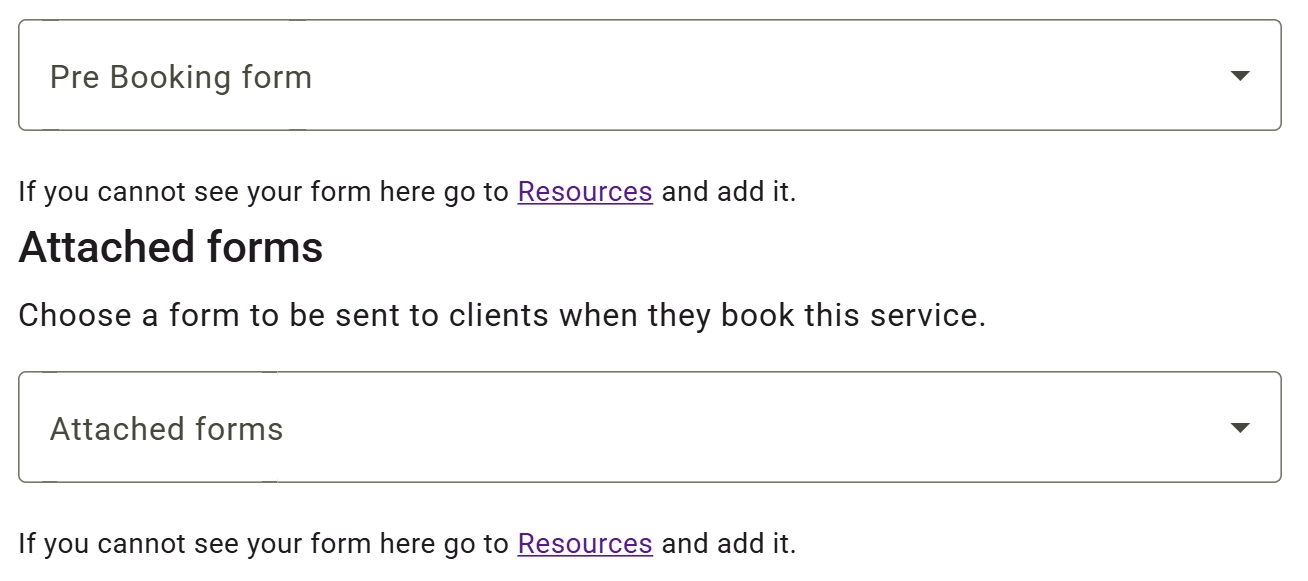
Deliver forms directly to clients or set them to send automatically upon booking.
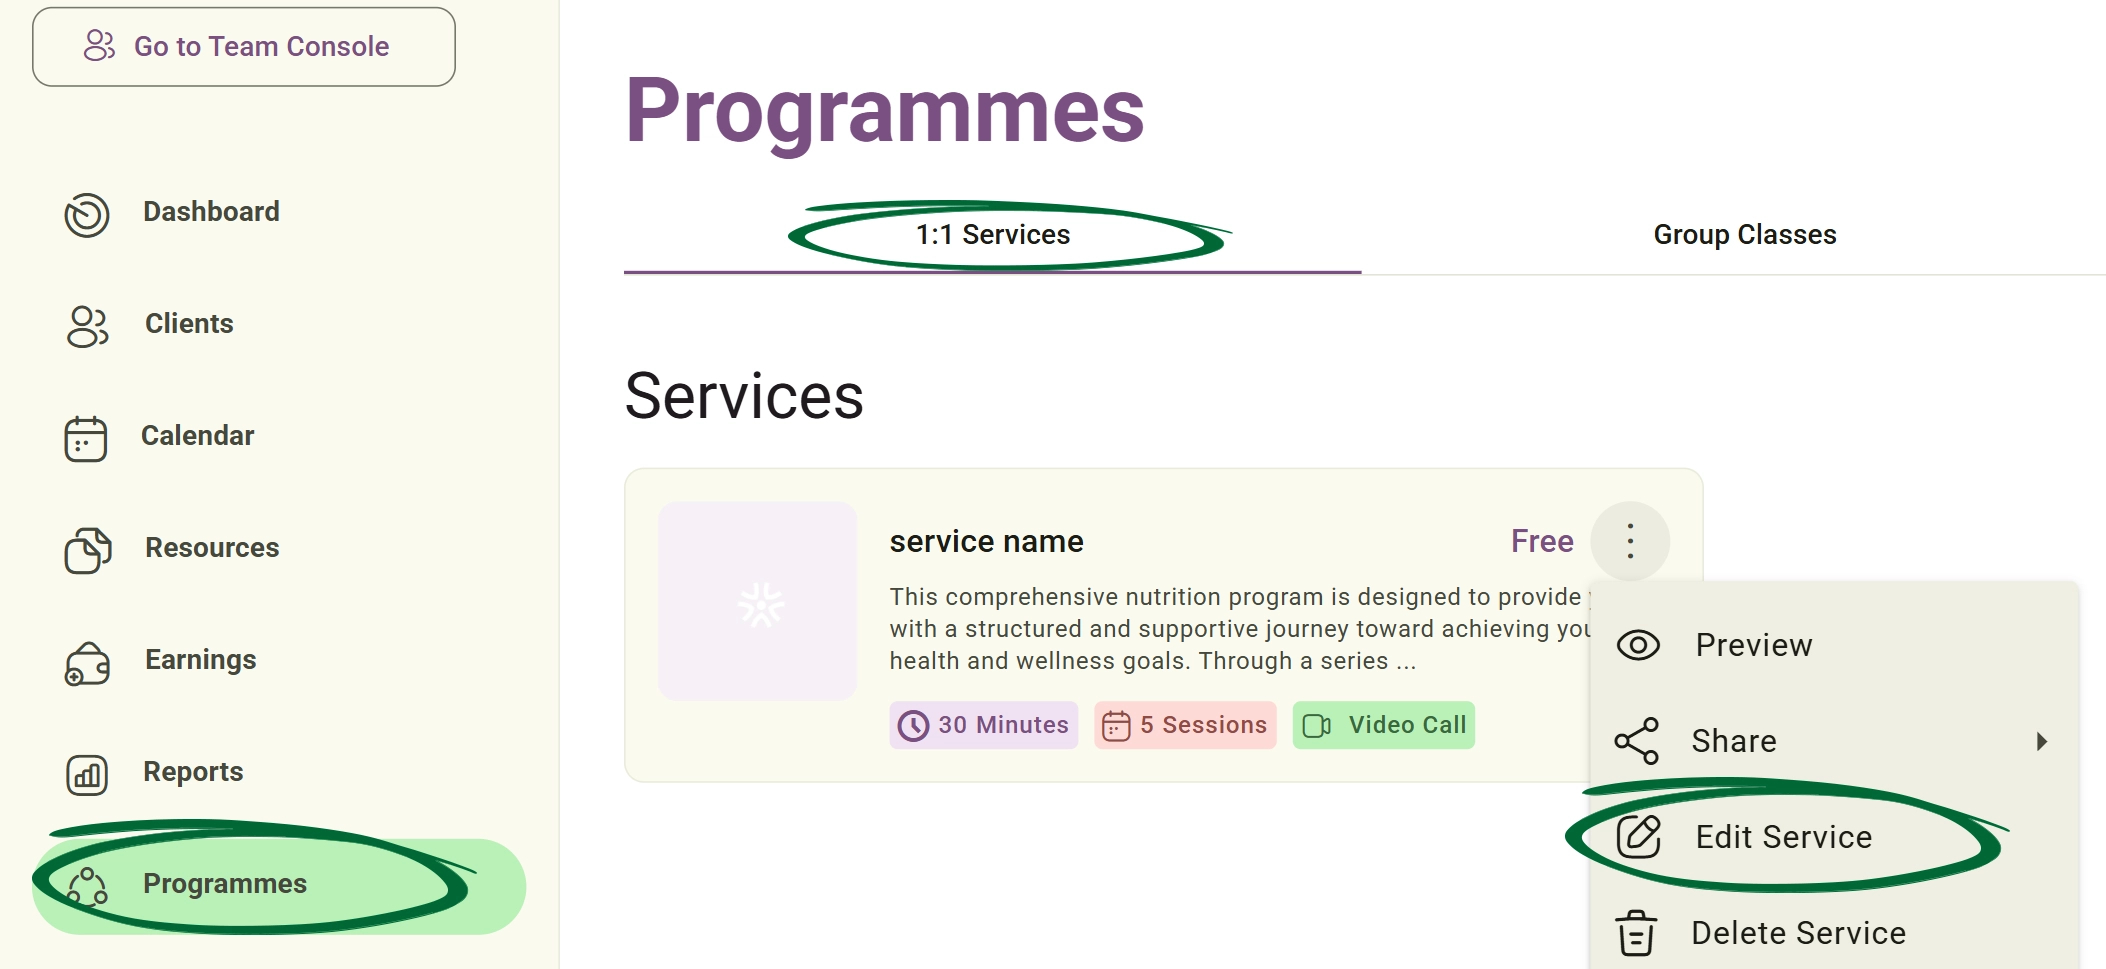
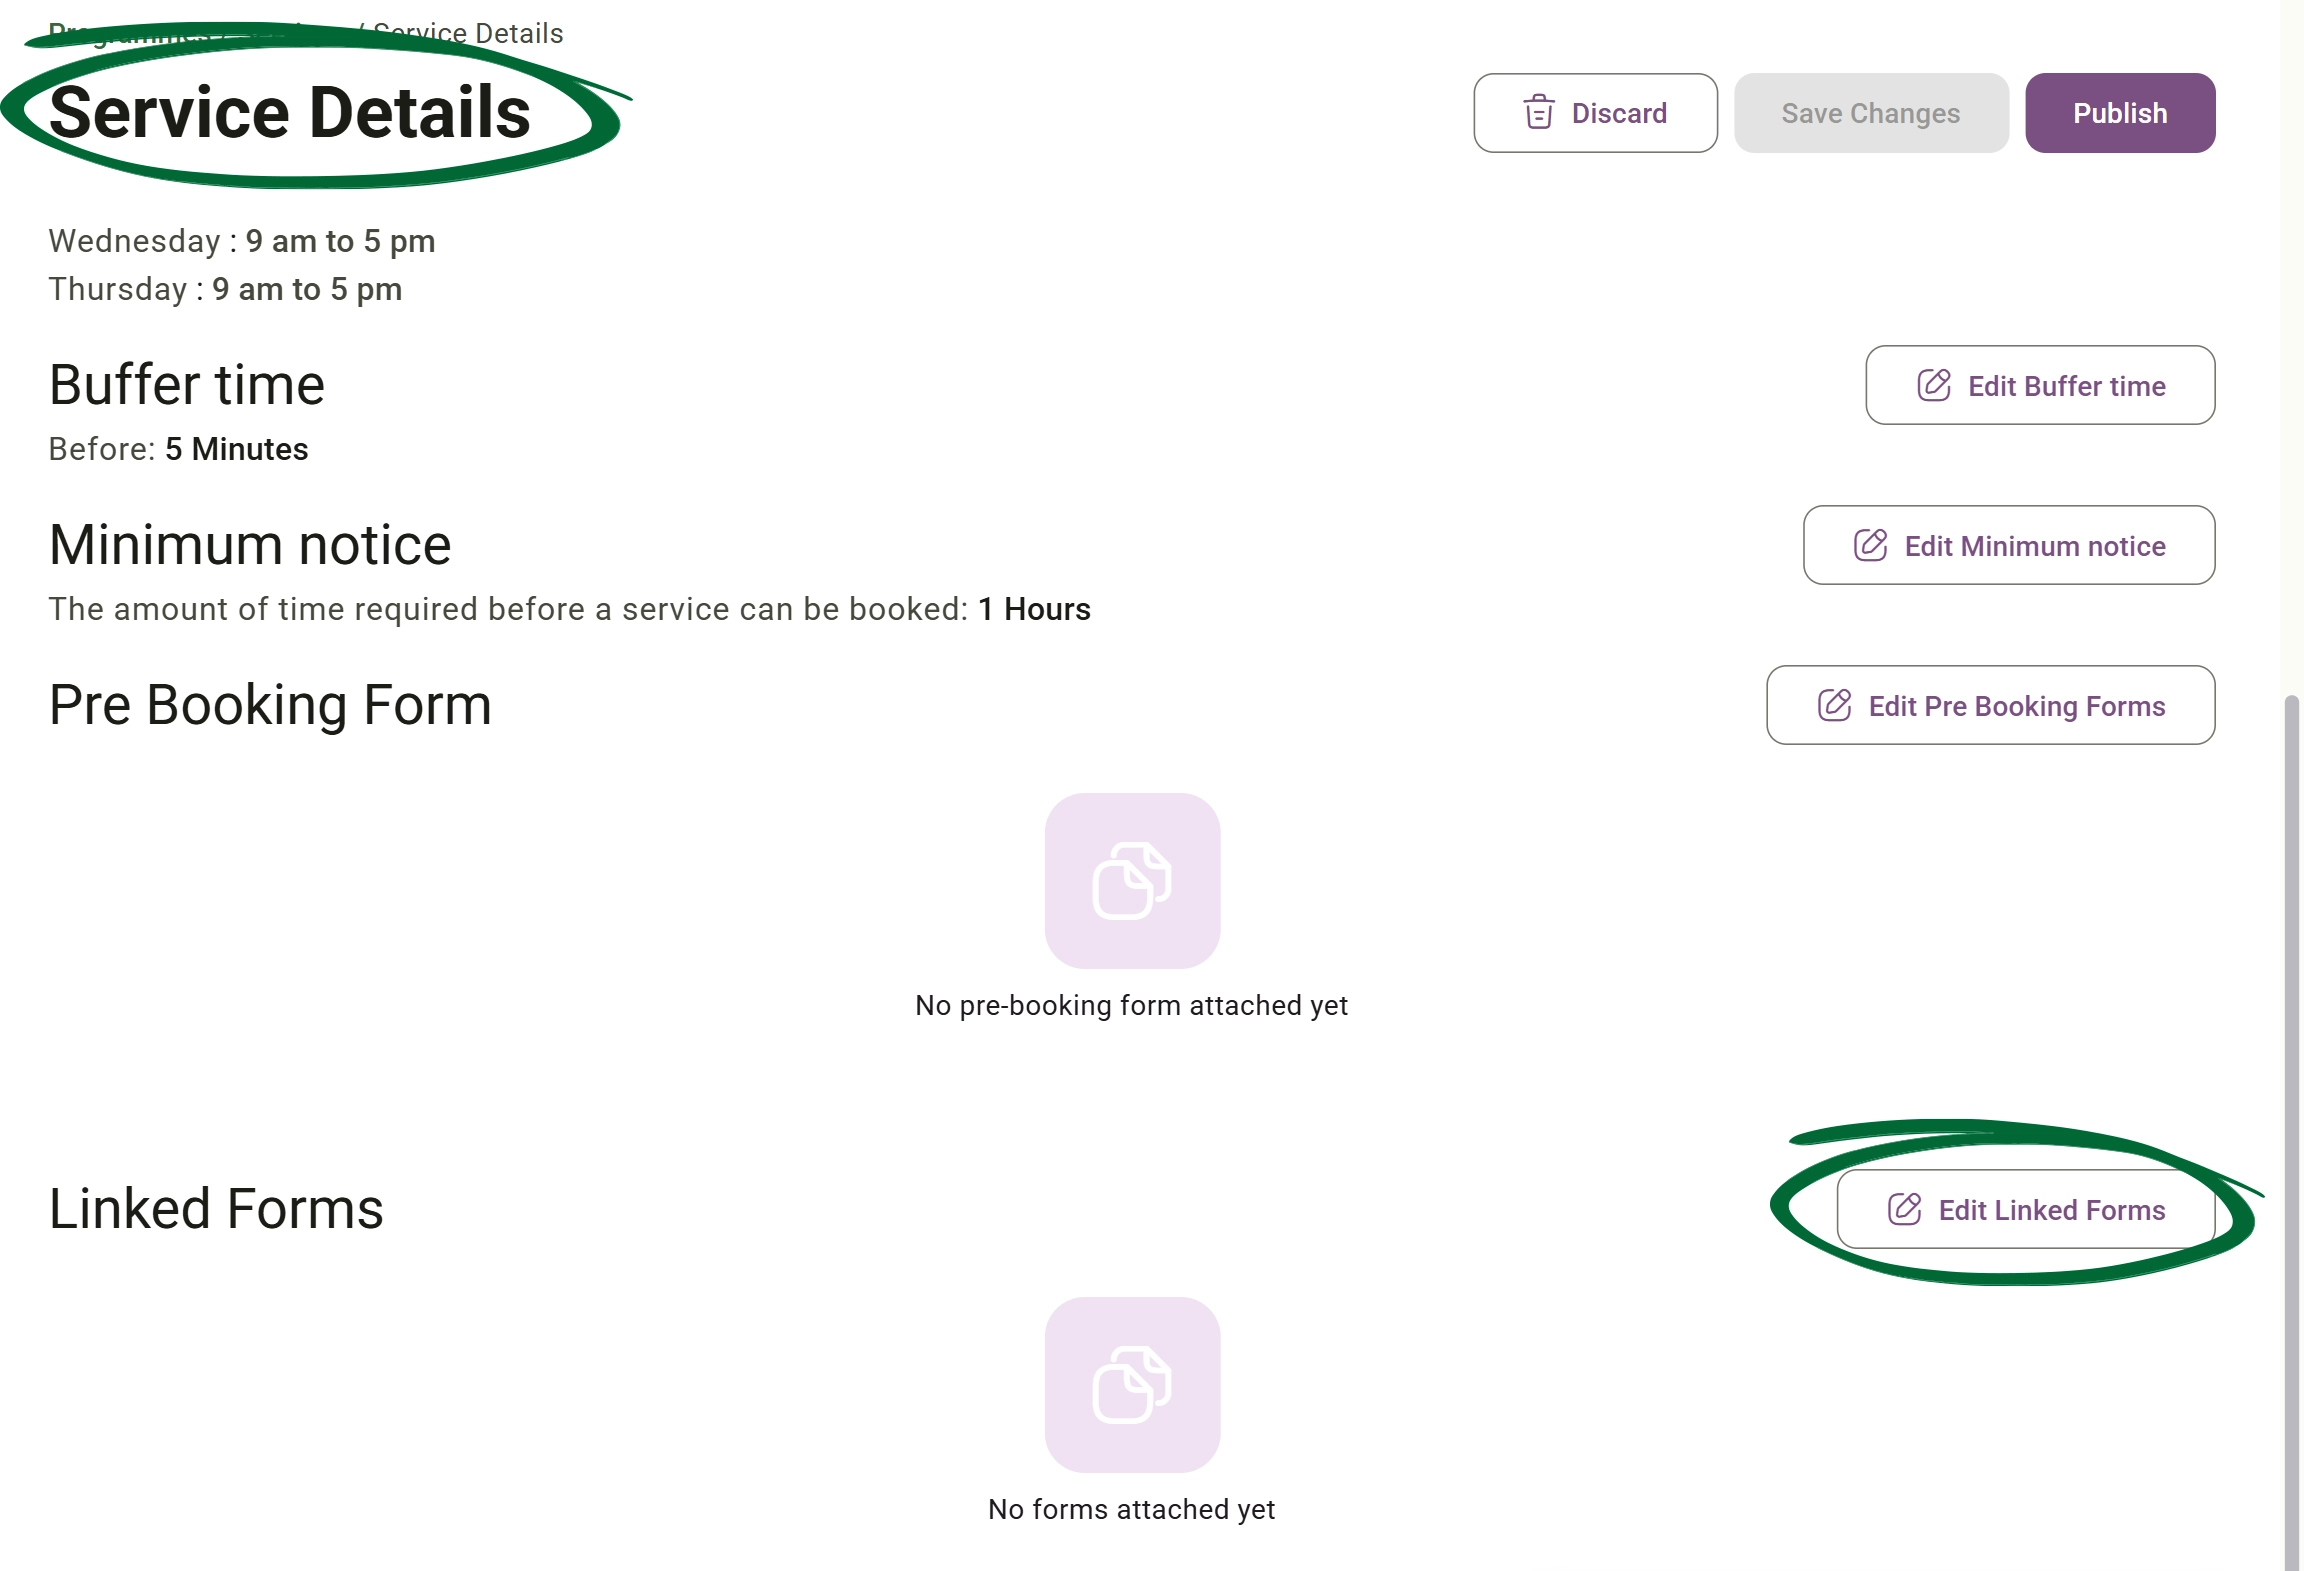
Automatically send forms when a client books. Link a specific form to a particular service or group class session (e.g., an "Intake Form" for an "Initial Consultation").
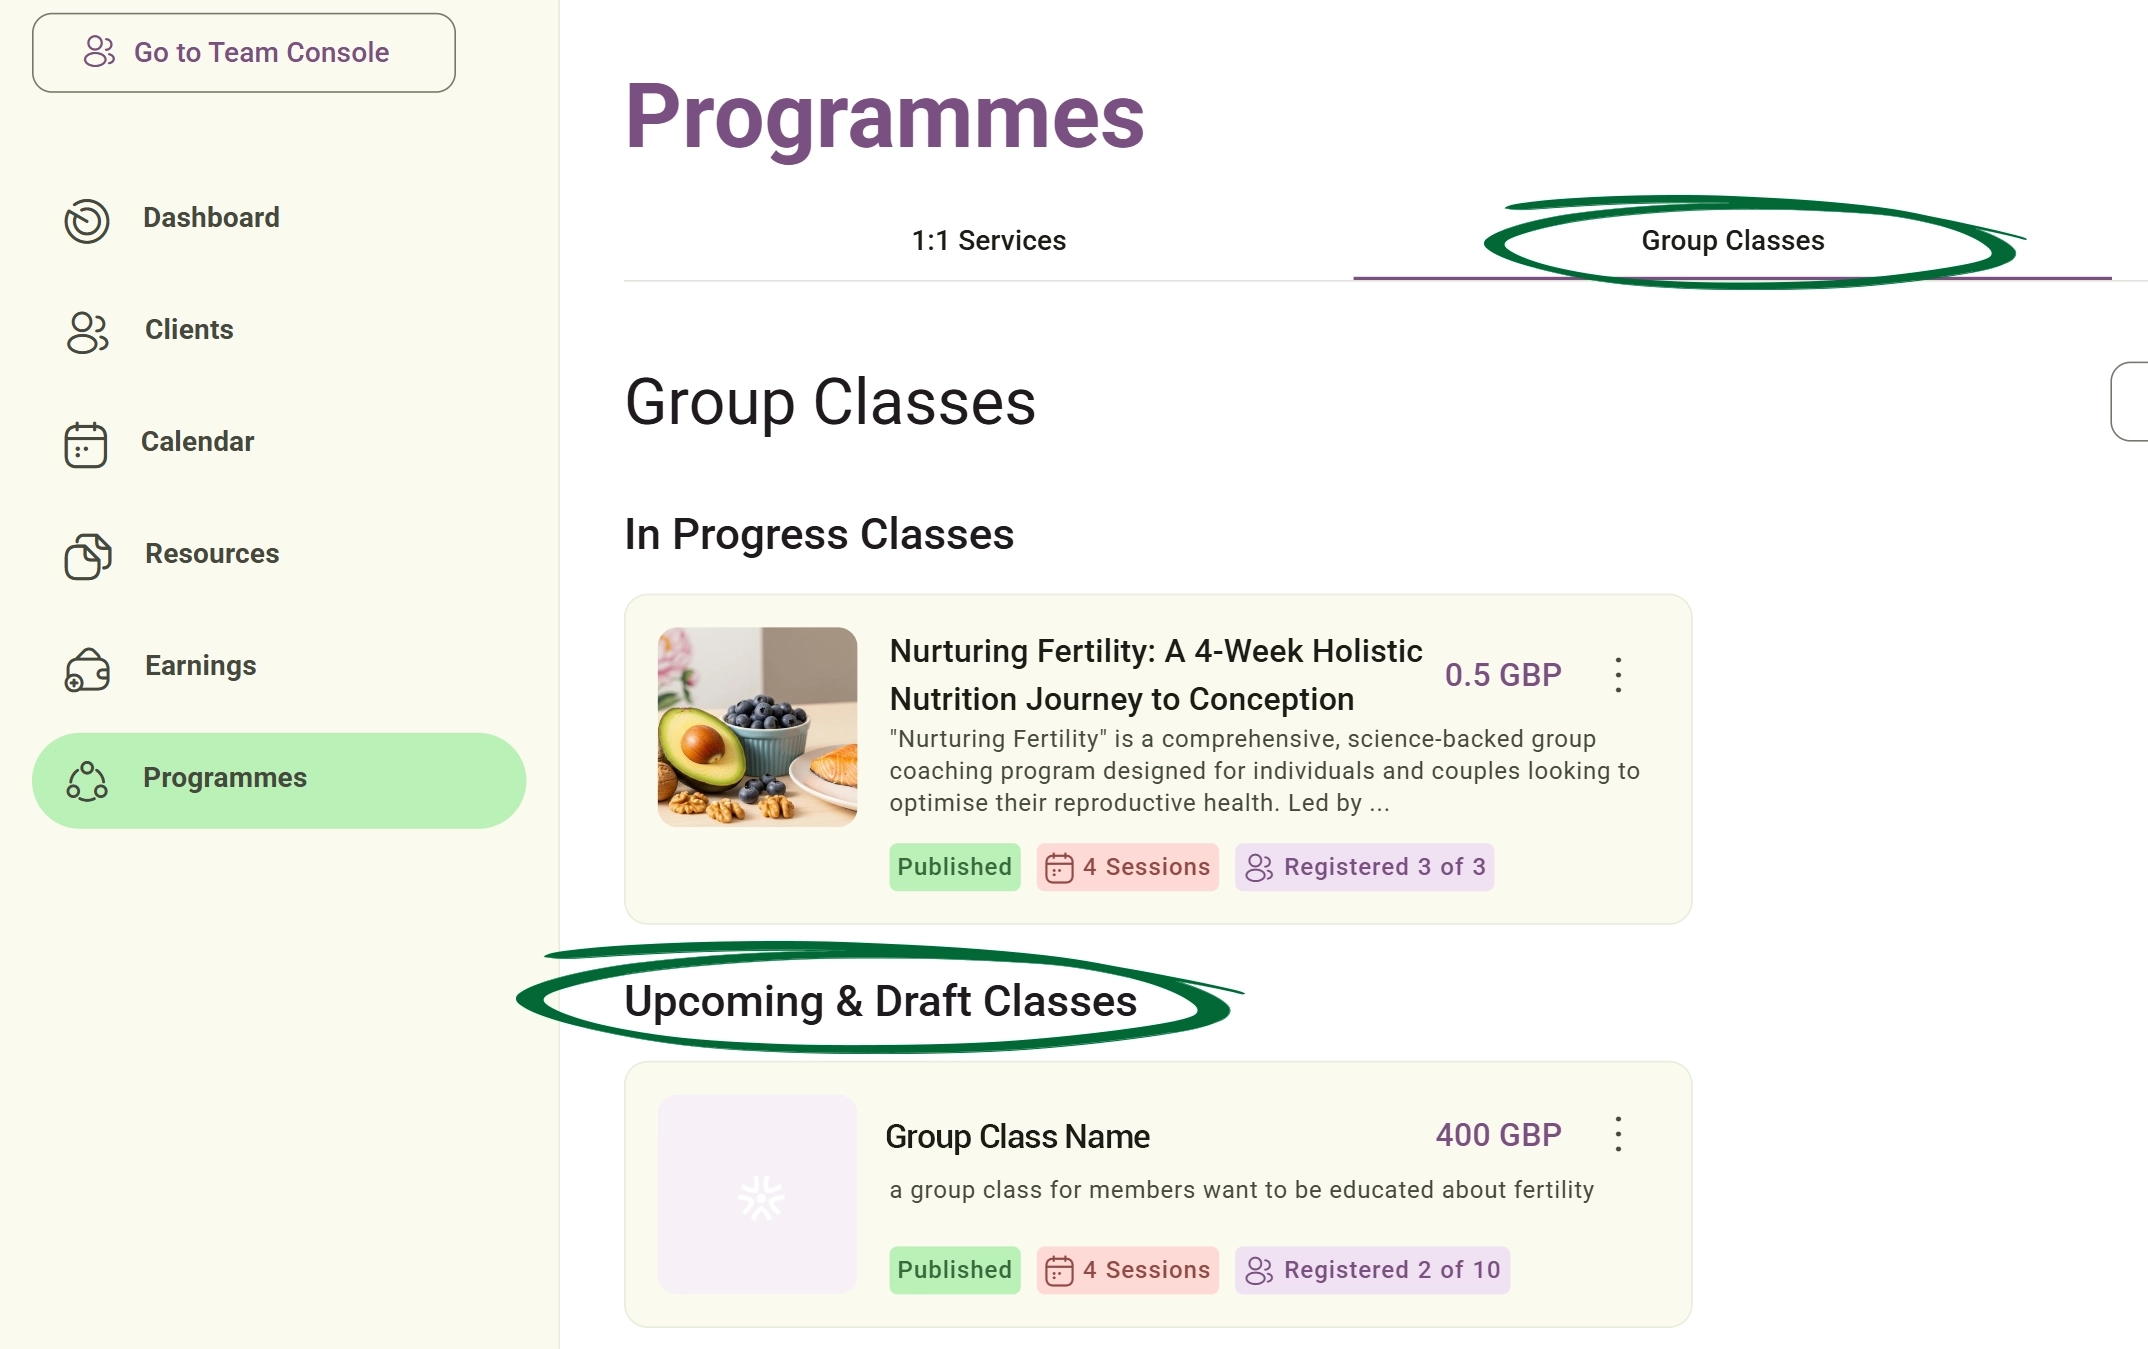
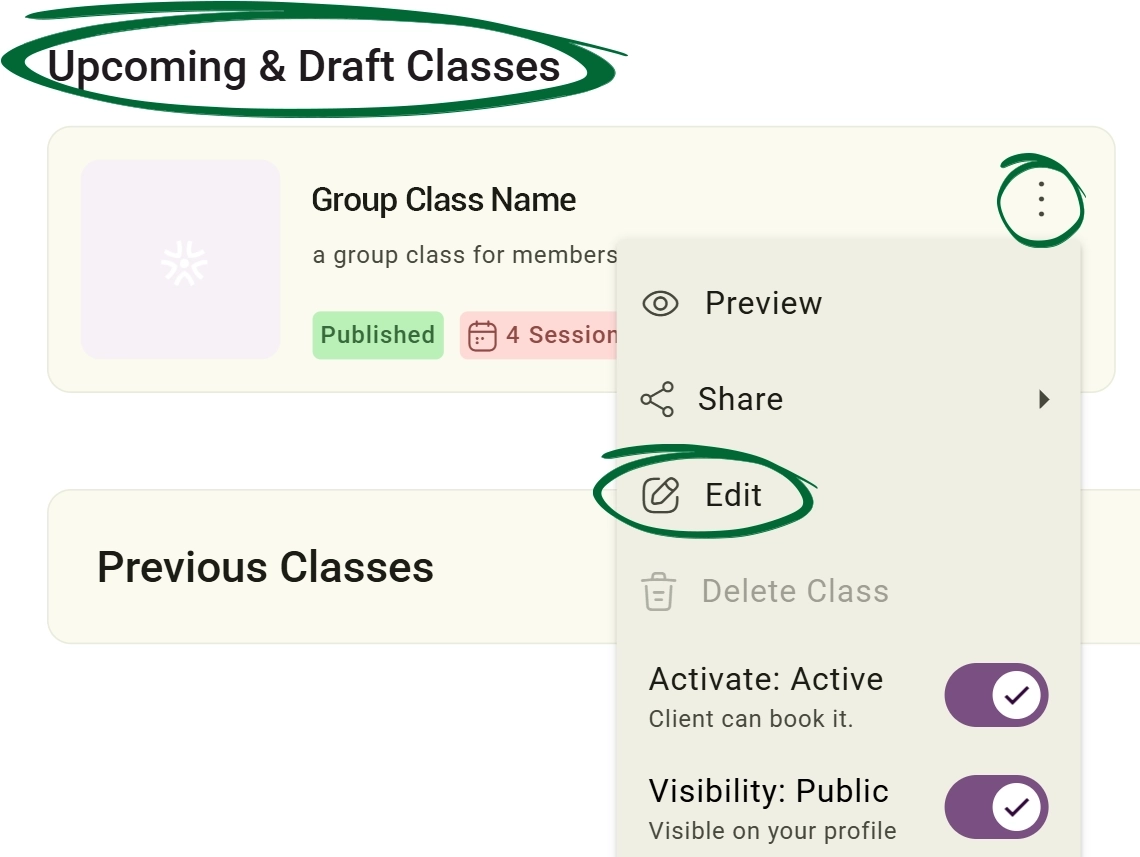
Forms can be seamlessly attached to Group Class sessions when creating a new class or editing an existing one. To manage forms for an existing group class:


Export a form as a document

Preview your form exactly as clients will see it before saving or sharing.
Can a client edit their responses after submitting a form?
Can I share a form with someone who isn't a client in my database?
What are Clipboards used for?
Issue: Client cannot find the form
Issue: Form changes not saving
Issue: Automation didn't trigger
Next Step
Your form setup is complete! Continue to AI & Notes to learn how to further streamline your clinical documentation.
Go to AI & Notes