Creating & Managing Documents

Create, edit, and upload essential resources and templates for your practice.

Maintain a professional library of handouts, welcome packs, and clinical resources. This section covers how to manage your internal documents and securely share them with clients or external partners. 

Create or Edit a Document

Create a new clinical resource from scratch or update your existing text-based documents.

1
Go to Documents
Navigate to the Documents section from Resources.
Go to Documents screenshot
2
Click “Create Document”
Select this to open the built-in document editor.
3
Add Content
Write your content, format the text, and add images or tables to customise your resource.
4
Rich Text Formatting & Clipboard Snippets

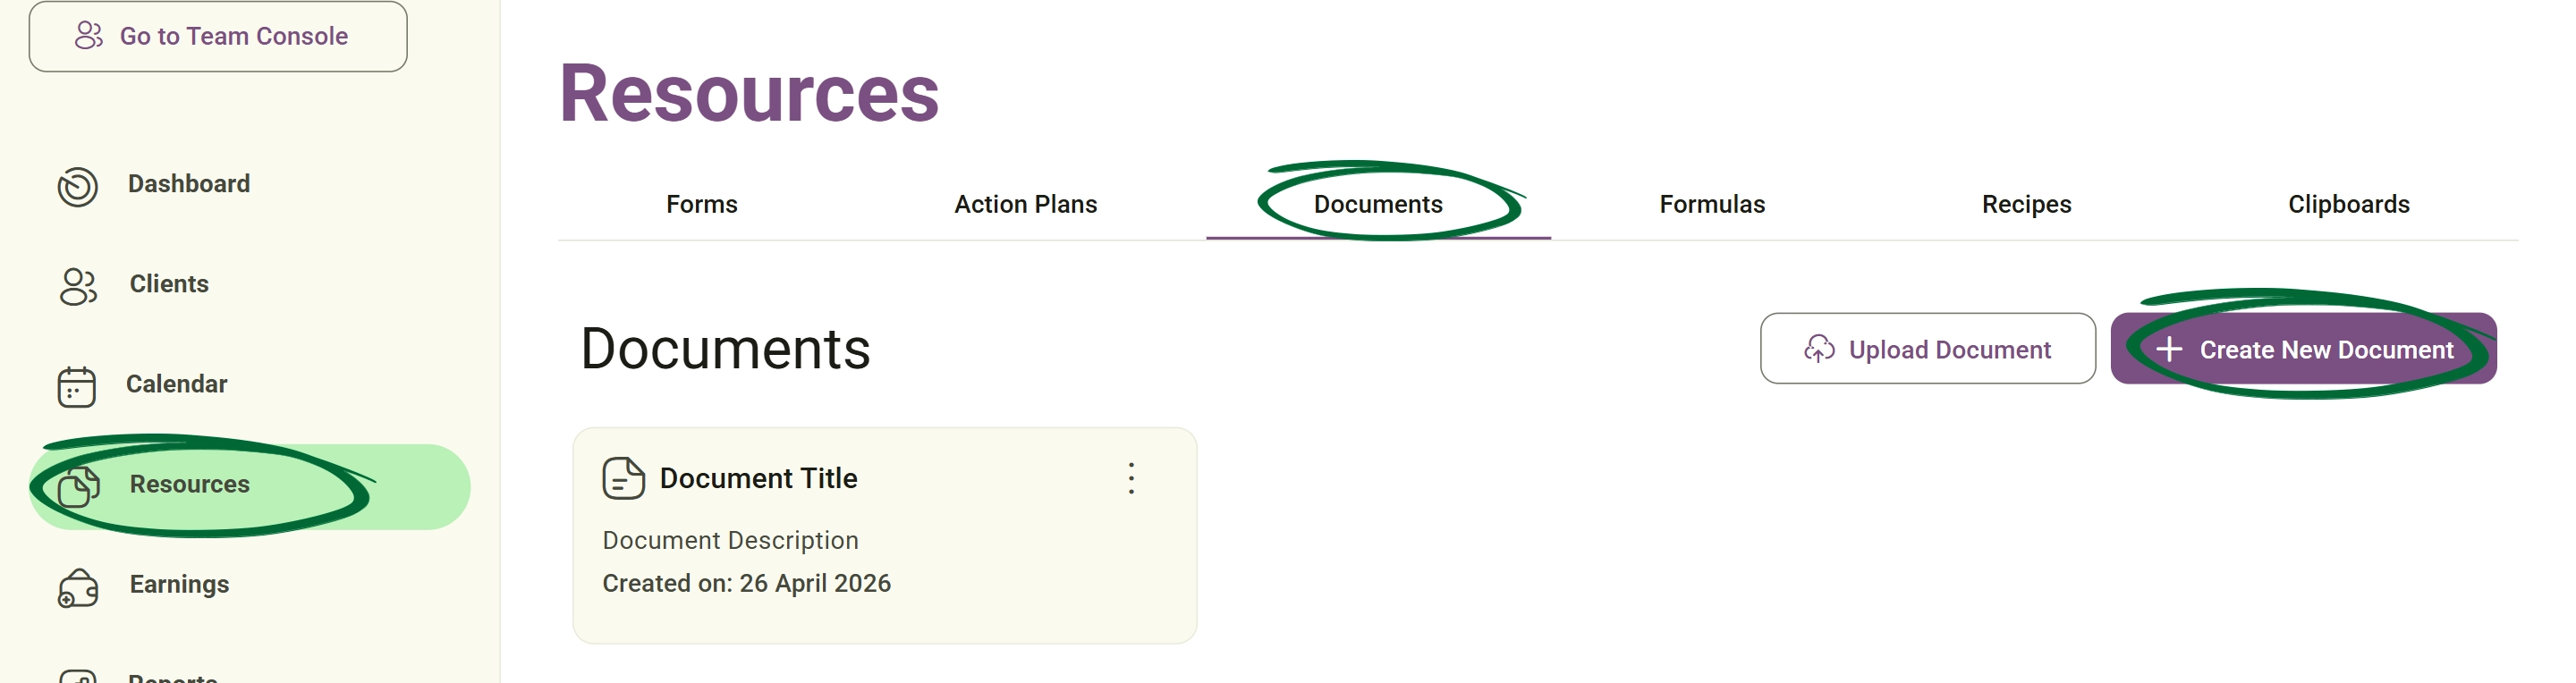
Use the built-in rich text editor to fully customise documents using tools like bold, italic, and underline formatting, along with structured headings and text alignment. You can also easily insert hyperlinks, images, videos, tables, and clipboard snippets. 

Clipboard snippets allow you to insert reusable saved content blocks directly into documents, such as welcome instructions, meal guidance, follow-up messages, and educational notes. 

5
Save and Edit Later

Use the “Save and Edit Later” option to save unfinished drafts. 

This allows you to: continue editing later, prepare incomplete drafts and review documents before publishing

6
Save Document
Name your file and save your changes to the library.
Tip: Use clear, versioned titles (e.g., “Welcome Pack v2.1”) to ensure you always share the most up-to-date information.
Upload a Document

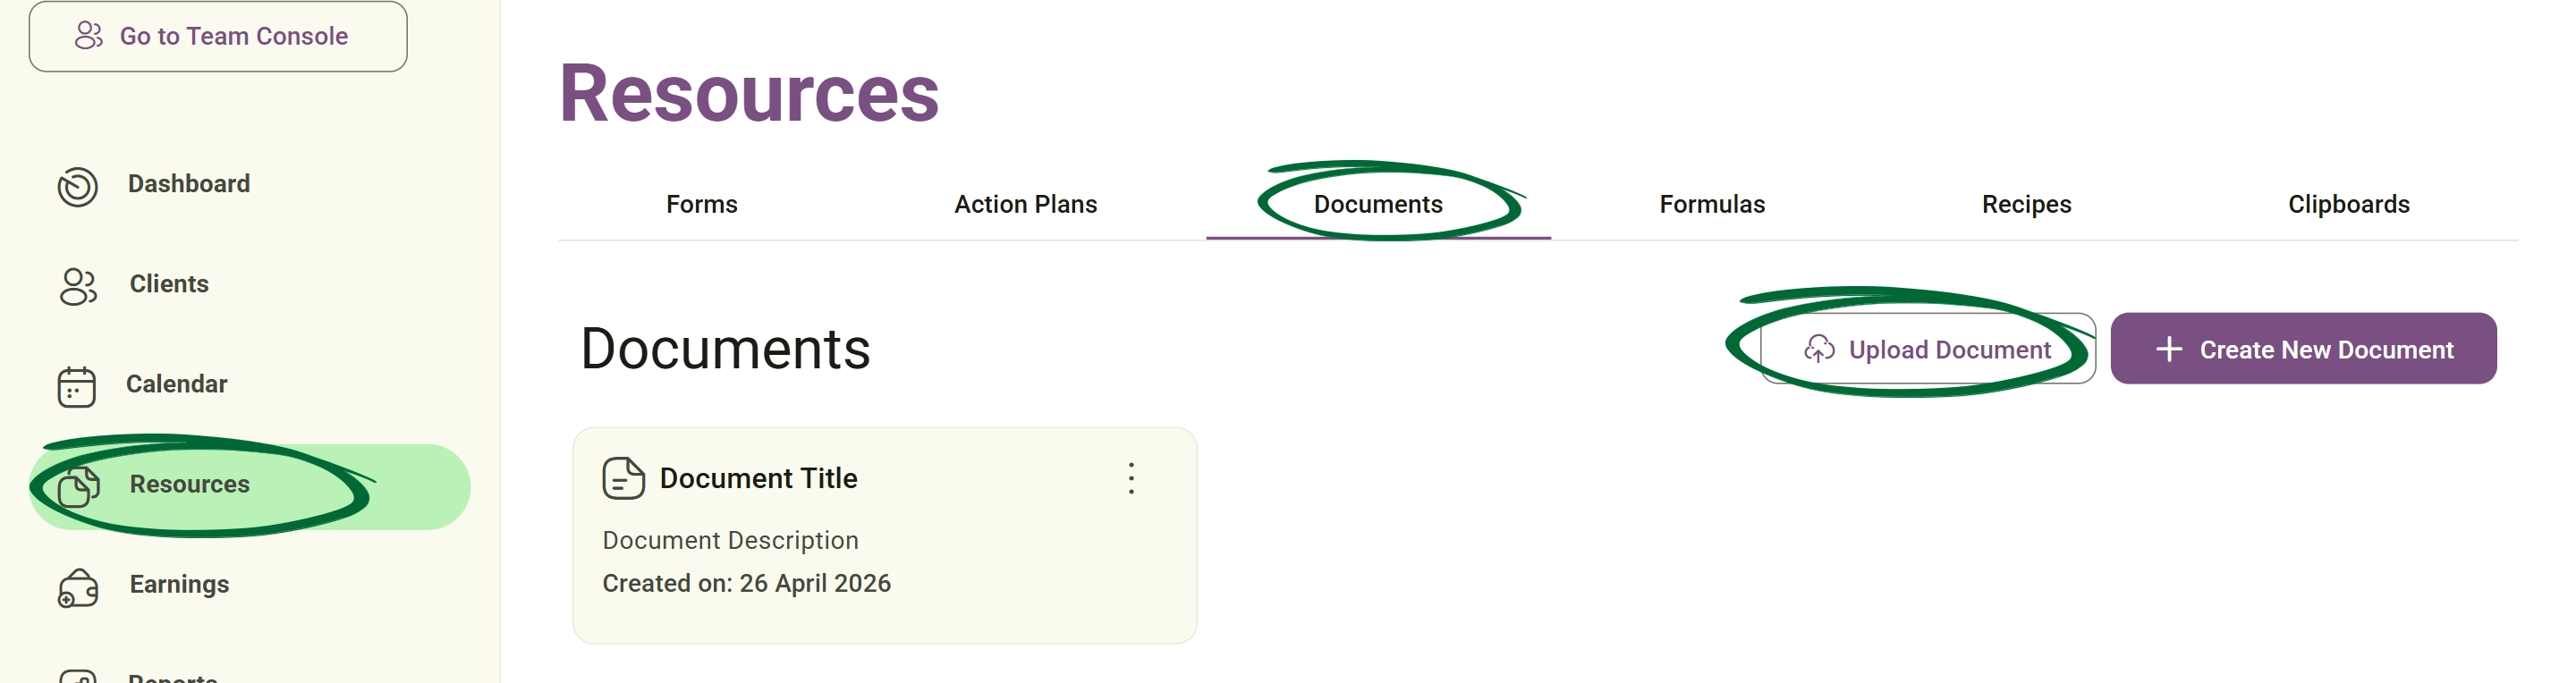
Bring your existing PDFs, images, videos, or Word documents directly into the Nurish Pro platform. While you can upload any file type, please note that in-platform previews are available for supported formats only. We highly recommend using PDFs for handouts to ensure the layout remains identical for your clients.

 1
Go to Documents
Open the Documents section.
Go to Documents screenshot
2
Click “Upload”
Select the upload option.
3
Add Document Information
Enter: document title and optional description
4
Choose File
Browse your local device for the file (supported formats: PDF, PNG, JPG, DOCX).
5
Save Document
Confirm to add it to your library.
Tip: Uploading existing PDFs is the fastest way to build your document library.
Update a Document

Replace an existing uploaded file with a newer version while keeping it stored in the same location.

1
Select Document
Locate the document you wish to update in your list.
2
Click “Edit”
Choose the edit option from the file settings.
3
Replace File

Update your document by editing the text directly. 

For attachments, simply remove the existing file and upload the new version.

4
Save Changes
Confirm the update; the system will overwrite the old file with the new one.
Send Document to Client

Securely share your resources directly with your clients through their portal or email.

1
Open Options Menu (⋮)
Click the three dots next to the document you wish to share.
Open Options Menu screenshot
2
Click “Send to Client”
Choosing to send it to the client will notify them via both the portal and email.
3
Select Client
Search for the specific client from your database.
4
Confirm Sending
Click Send to deliver the file.
5
Quick Share from Preview Screen
From the preview page, you can instantly email the document, send it to a client, edit, or delete it, all without returning to the main library.
Send via Email (External Party)

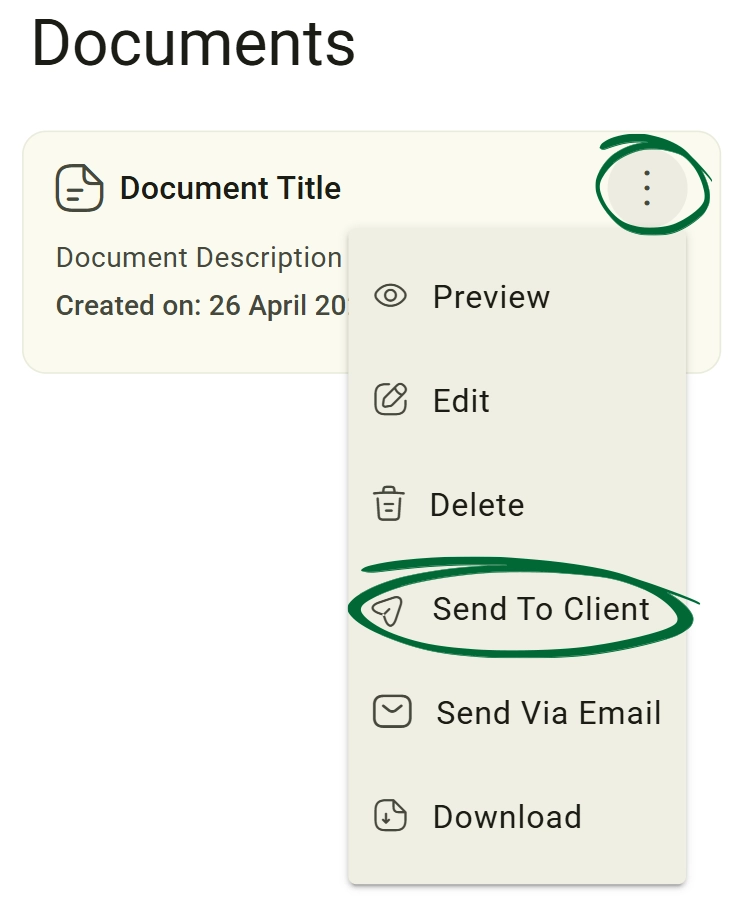
Securely send documents directly to clients via their portal.

1
Open Options Menu (⋮)
Click on the document options.
Send via Email screenshot
2
Click “Send Via Email”
Select the external sending option.
3
Add Recipient Information

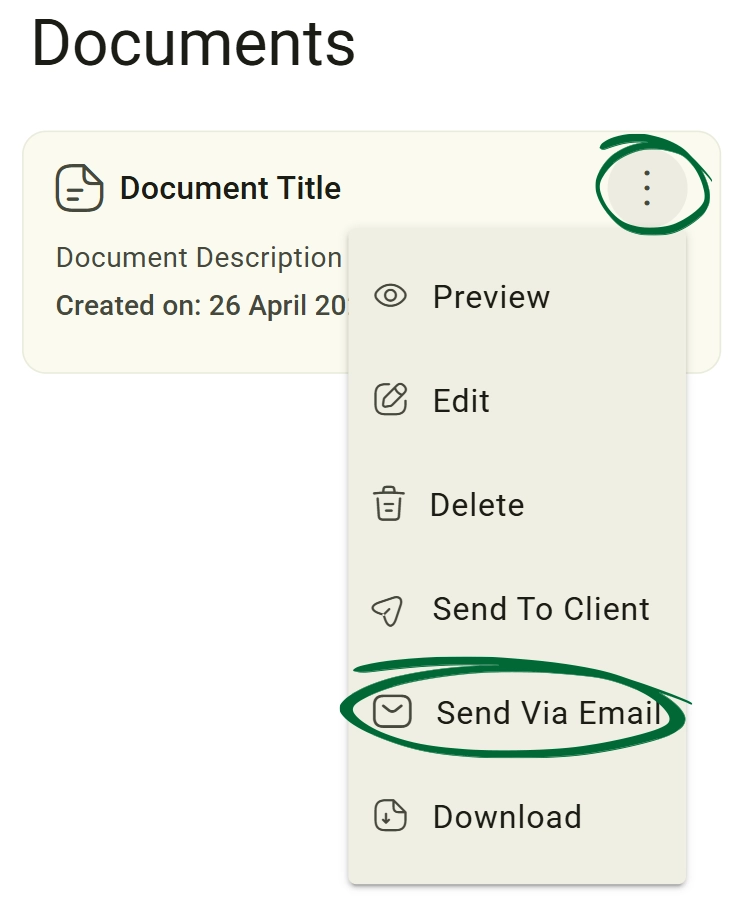
recipient name, email address and optional message write a custom message to accompany the document. 

The email editor supports: rich text formatting, hyperlinks, text styling and clipboard snippets allowing you to create professional external communications quickly.

4
Send Email
Confirm to deliver the document as attachment.
Share Documents with Your Team

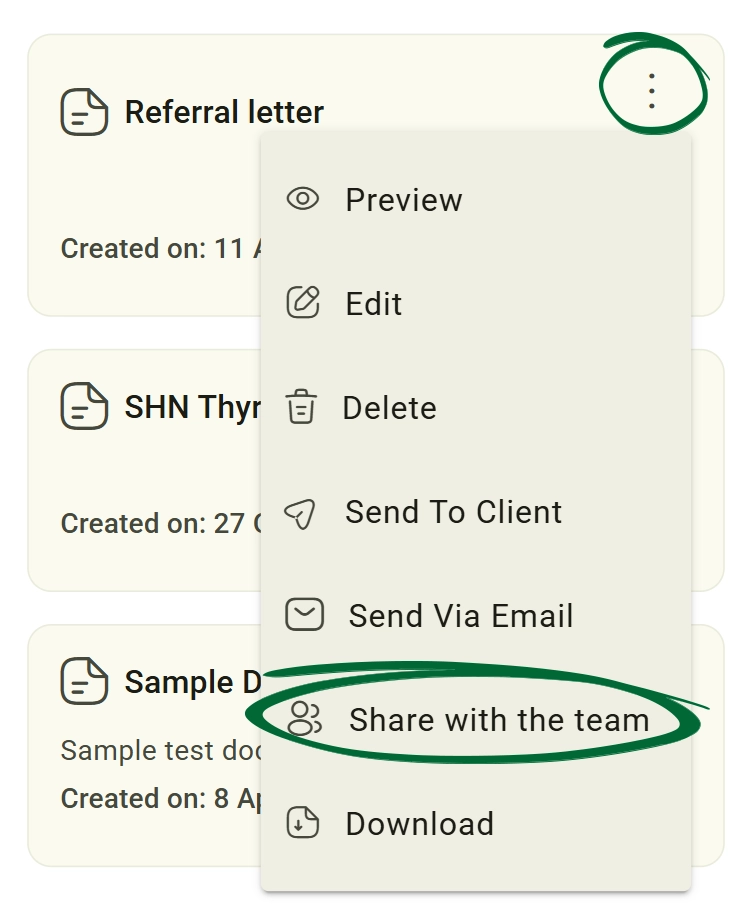
Share resources internally with team members across your workspace. (Note: This feature is exclusive to Team and Enterprise subscriptions.)

1
Open Options Menu (⋮)
Locate the document settings.
2
Click “Share with the team”
Enable internal sharing access.
Send via Email screenshot
Download Documents

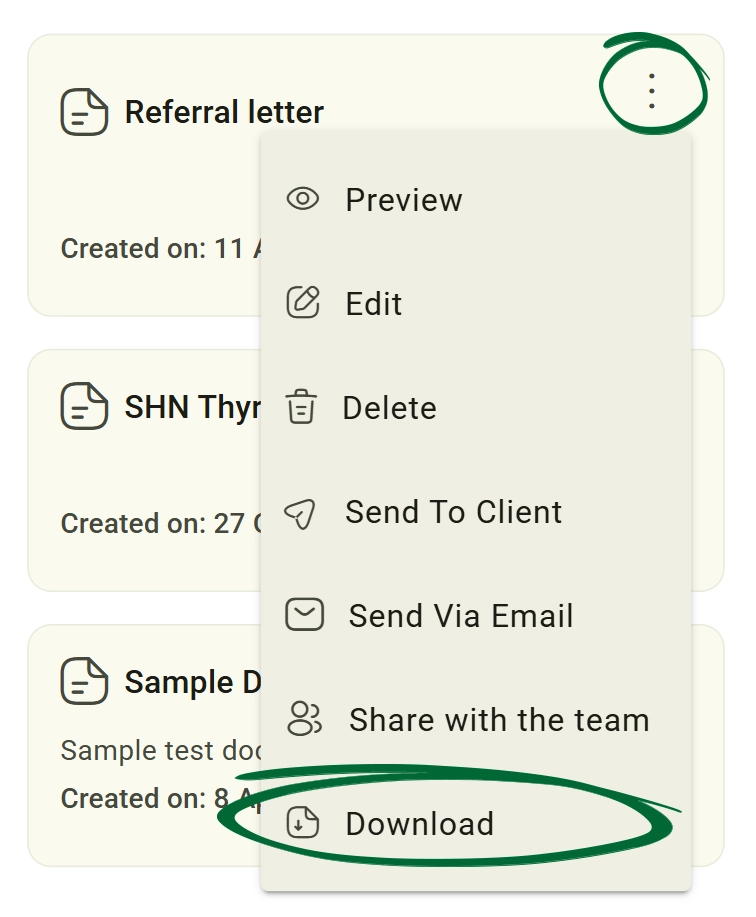
Download documents directly to your local device.

1
Open Options Menu (⋮)
Locate the document controls.
2
Click “Download”
The document will automatically download to your device.
Send via Email screenshot
Frequently Asked Questions (FAQs)
Can I organize my documents into folders?
The library currently uses a flat list to display all files. However, you can easily organise specific client documents into dedicated folders by accessing the client page or profile.
Will updating a document automatically update it for clients I've already sent it to?
No. To ensure clinical record integrity, the client retains the version you originally sent. If you want them to have the new version, simply send the updated document to them again.
What file types are supported for uploads?
You can upload any file type, but previews are only supported for PDFs, Word documents (.doc, .docx), videos and image files (.jpg, .png). We recommend using PDFs for handouts to ensure the layout remains identical for your clients.
Troubleshooting & Common Issues
Issue: File is too large to upload
Potential Solution: Ensure your file is under the 250MB system size limit. For larger PDFs, we recommend using an online compressor or selecting "Save as Optimised PDF" before uploading.
Issue: Cannot edit uploaded document
Potential Solution: Uploaded files (PDFs/Images) are static. To make changes, edit the file on your local computer and use the Update function to replace it.
Issue: Client did not receive the document
Potential Solution: Verify the client's email address in their profile. Ask them to check their portal "Documents" tab or their email spam folder.
Issue: External recipient did not receive email
Potential Solution: Confirm the recipient's address for typos. Ask them to whitelist @nurishpro.com or check their Junk/Spam filters.
Issue: Need to remove document access
Potential Solution: Go to the docs & forms section within the specific client’s profile. You can revoke access or delete the document record from there.

Next Step

Your document setup is complete! Continue to AI & Notes to learn how to further streamline your clinical documentation and session workflows.

Go to AI & Notes
Contact Support

Need Help?

Email Support: [email protected]