Build a custom recipe from scratch tailored to your specific nutritional philosophy.
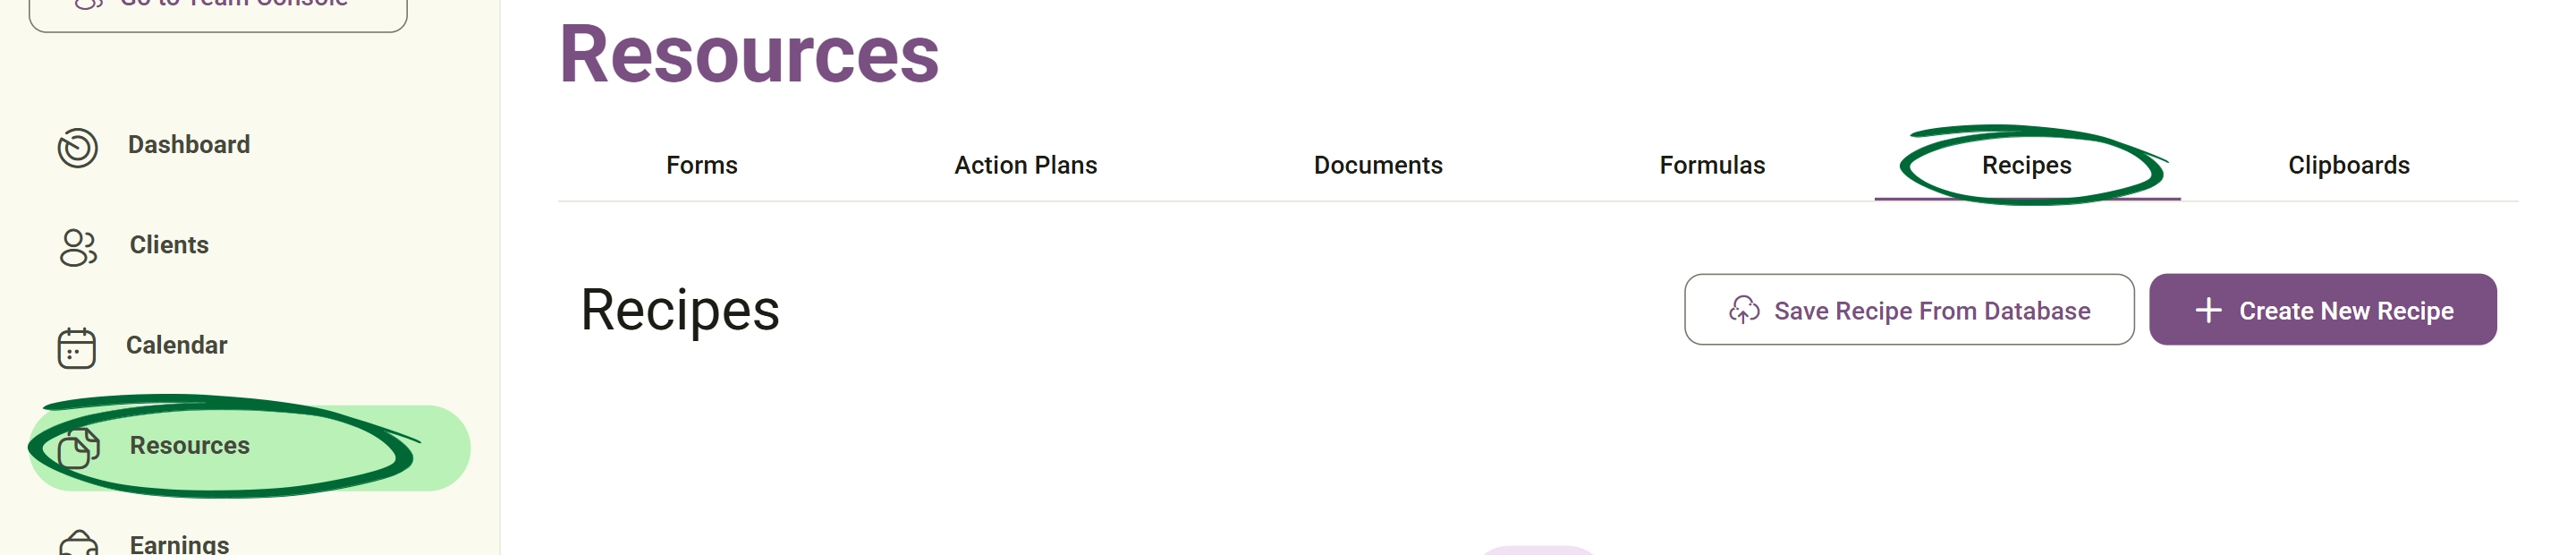
Quickly populate your library using professional recipes from the built-in Nurish Pro database.
Enter: Ingredient name Quantity
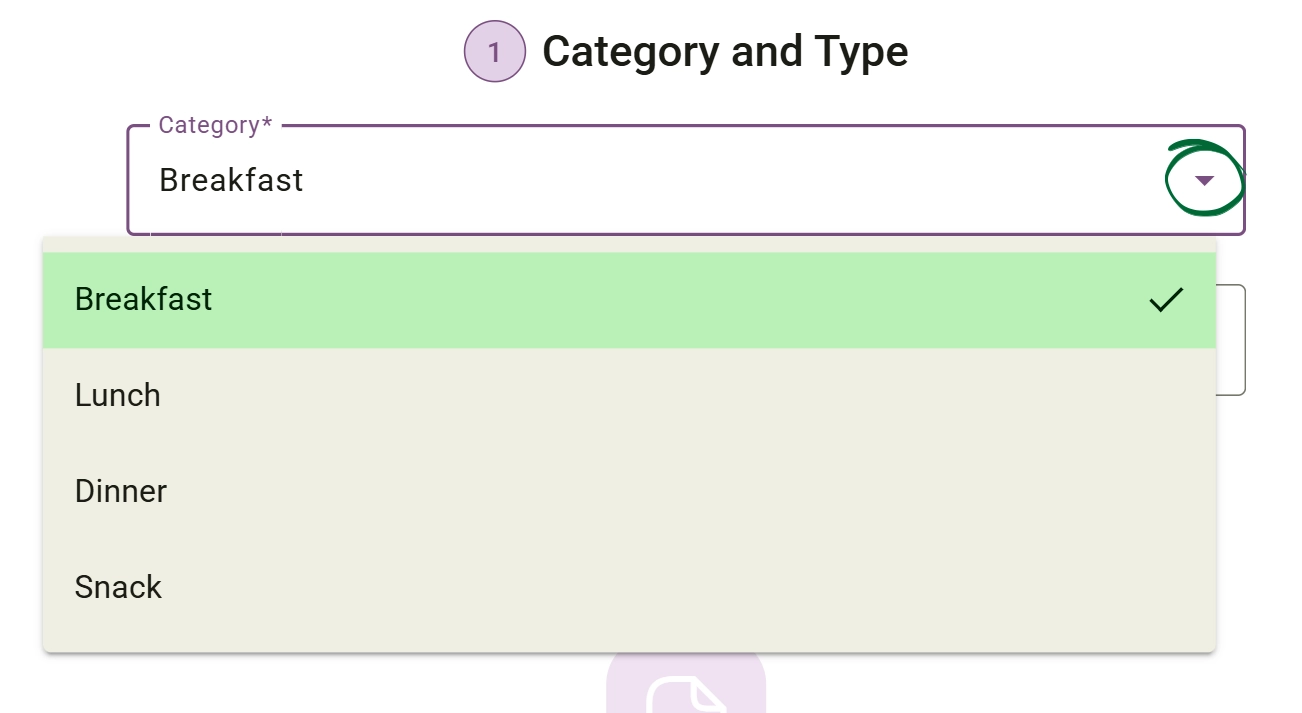
Recipes can be divided into multiple sections using: Part Name For example: Sauce, Main Dish or Toppings.
Ingredients can be reordered easily using drag-and-drop controls.
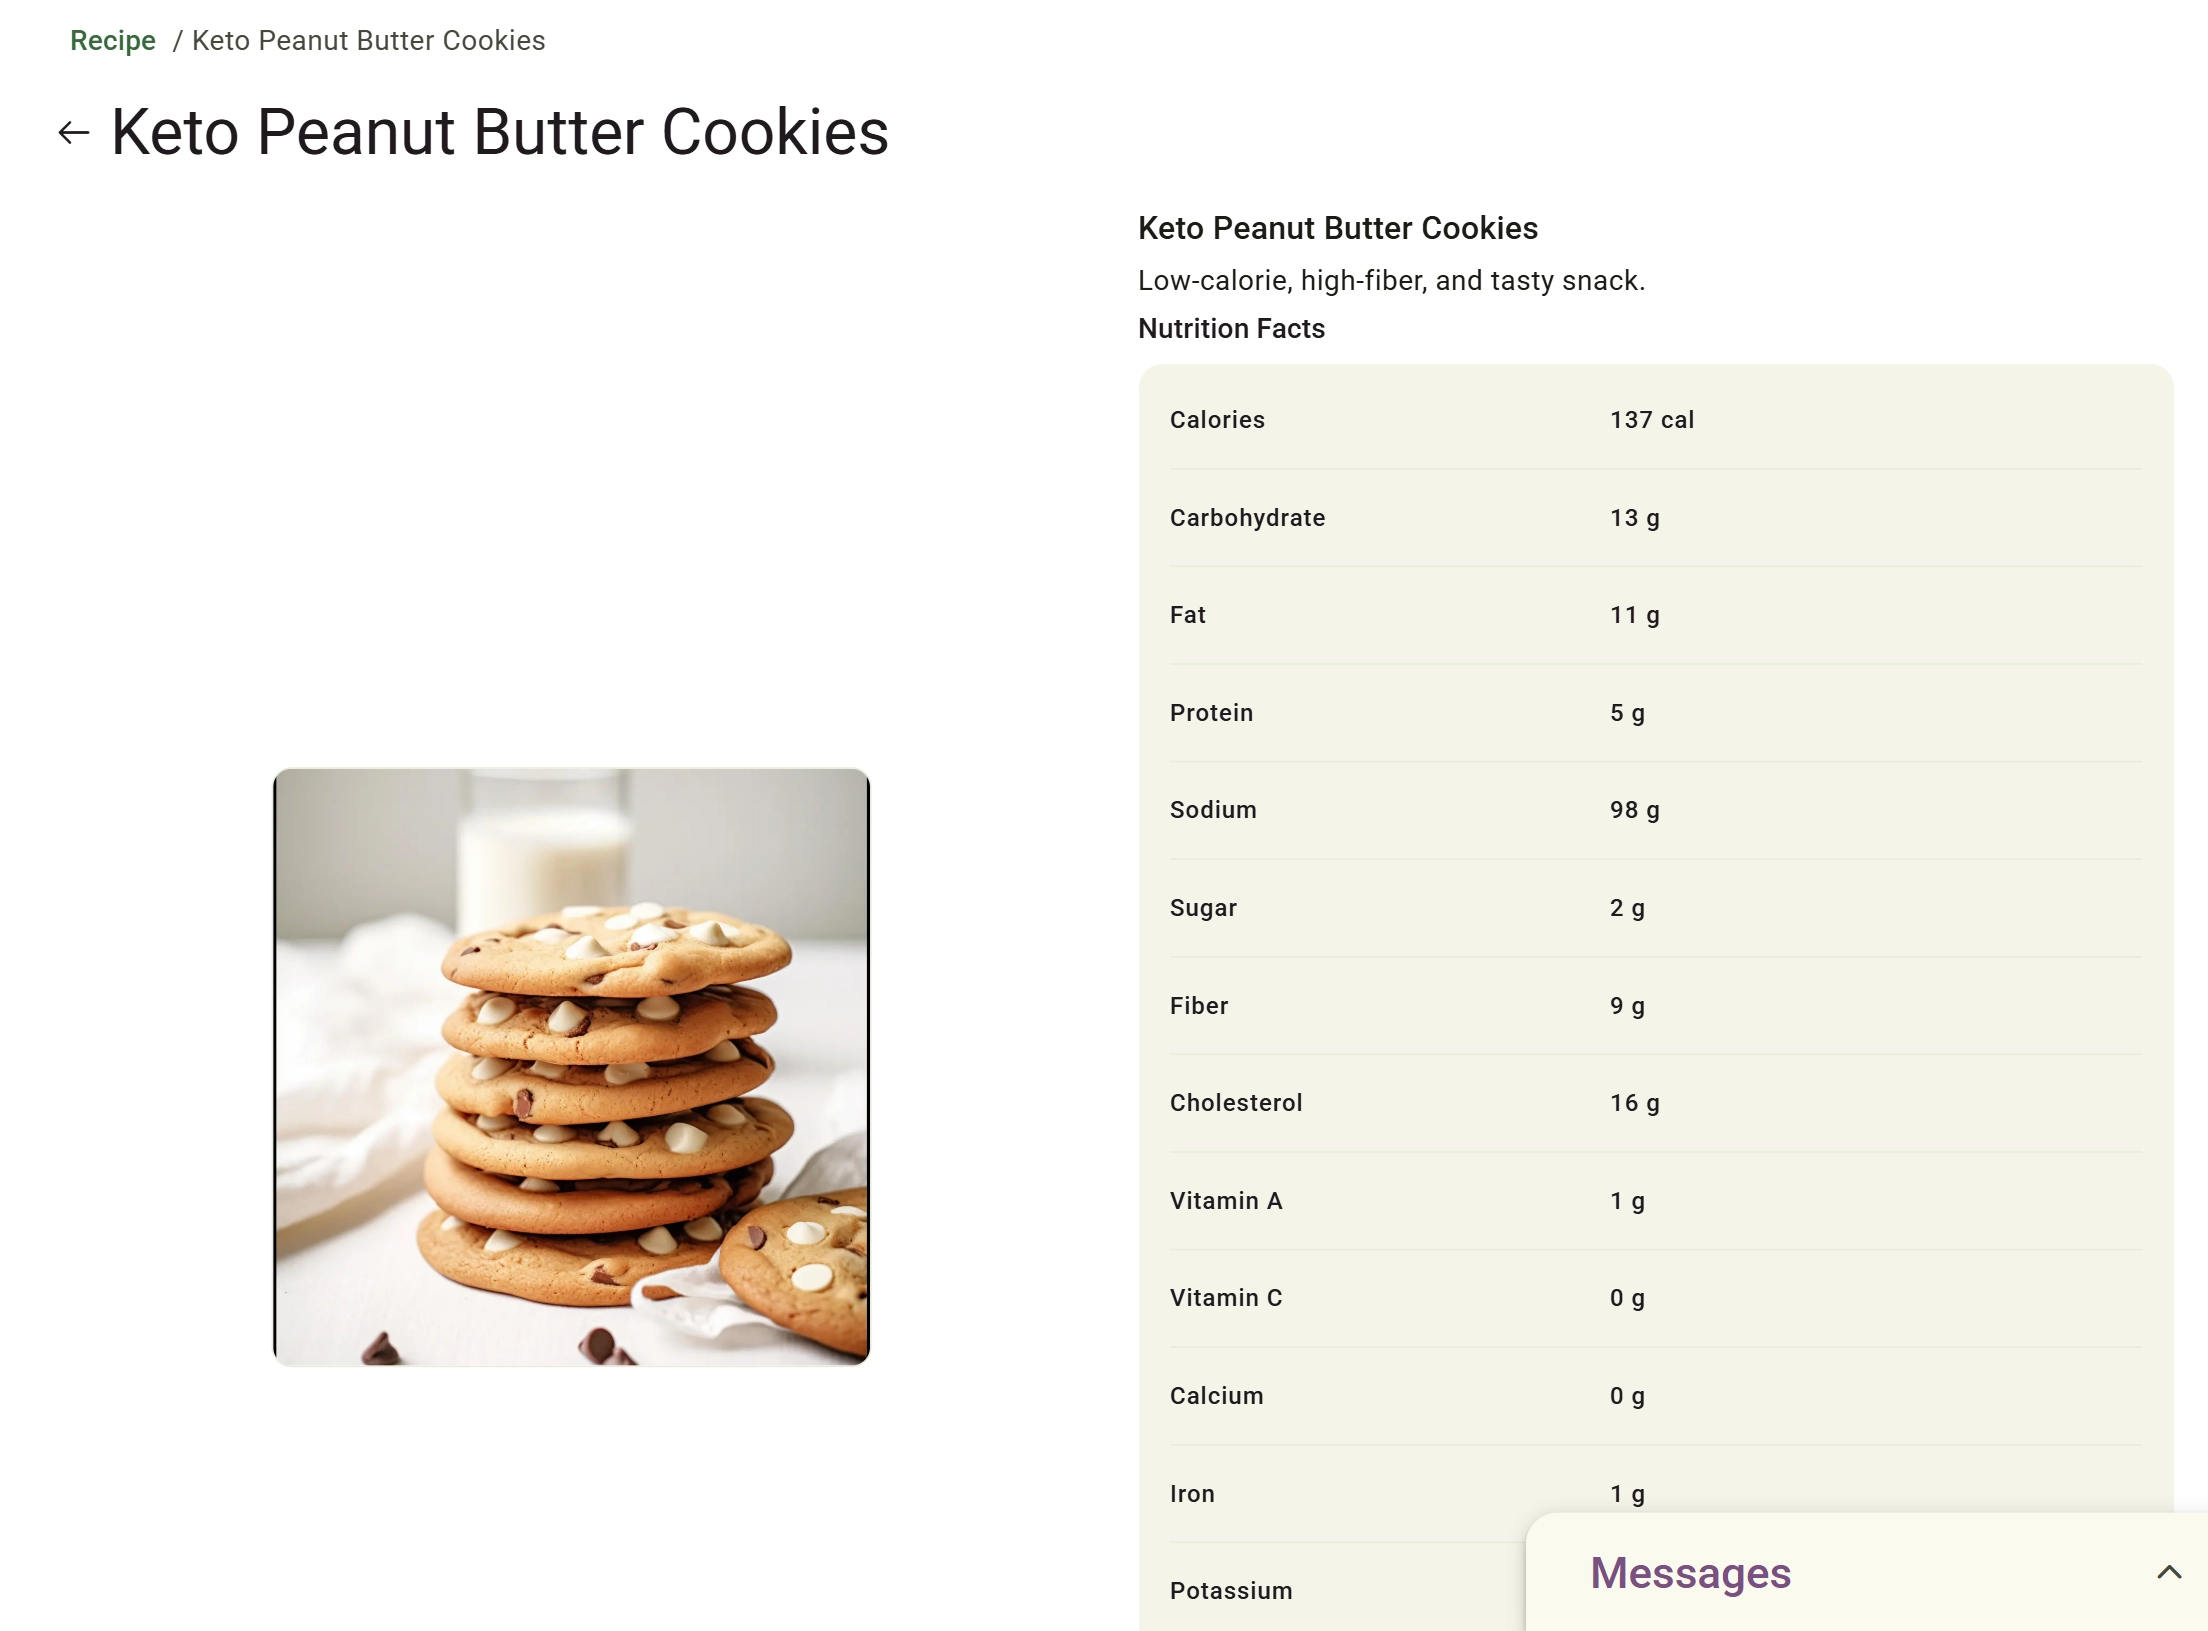
Add Nutritional Information You can include: Calories, Carbohydrates, Protein, Fat, Sodium, Vitamins And more
The system allows you to: Select nutrition types, Add quantities, Remove entries and Organise nutritional values
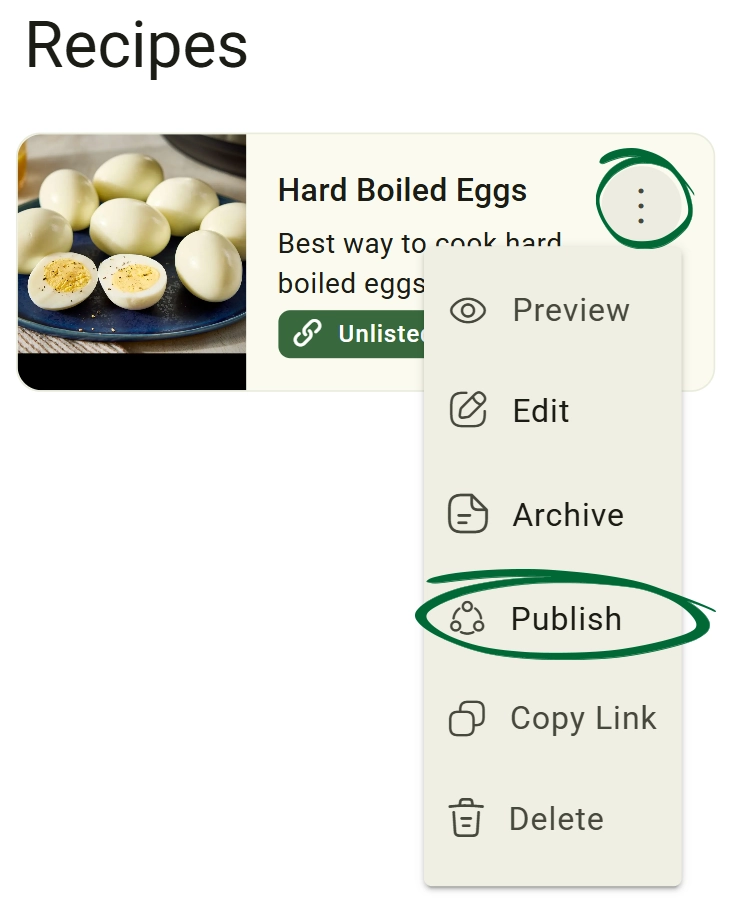
At the final stage, you can select: Post Recipe to publish or share the recipe.
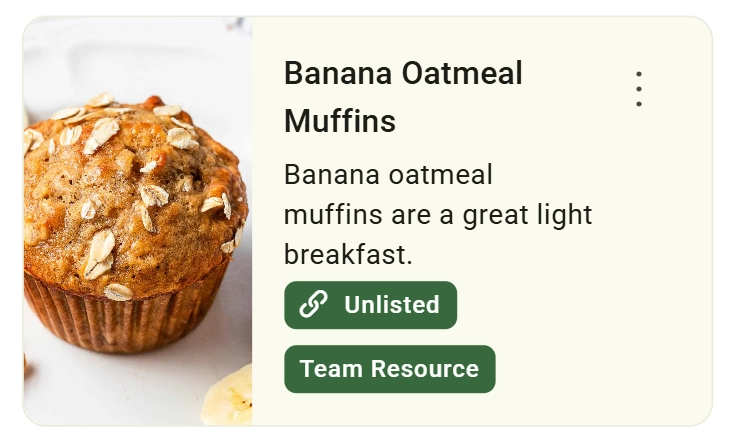
You can make it public or keep it unlisted (Only accessible via a link, so the recipe is visible to you and the clients you send it to.).
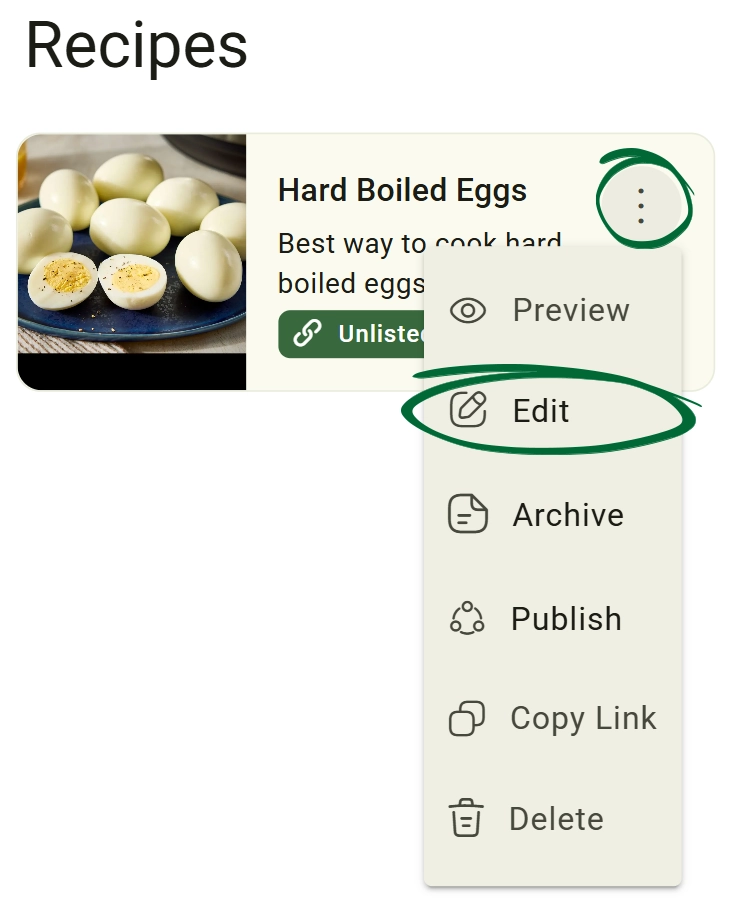
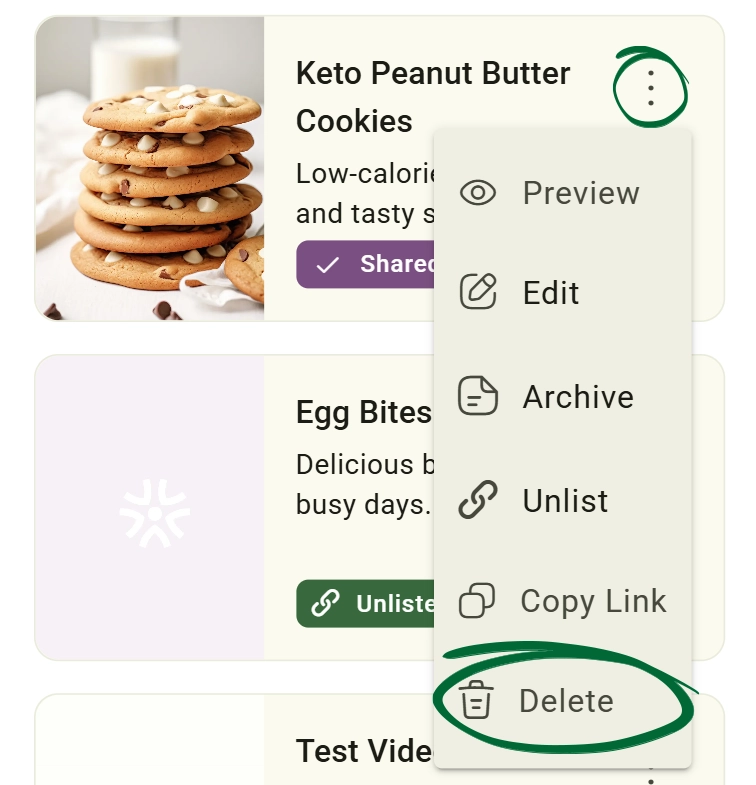
Update or customise an existing recipe in your library.
Control which recipes are visible to your clients and which remain internal.
Share your recipe instantly using a direct link or via your favourite social platforms.
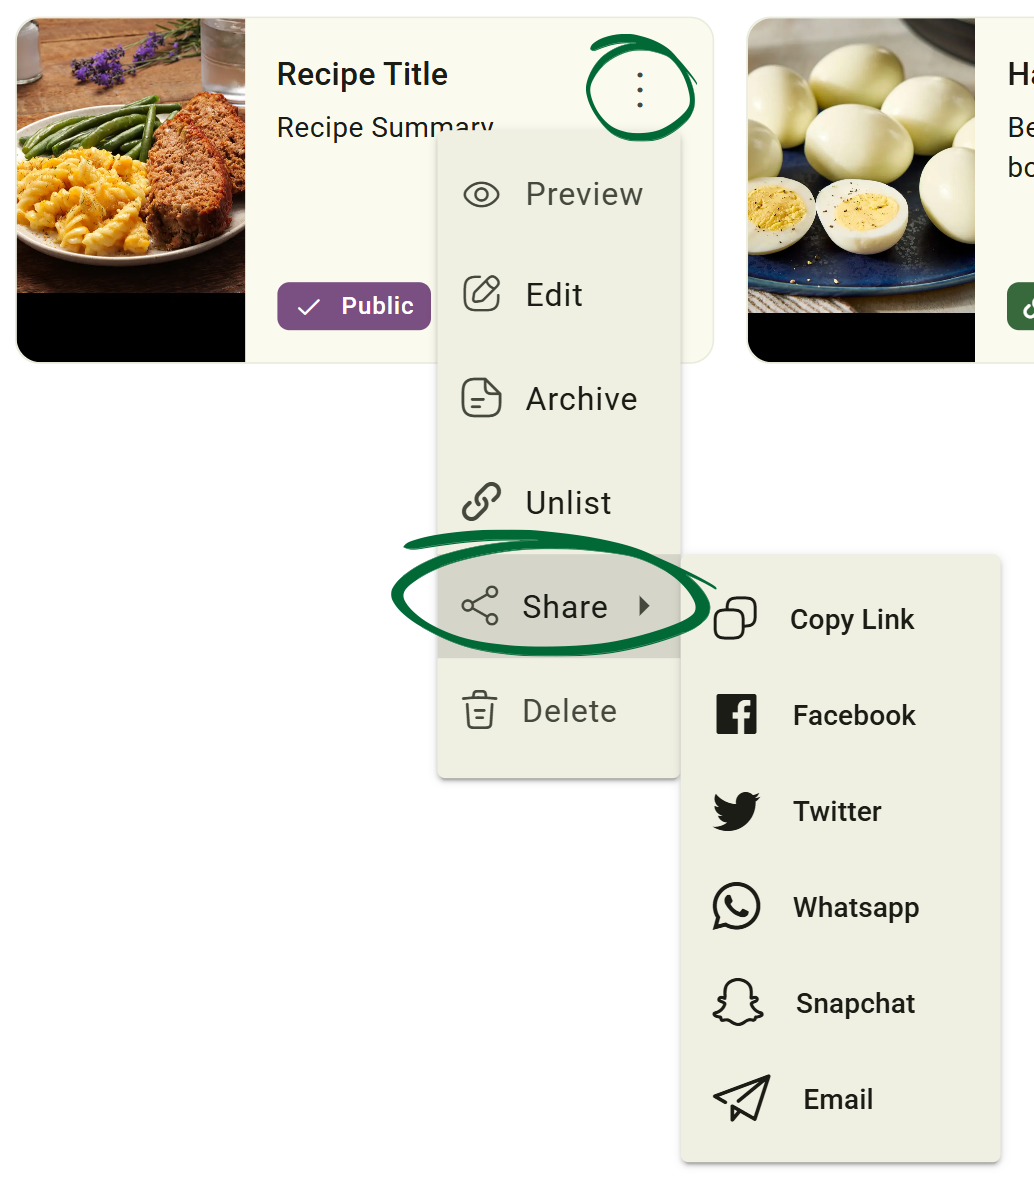
Easily share your recipe by copying the link directly to your clipboard for use in emails, chats, or documents.
Alternatively, you can share it instantly by clicking the Facebook, Twitter, WhatsApp, Snapchat, or Email icons.
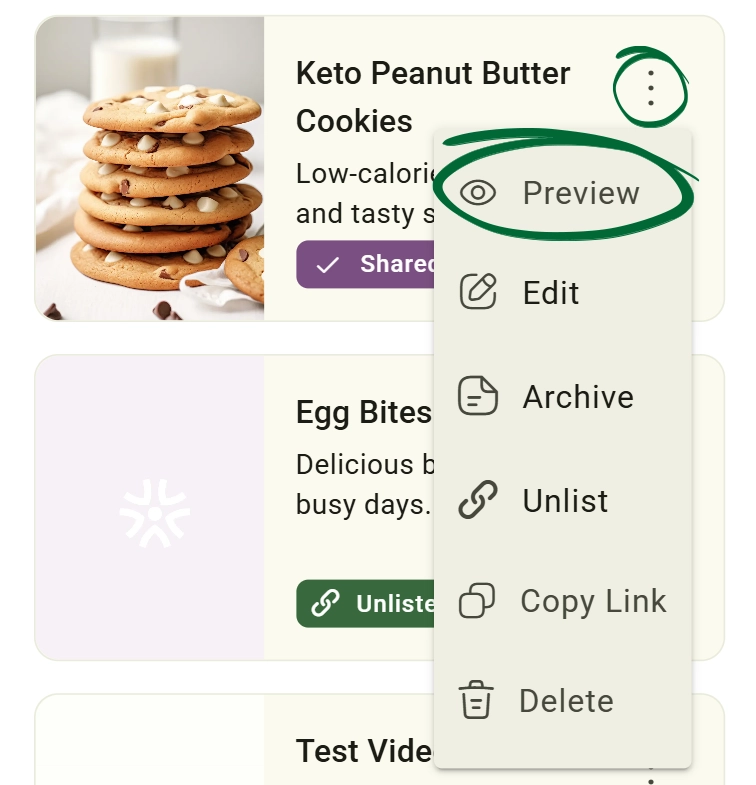
Preview recipes before publishing or sharing them.
Permanently remove a recipe from your library.
If I edit a recipe from the built-in database, does it change the original?
Can I attach a recipe directly to an Action Plan?
Will my recipes appear on my dashboard profile?
Issue: Cannot find a specific recipe after searching by the recipe name in the saved-database.
Issue: Image upload failing
Next Step
Your recipe library is ready! Continue to Clipboard to learn how to streamline your workflow and save clinical snippets.
Go to Clipboard