Configure your default platform preferences, your AI model, time zone, and your client record template.
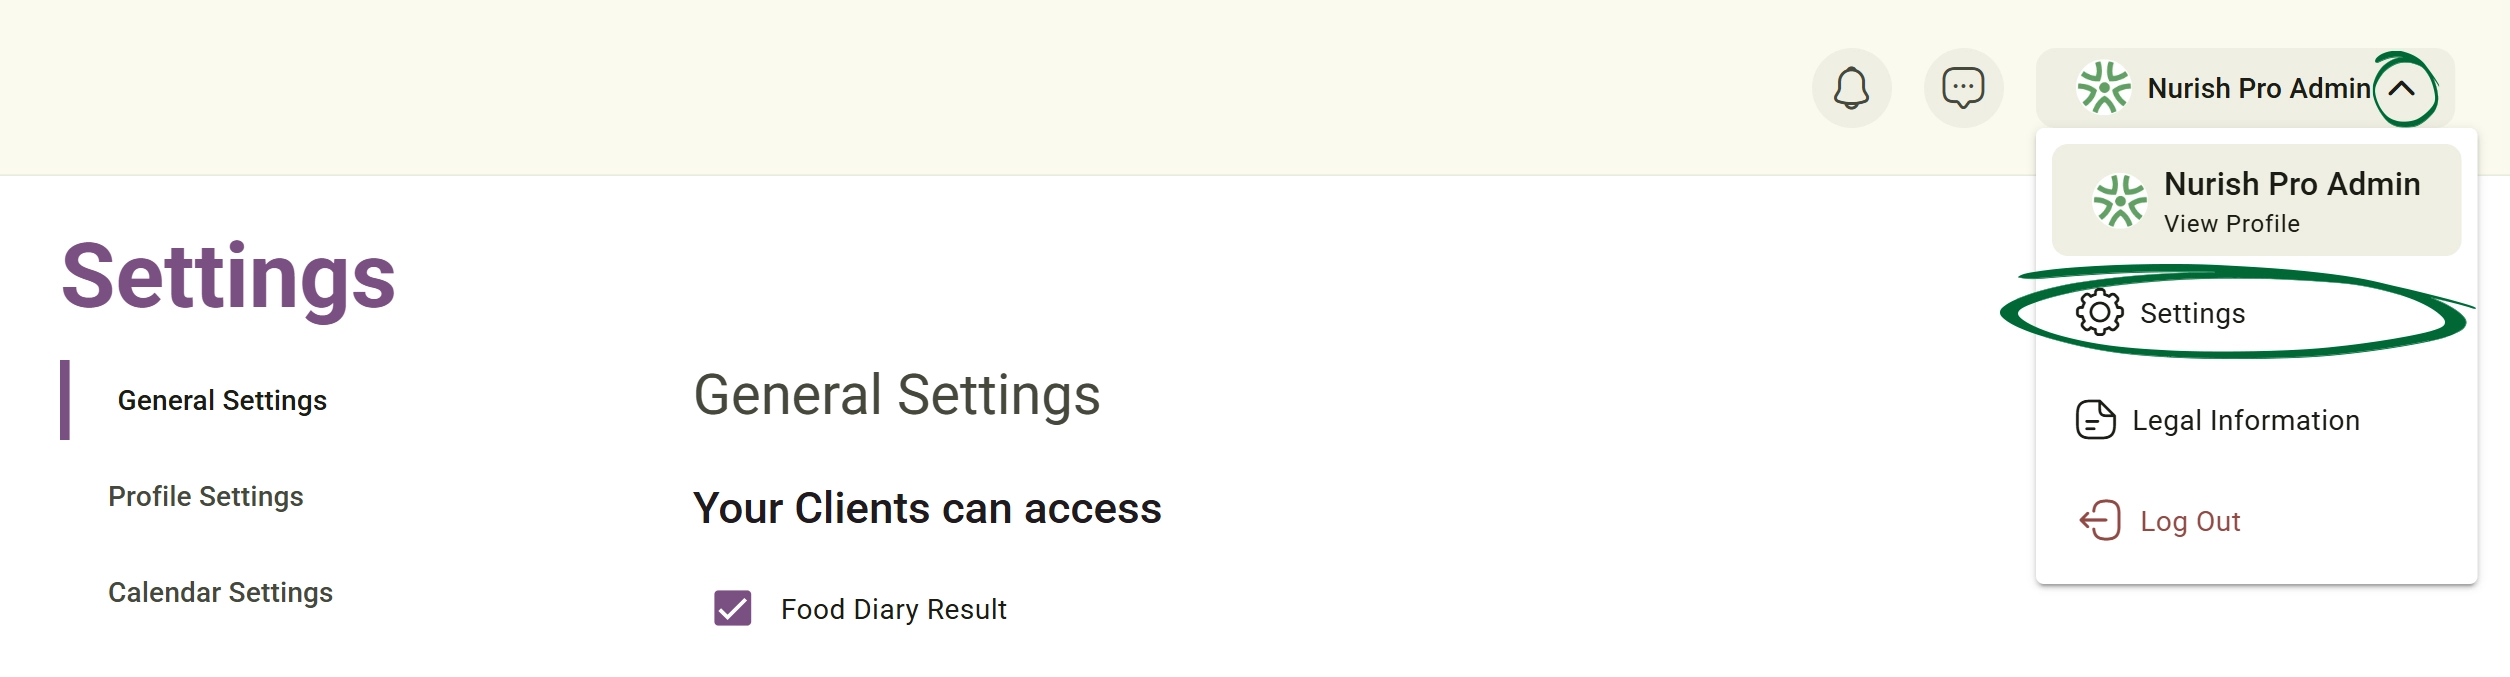
Select your preferred clinical notes framework to be used by your AI Assistant for summarising appointment notes. To view these summaries, locate the client's account, navigate to the Appointments tab, and select AI Notes within the specific appointment.
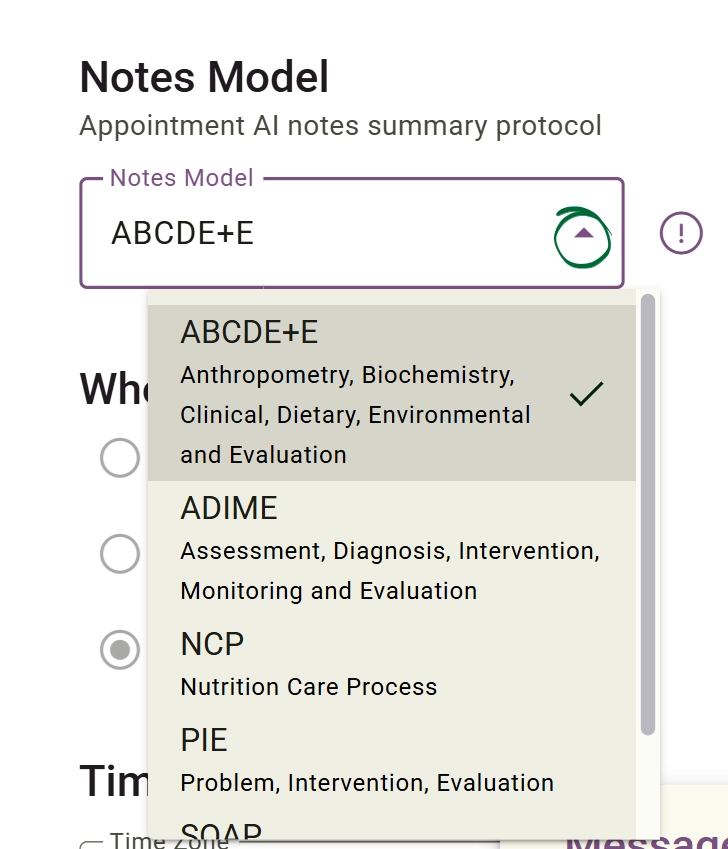
Supported models include:
- ABCDE+E, which stands for Anthropometry, Biochemistry, Clinical, Dietary, Environmental and Evaluation
- ADIME, which stands for Assessment, Diagnosis, Intervention, Monitoring and Evaluation
- NCP, which stands for Nutrition Care Process
- PIE, which stands for Problem, Intervention, Evaluation
- SOAP, which stands for Subjective, Objective, Assessment, and Plan
Note: You can view a live example of the summary format each model creates by clicking the information icon (ⓘ) next to the dropdown menu.
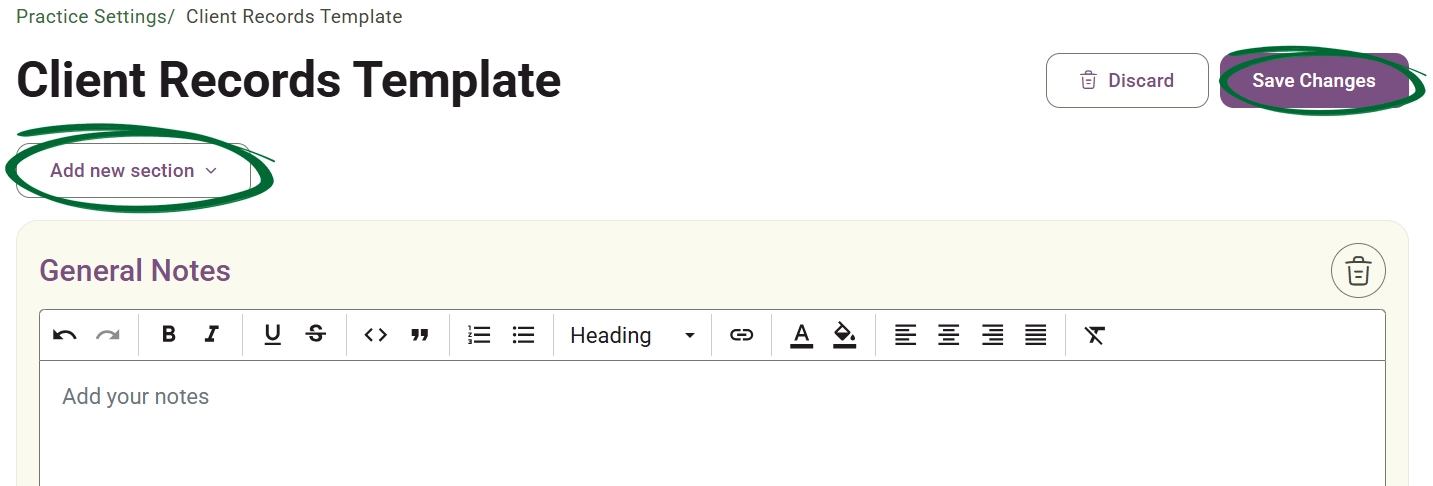
Click Update Client Records Template to tailor the structure used when recording details in a client’s profile. This template allows you to manage:
- General Notes:Utilize the rich-text editor with some enabled formatting options to capture general clinical remarks.
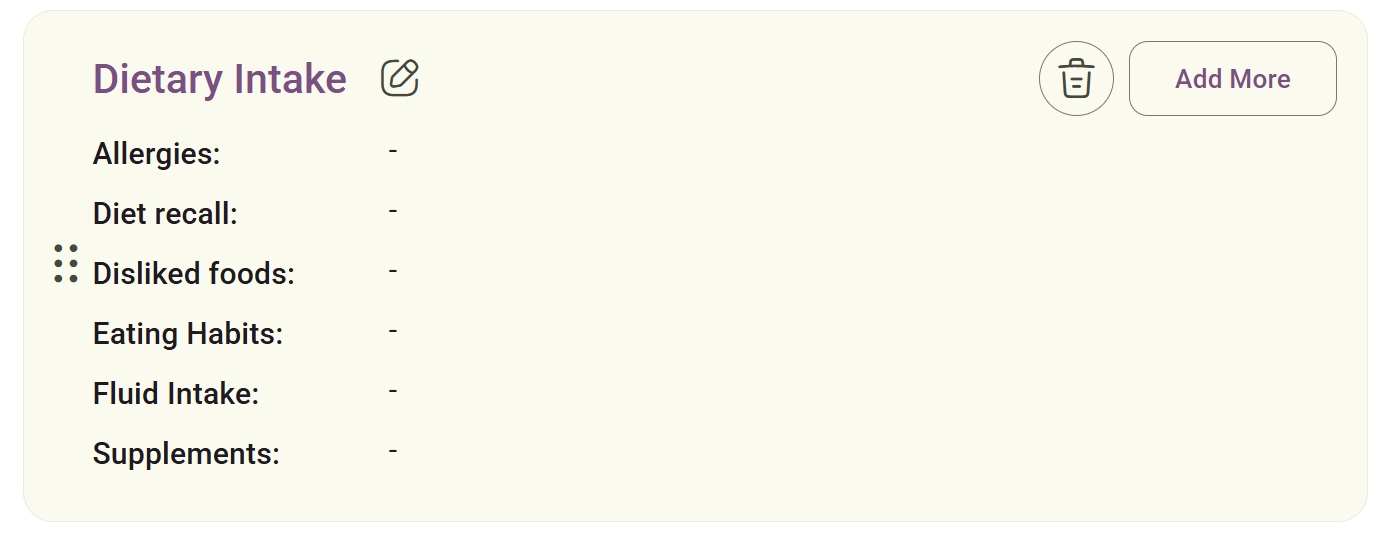
- Template Sections & Fields:View and edit a structured data categories including General Info, Measurements, Clinical Data, Women Health, Dietary Intake, Habits, Monitoring.
- Section Controls: Use the edit pencil icon to modify categories, the "Add More" button to introduce custom fields, or the trash icon to delete unwanted blocks. Reorder elements as needed using the drag-and-drop handles (⋮⋮).
- Adding New Sections: Click the "Add new section" dropdown button at the top to select preset sections like Environmental Factors, or click + Add new section from the dropdown to create a custom category.
- Saving Changes: Click Save Changes in the top-right corner to apply your updated layout across client records, or select Discard to revert modifications.
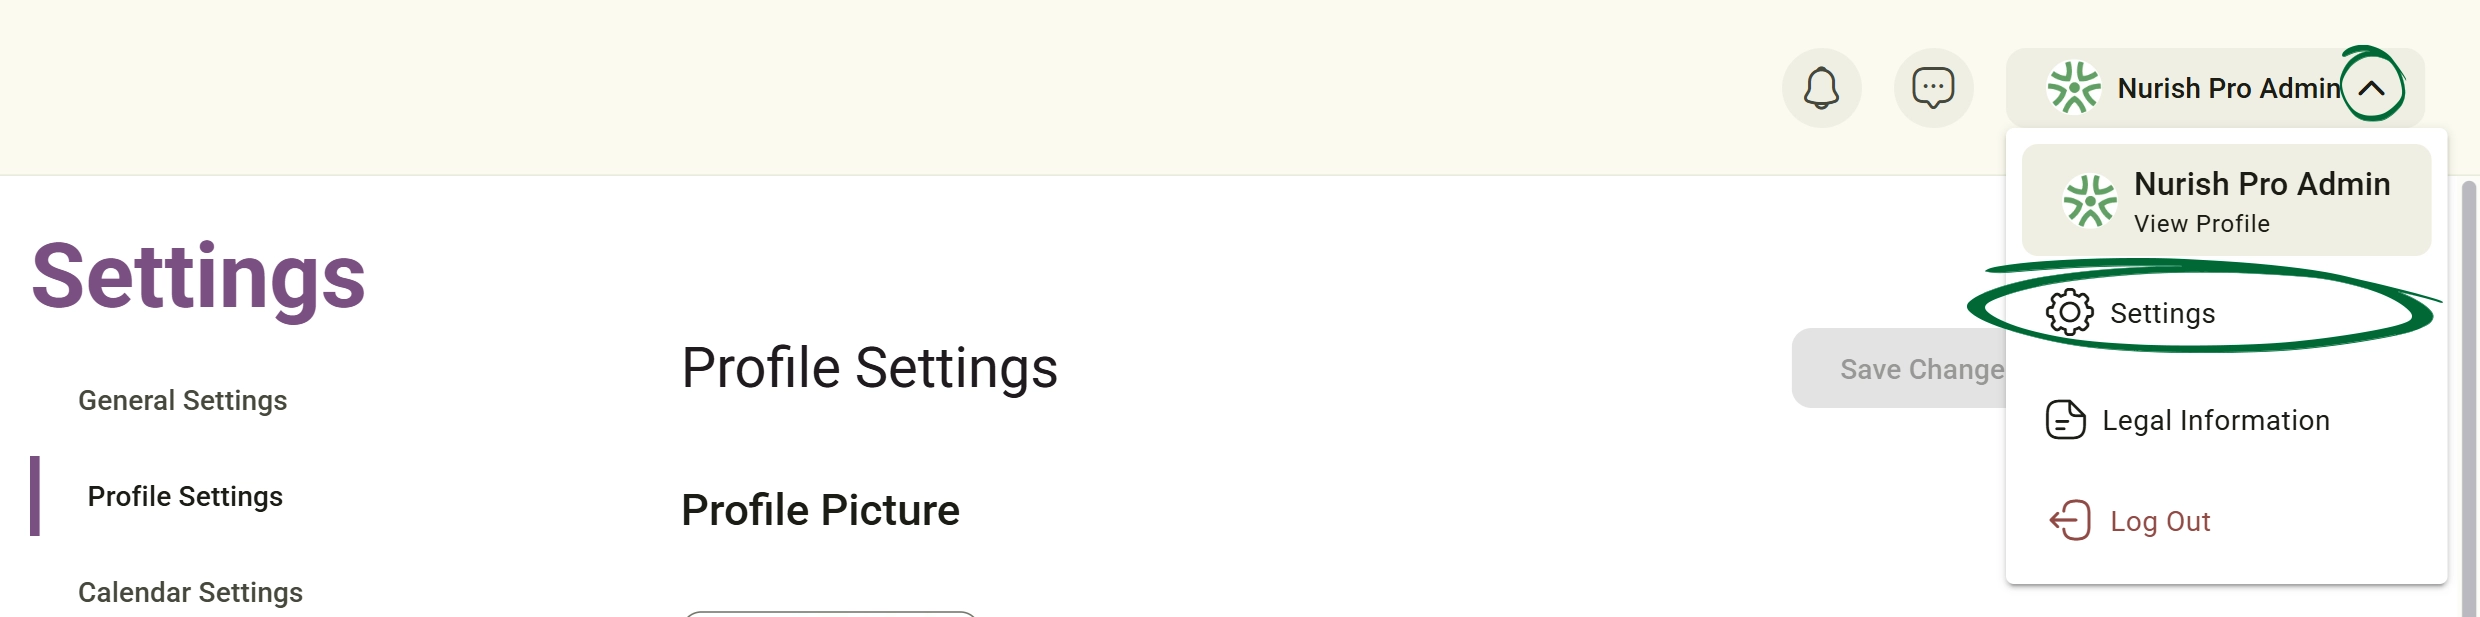
Maintain your professional profile and public practitioner information.
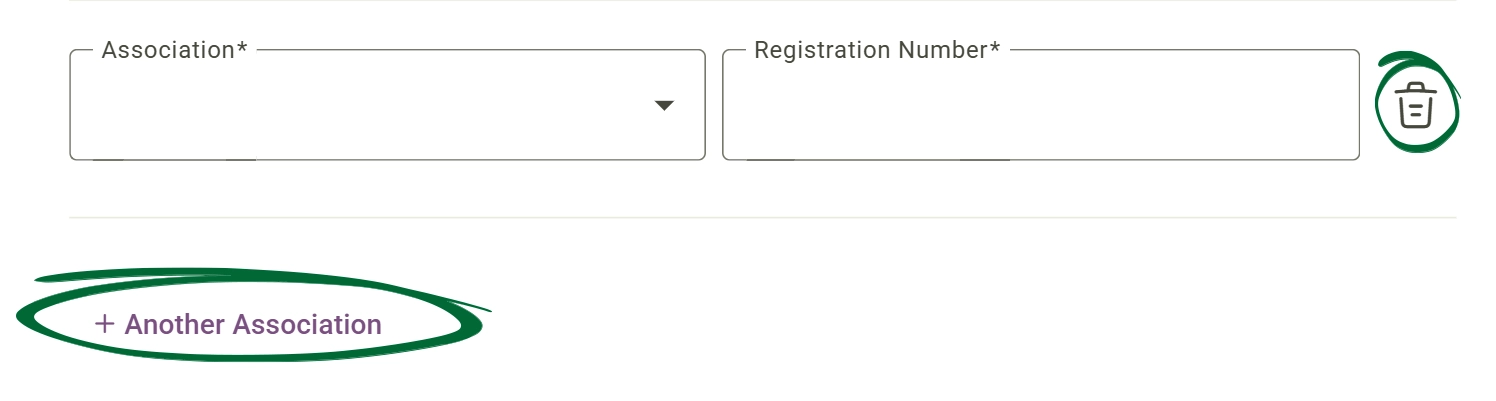
Add multiple professional memberships to your profile along with their corresponding registration details.
You can:
- Enter Registration Numbers: input official credentials for each association.
- Remove Associations: Easily delete a membership record from your profile at any time.
Connect your external profiles to help clients find you across different digital channels.
Supported platforms include:
- Social Media: Facebook, WhatsApp, Telegram, Instagram, Twitter, Snapchat, TikTok, Pinterest, Tumblr
- Professional Networking: LinkedIn, Meetup
- Your Websites: or any customised URL using the "Other" option
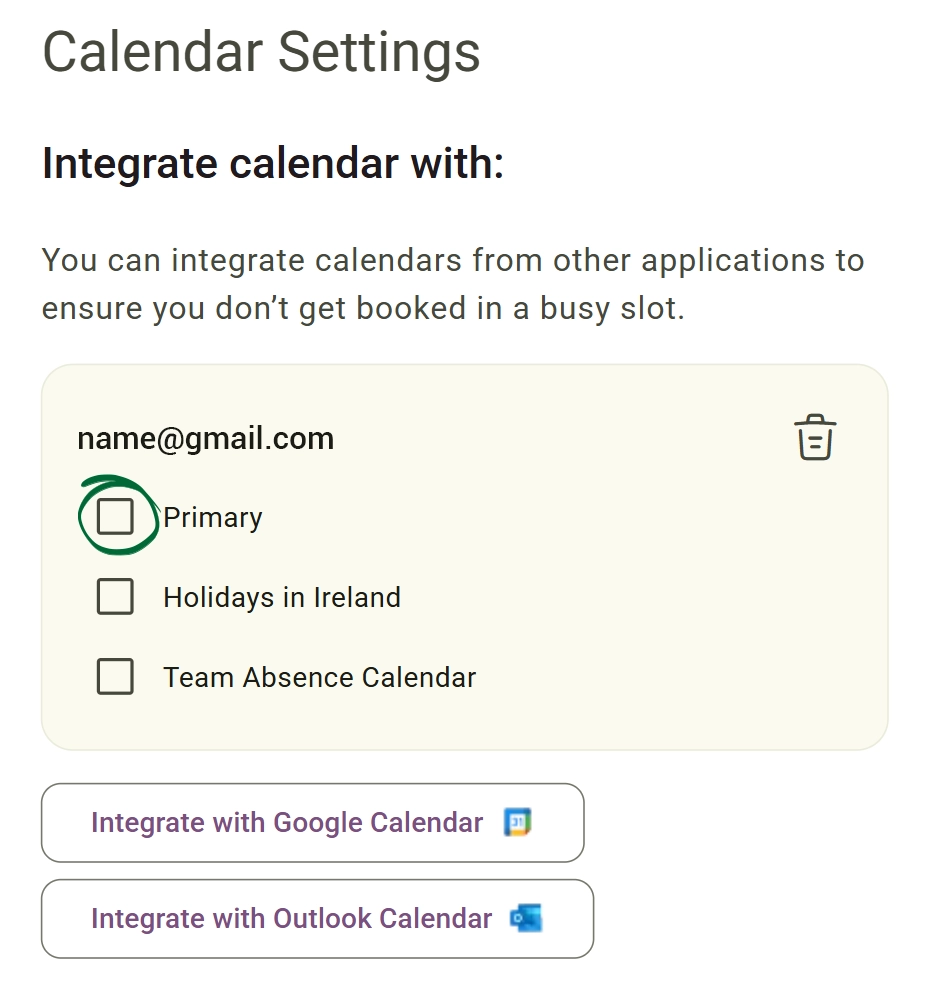
Connect and synchronise multiple external calendar accounts to view all your personal and professional commitments in one central location. You can link multiple accounts across different providers and select exactly which sub-calendars should be active to avoid booking conflicts.
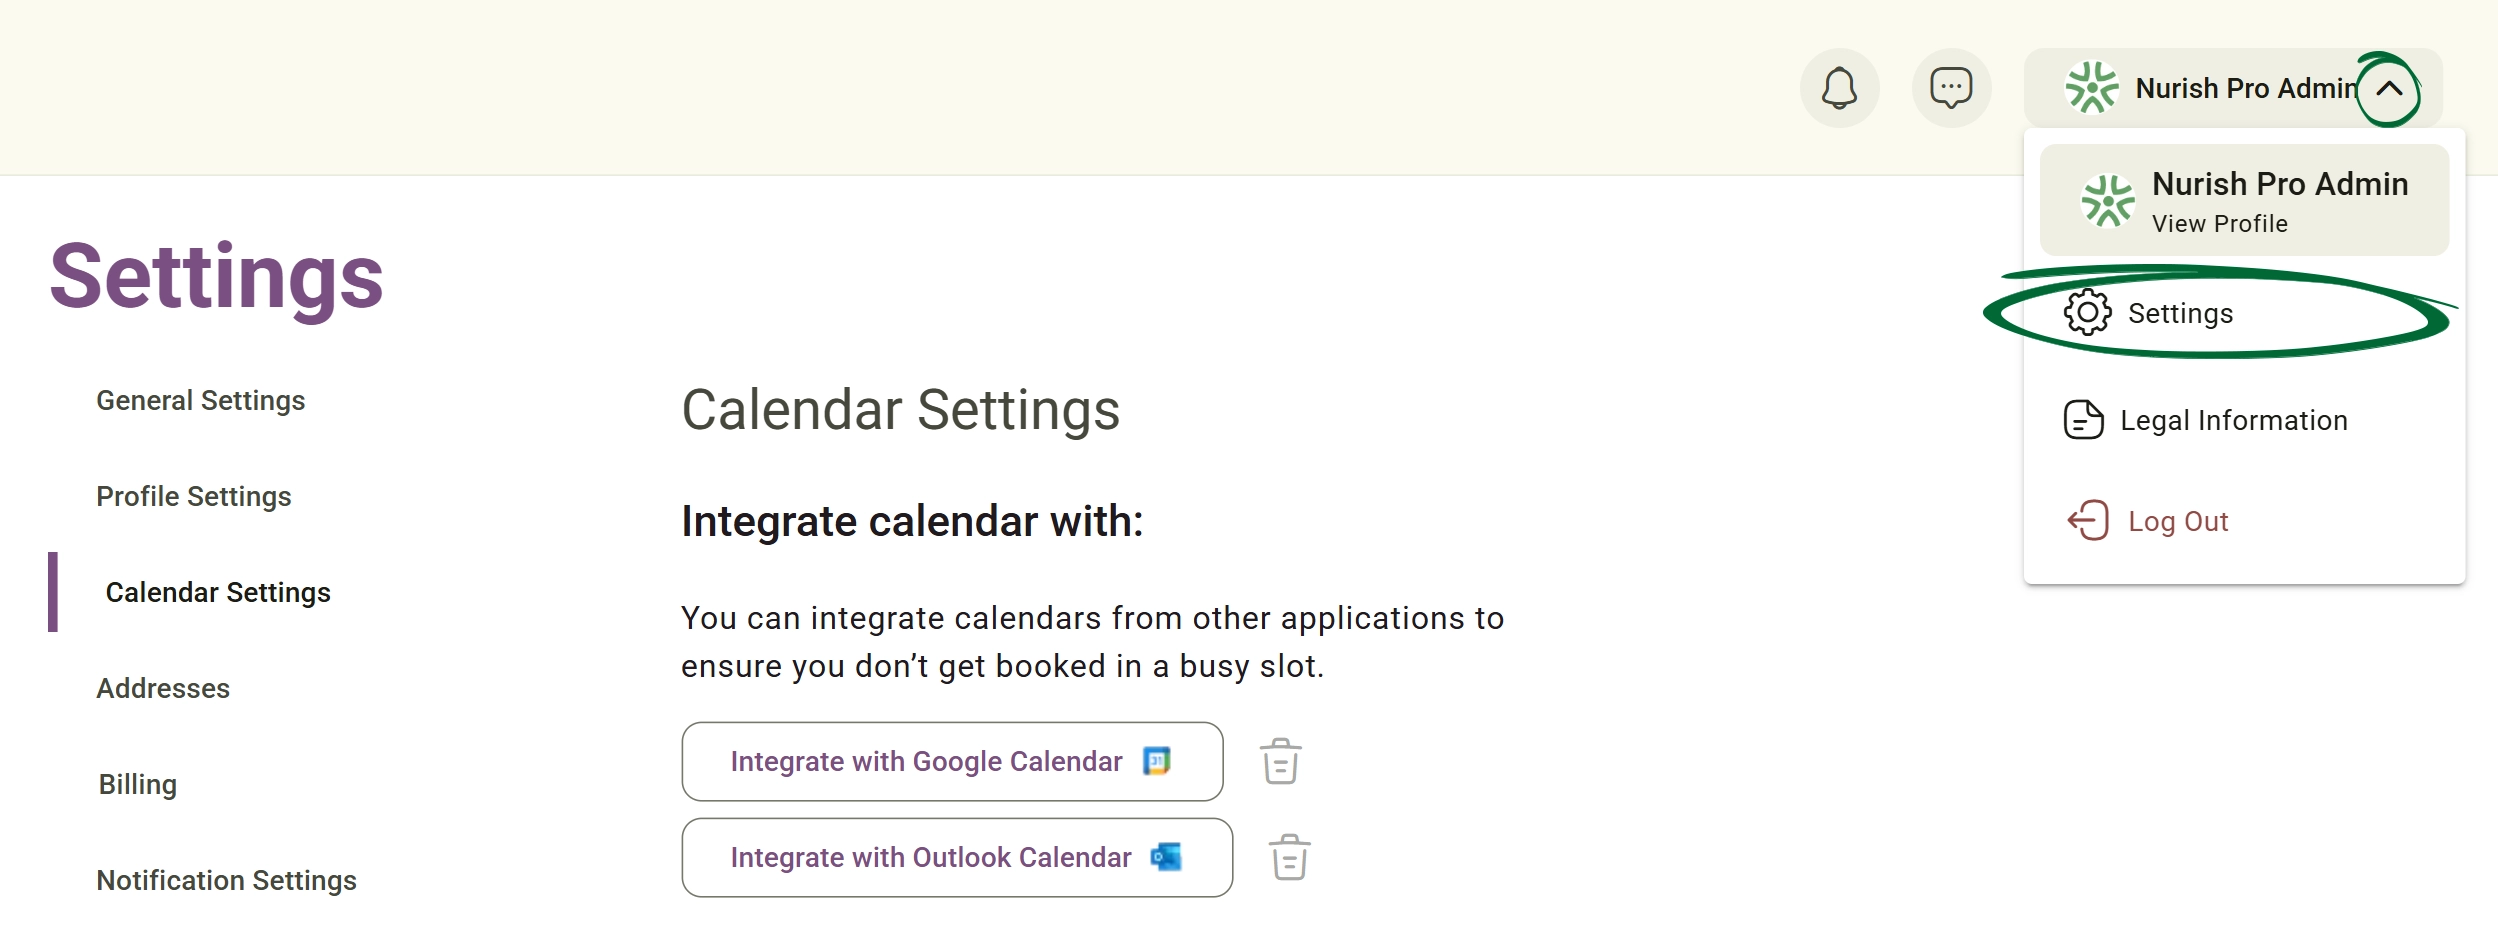
Click either the Integrate with Google Calendar or Integrate with Outlook Calendar button. Follow the on-screen prompts to log in and authorise the connection. You can repeat this process to link multiple separate email accounts.
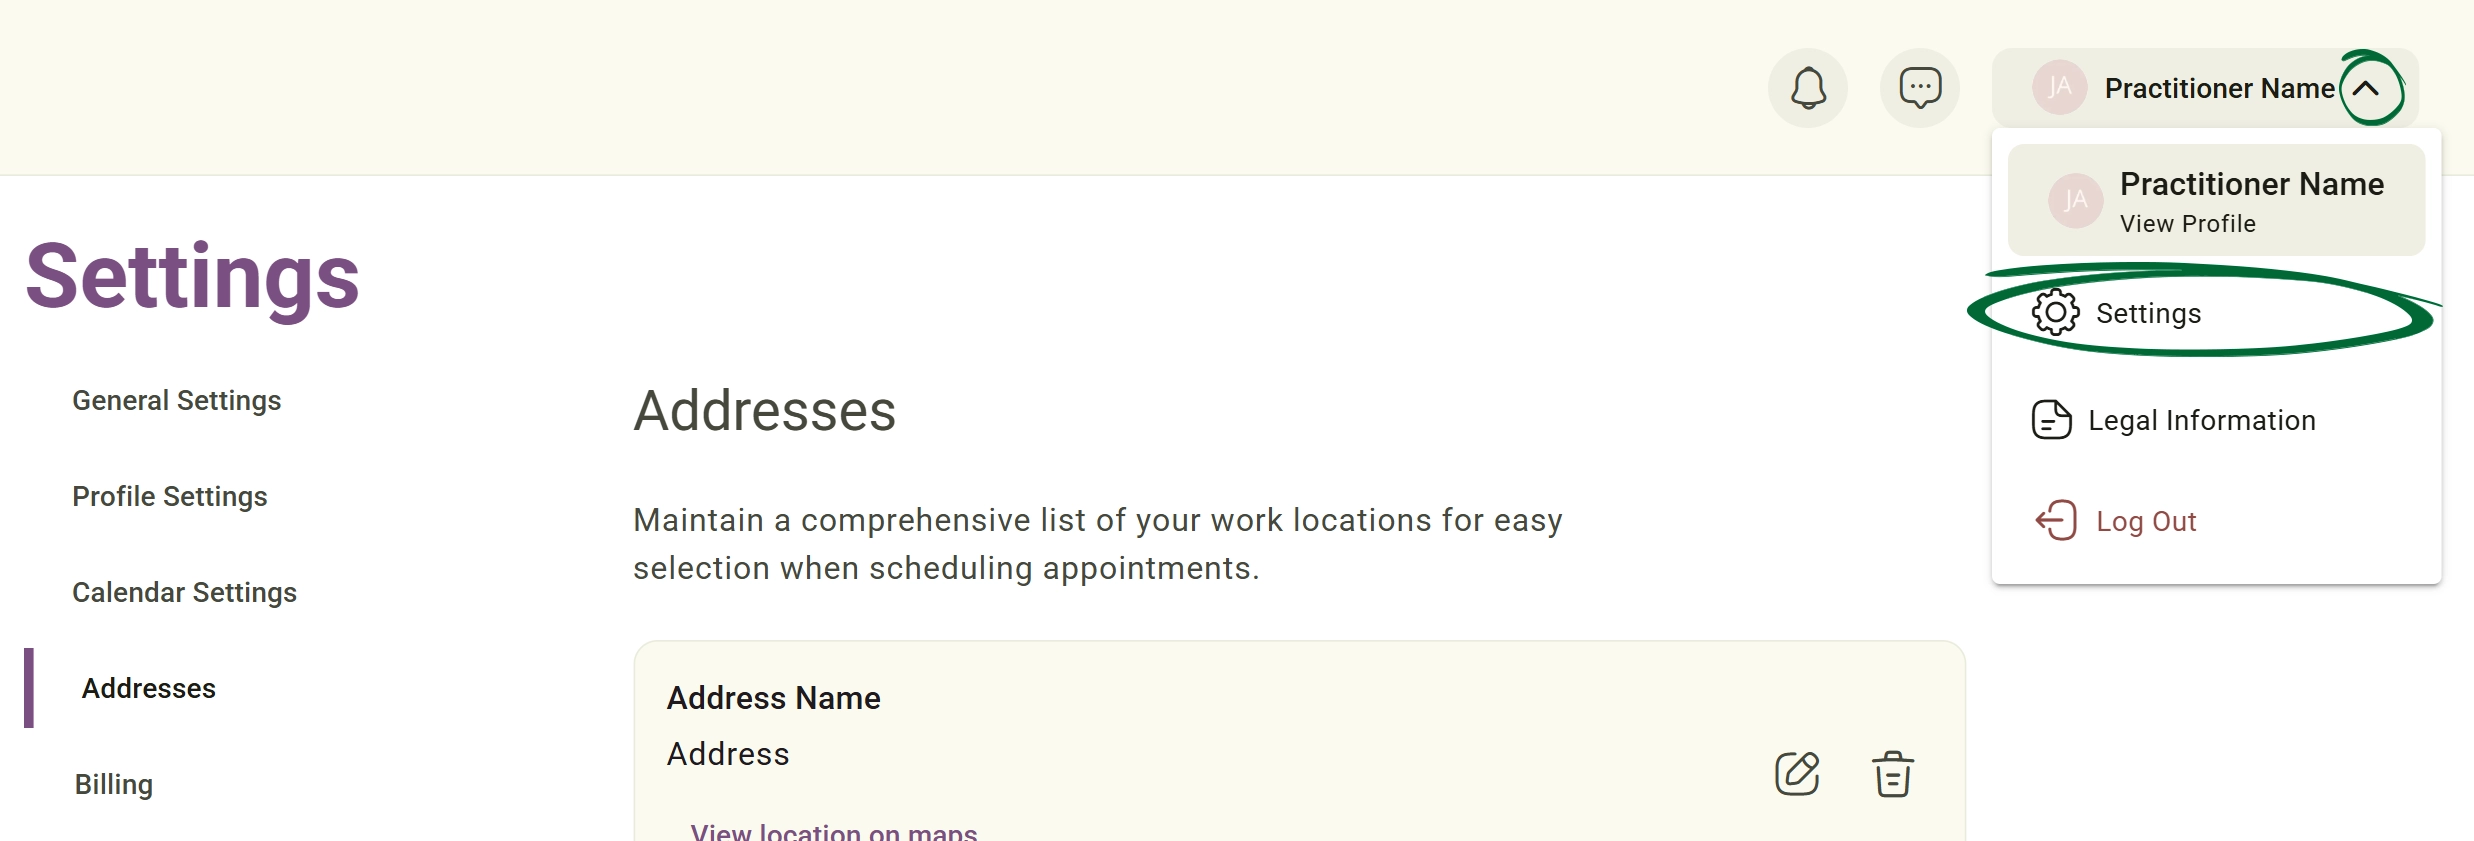
Maintain a comprehensive list of your work locations for easy selection when scheduling appointments.
Open and verify the saved Maps URL
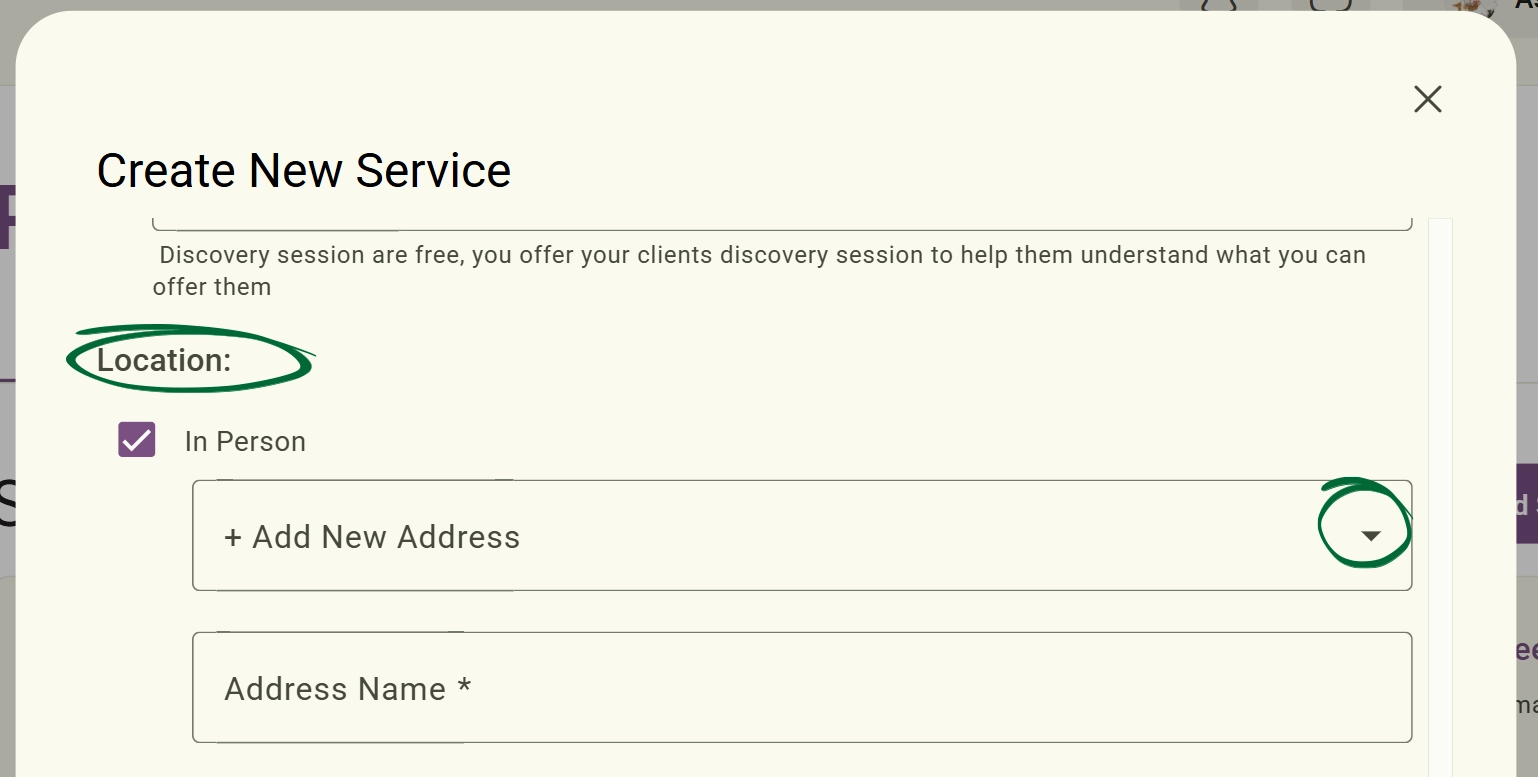
Note: Selecting an In-Person location type will automatically display a dropdown menu populated with your saved Addresses. You can utilise your addresses of the in-person locations when:- Creating a new Program (such as services or group classes).
- Scheduling a new appointment directly from the Calendar.
You can also add a new address on the fly by selecting the "+ Add New Address" option directly from the dropdown menu while creating a service, or a group class.
Manage how and when you receive platform notifications.
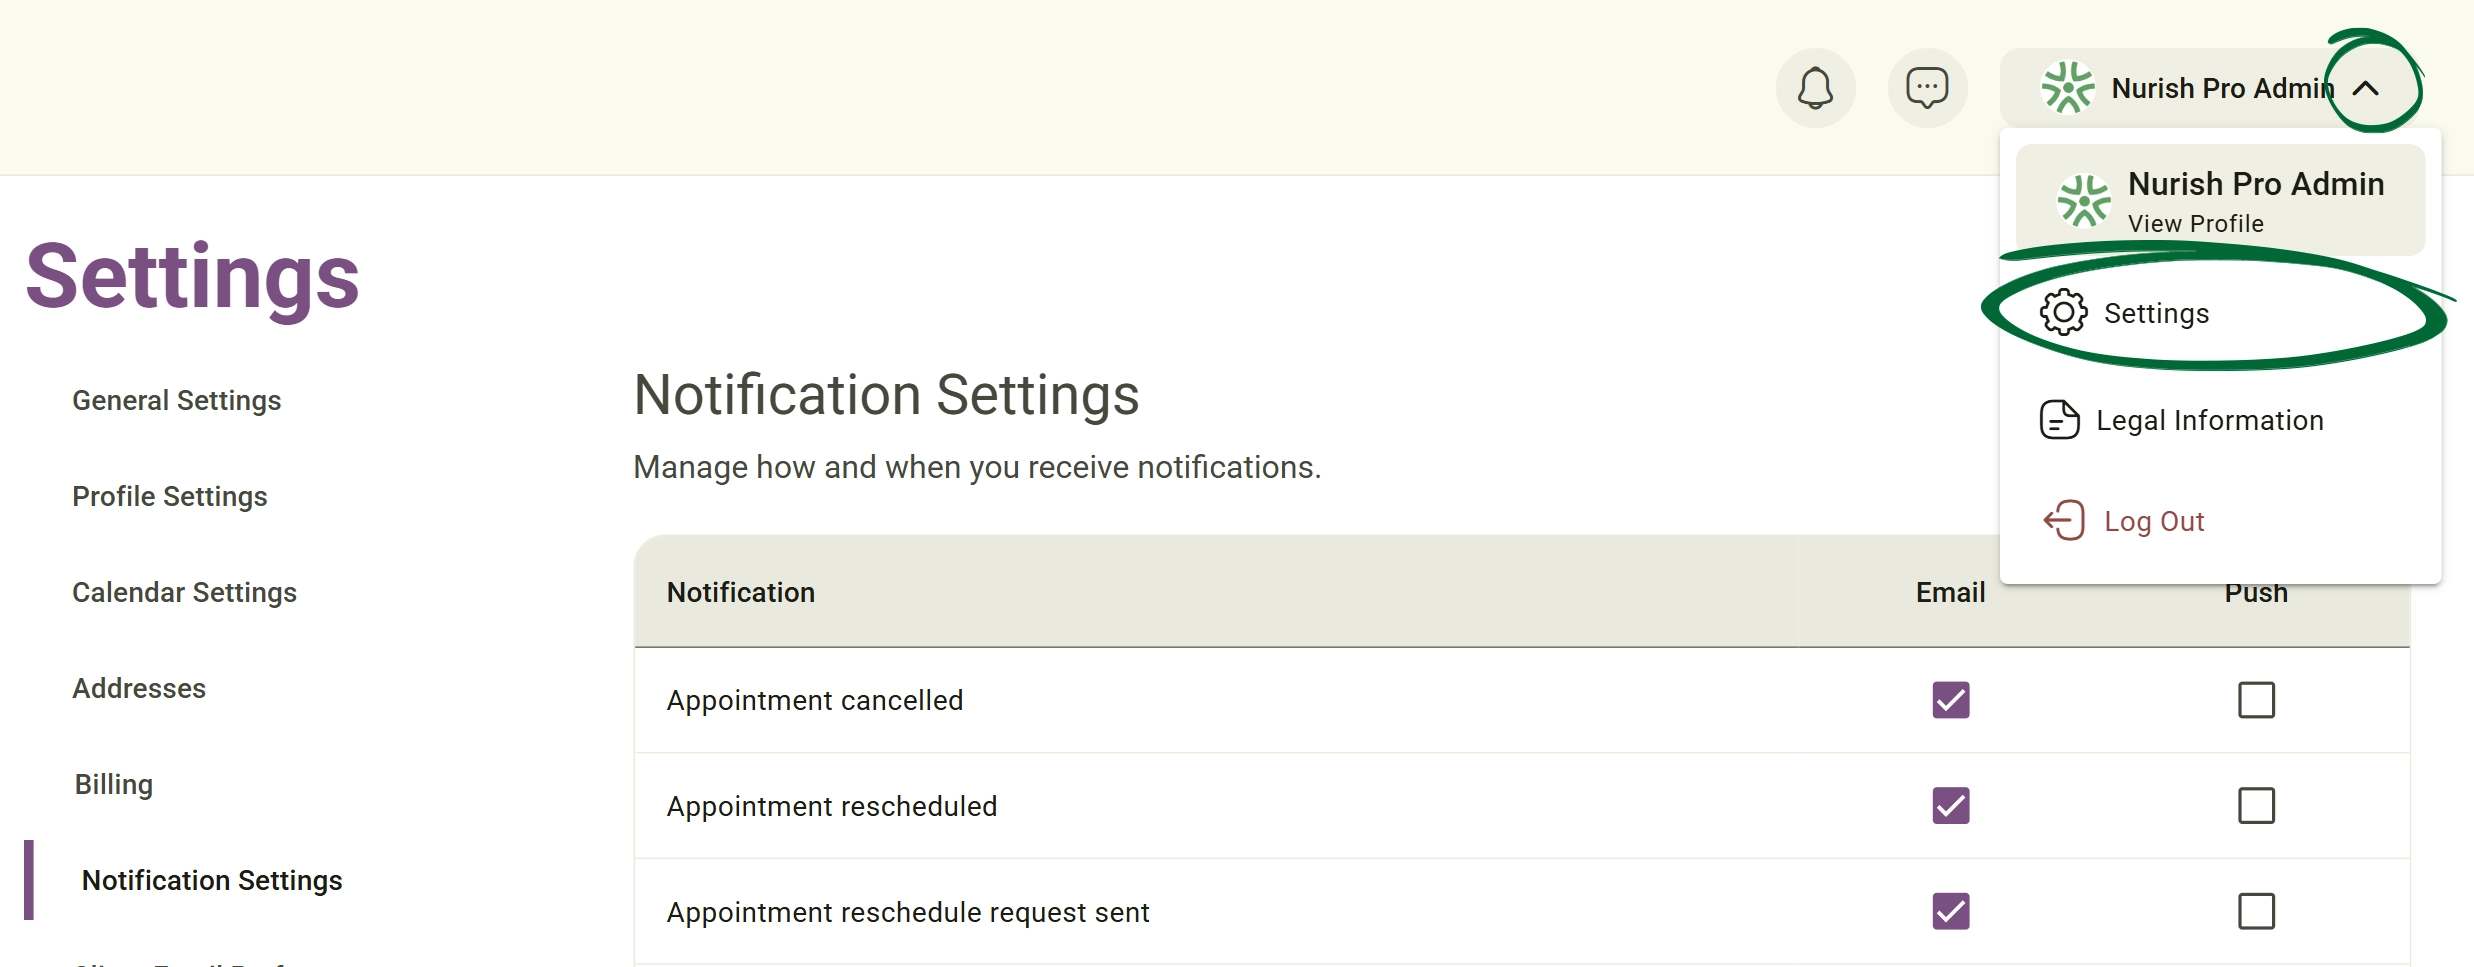
Each notification can be configured for: Email Notifications and Push Notifications.
Supported notification types include: Appointment Cancelled / Appointment Rescheduled / Appointment Reschedule Request Sent / Client Form Answer Submitted / New Appointment Scheduled / New Message Received / New Programme Enrolment
Customise your outgoing client communications and automated email templates.
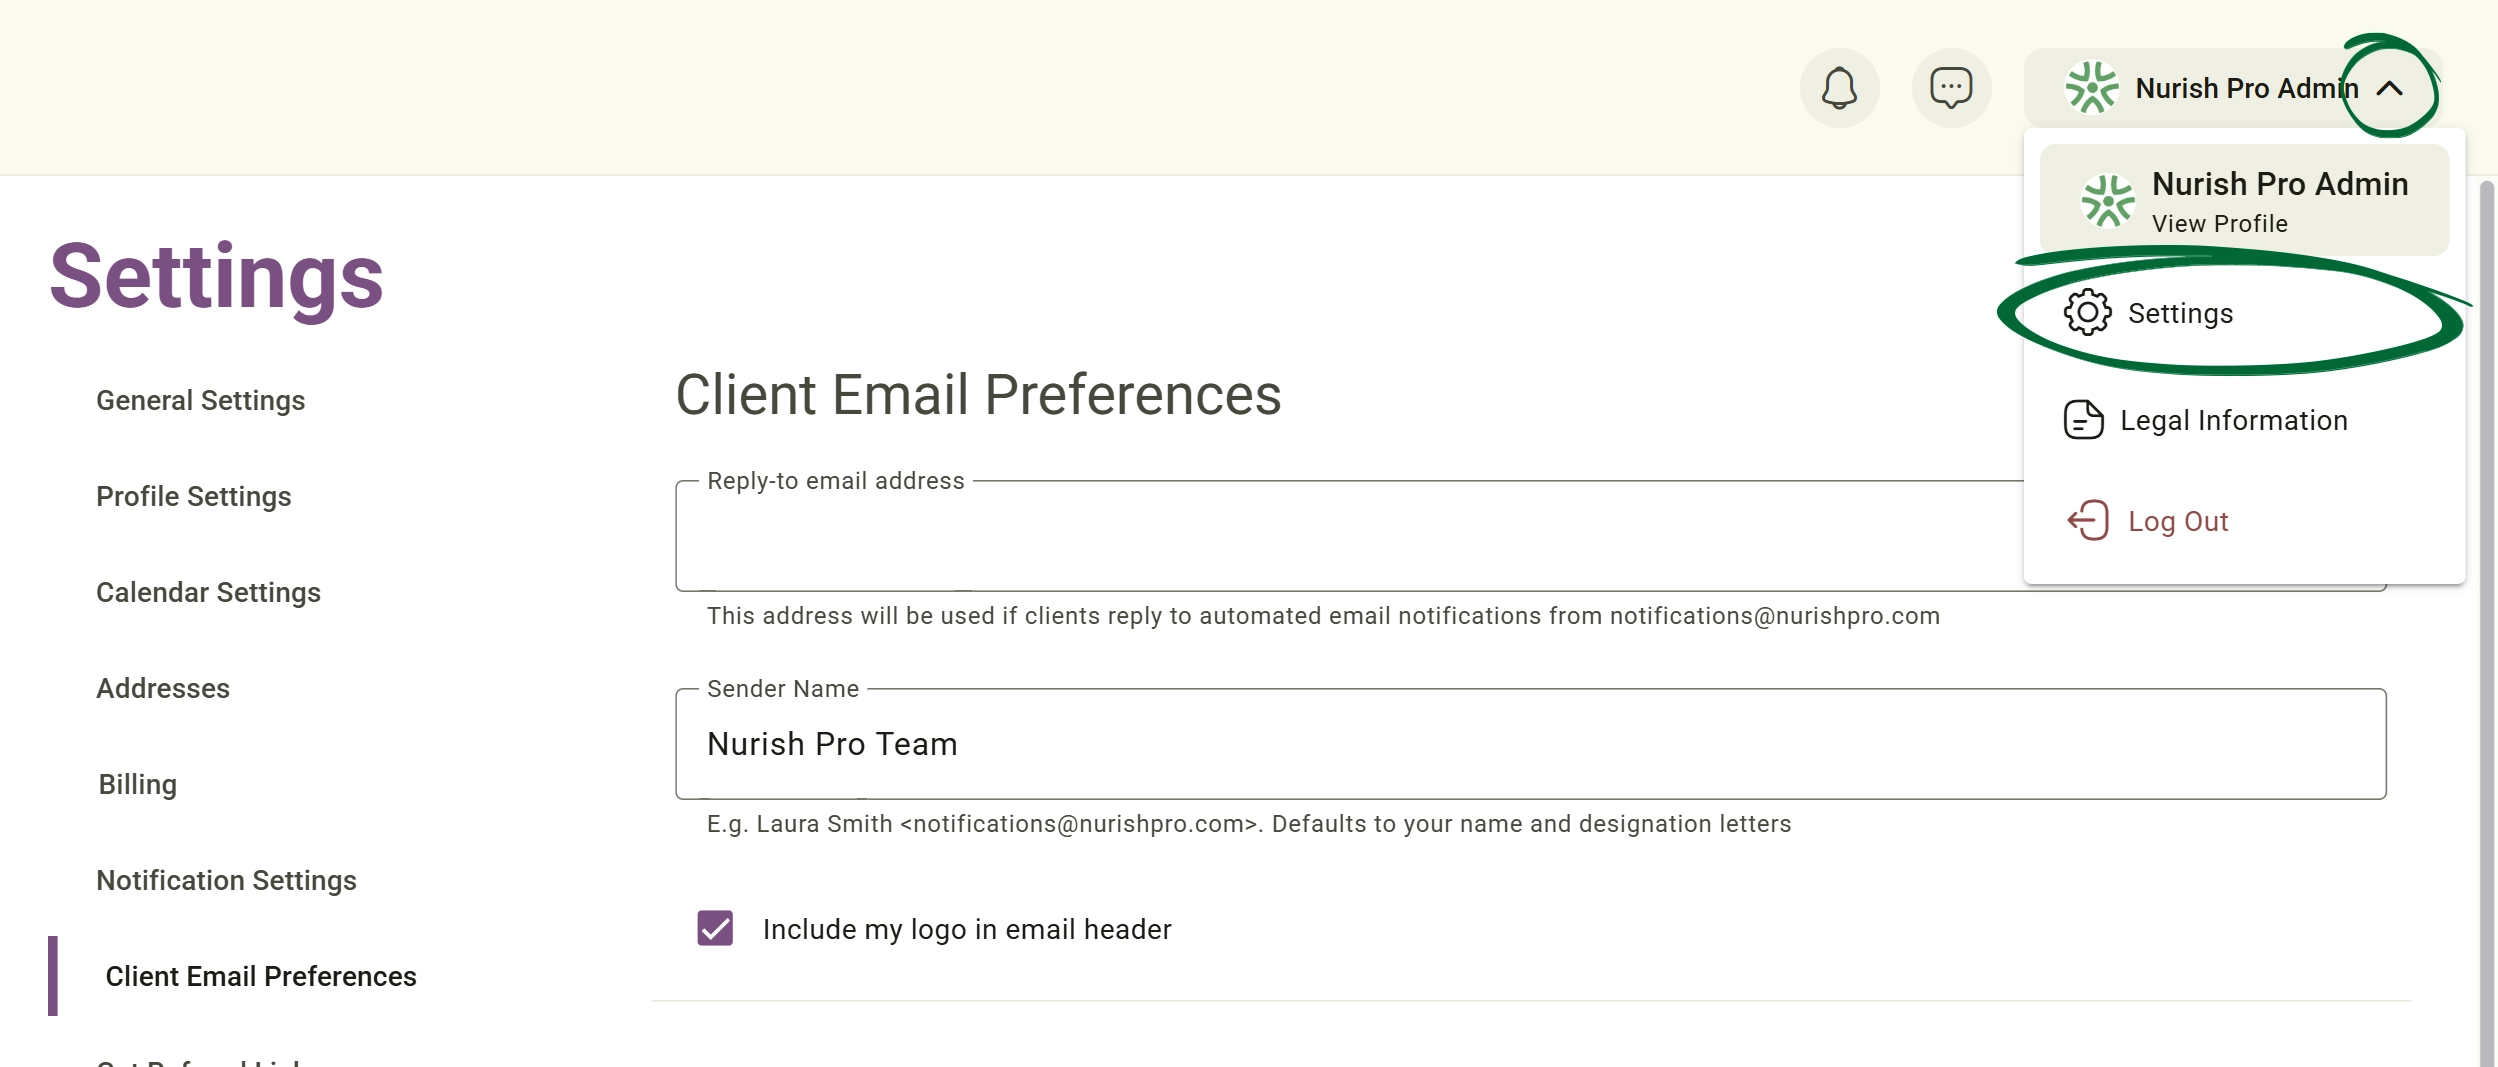
Scroll down to the Email Templates to view your system-generated templates, such as:
- Send a document to a client
- Send a form to a client
- Send a plan to a client
- Invite a new client
- Send a reminder to my client about our appointment
- Appointment scheduling confirmation
- Reject the appointment booked by a client
- Request to reschedule an appointment created by a client
- Programme Payment Instruction
Press any template to Preview, and modify the template's subject and content.
Note: The layout includes a permanent system footer showing it was sent via Nurish Pro on your behalf, along with standard support links, confidentiality notices, and mobile app download badges.
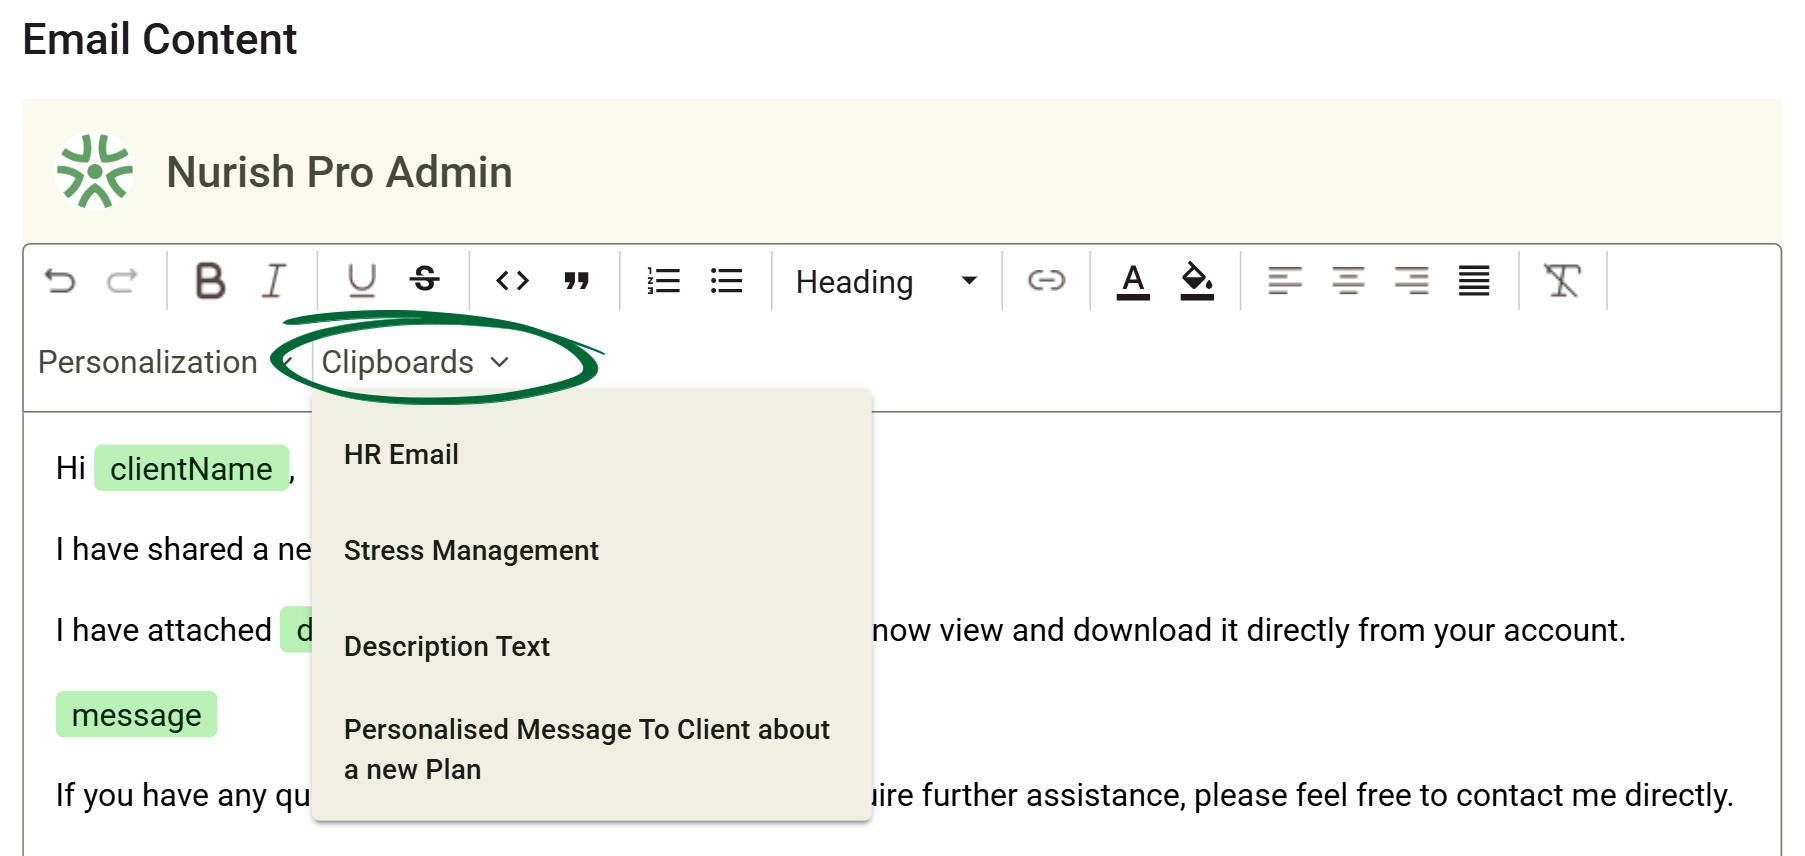
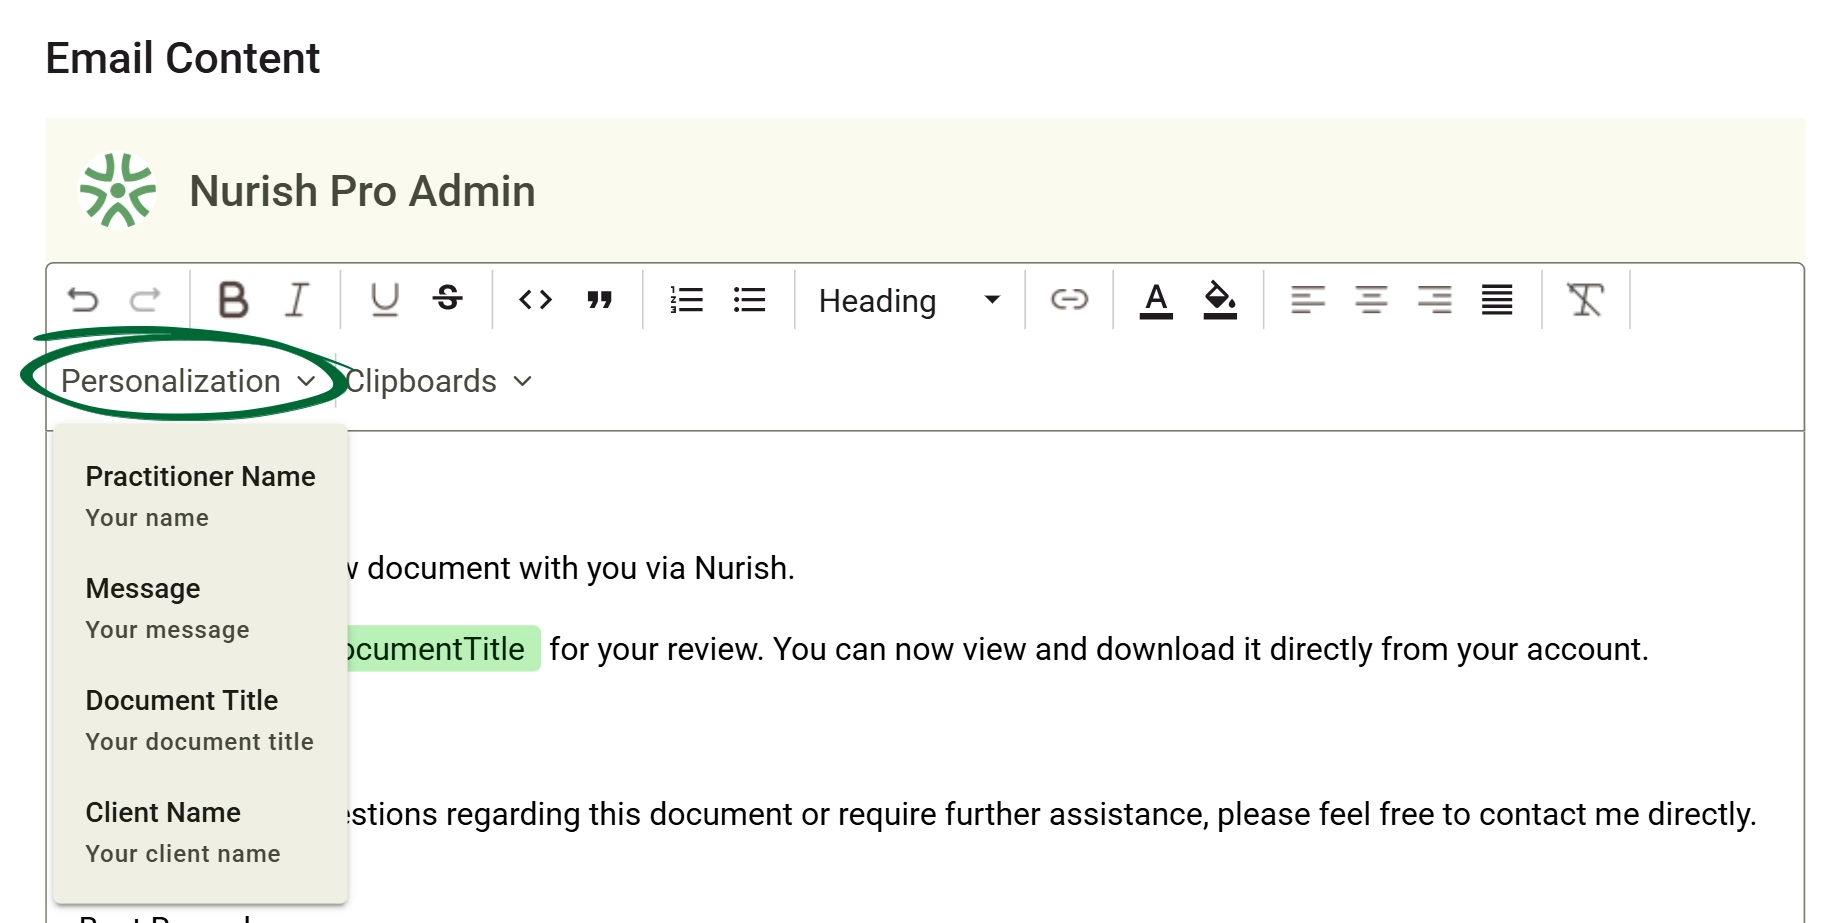
Configure where your placeholders Personalisation will be put. Click the Personalisation dropdown to insert dynamic placeholders that automatically populate unique user data when an email is delivered.
Supported variables include: ClientName / PractitionerName / DocumentTitle / Message
Nurish Pro offers a Referral Rewards Programme to thank our loyal community for spreading the word. The Programme provides incentives for existing customers ("Referrer") to invite friends or colleagues ("Referred Customer") to subscribe to Nurish Pro. To share your referral link with other Practitioners:
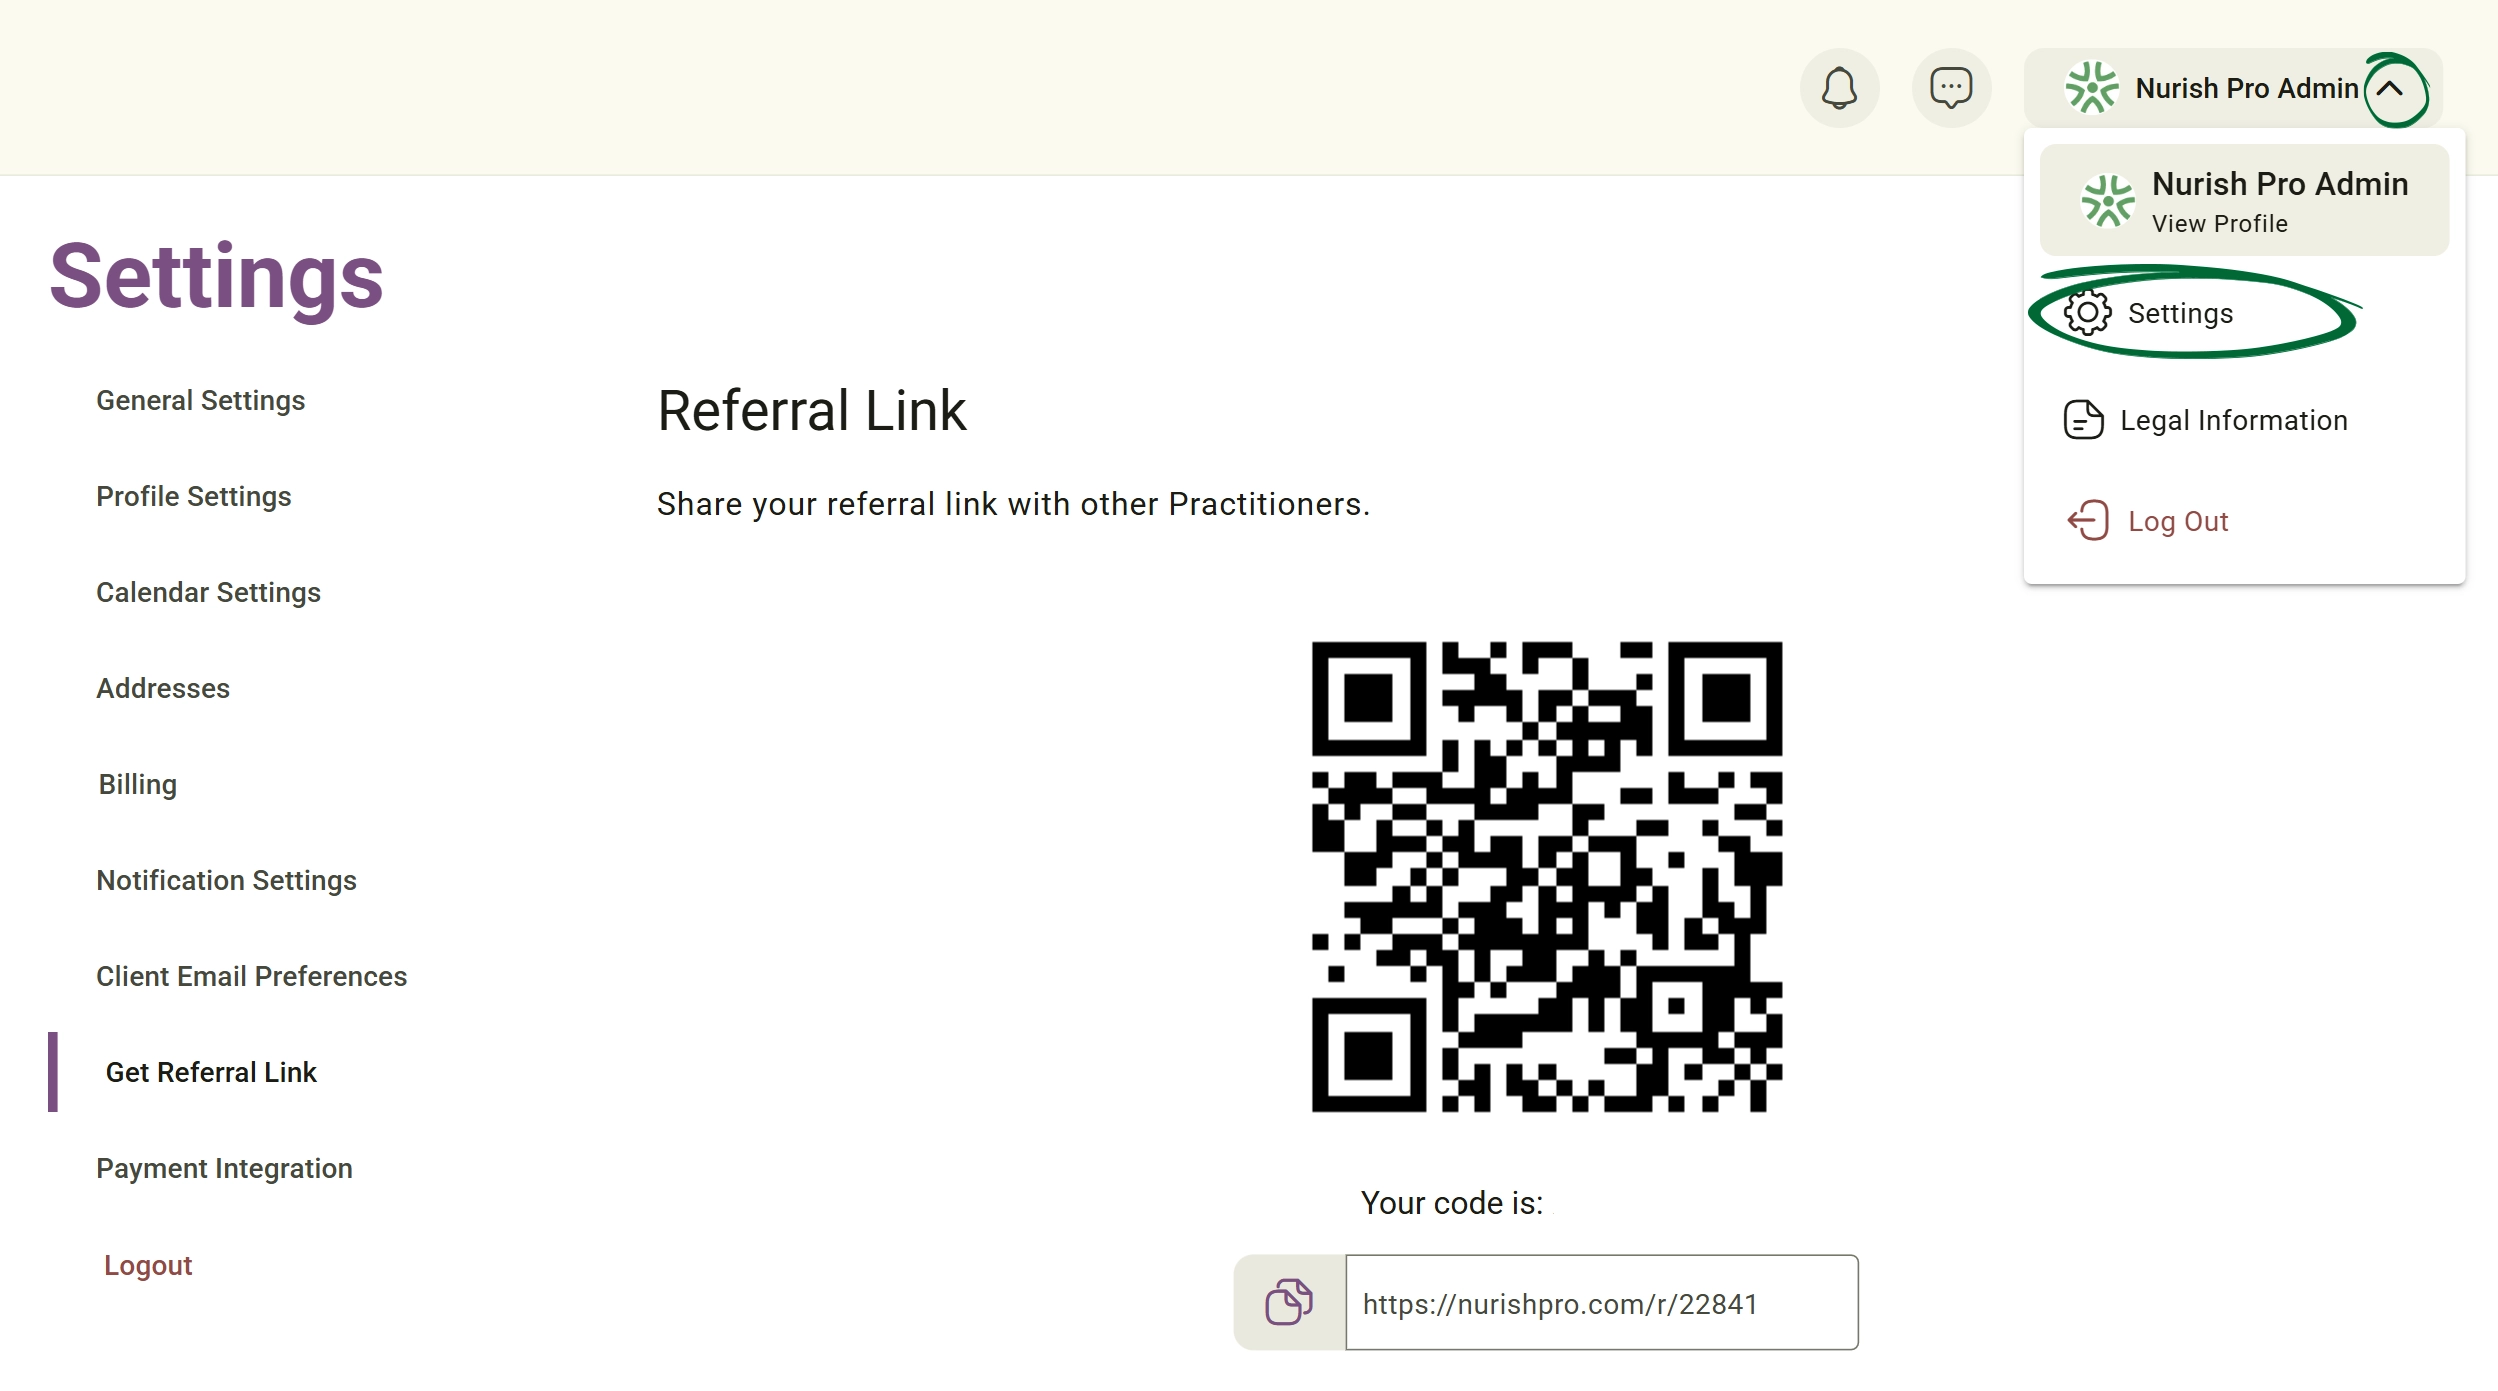
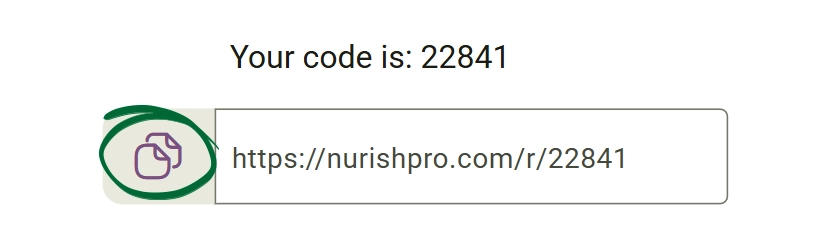
So they can easily register and create an account.
Note: To review the complete reward details and incentives available for both the Referred Customer and the Referrer, please View nurish Pro Referral Rewards.
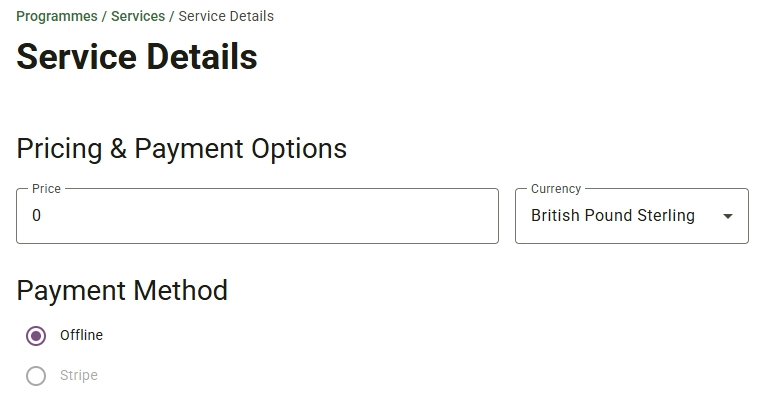
Connect your Stripe account to receive online payments.
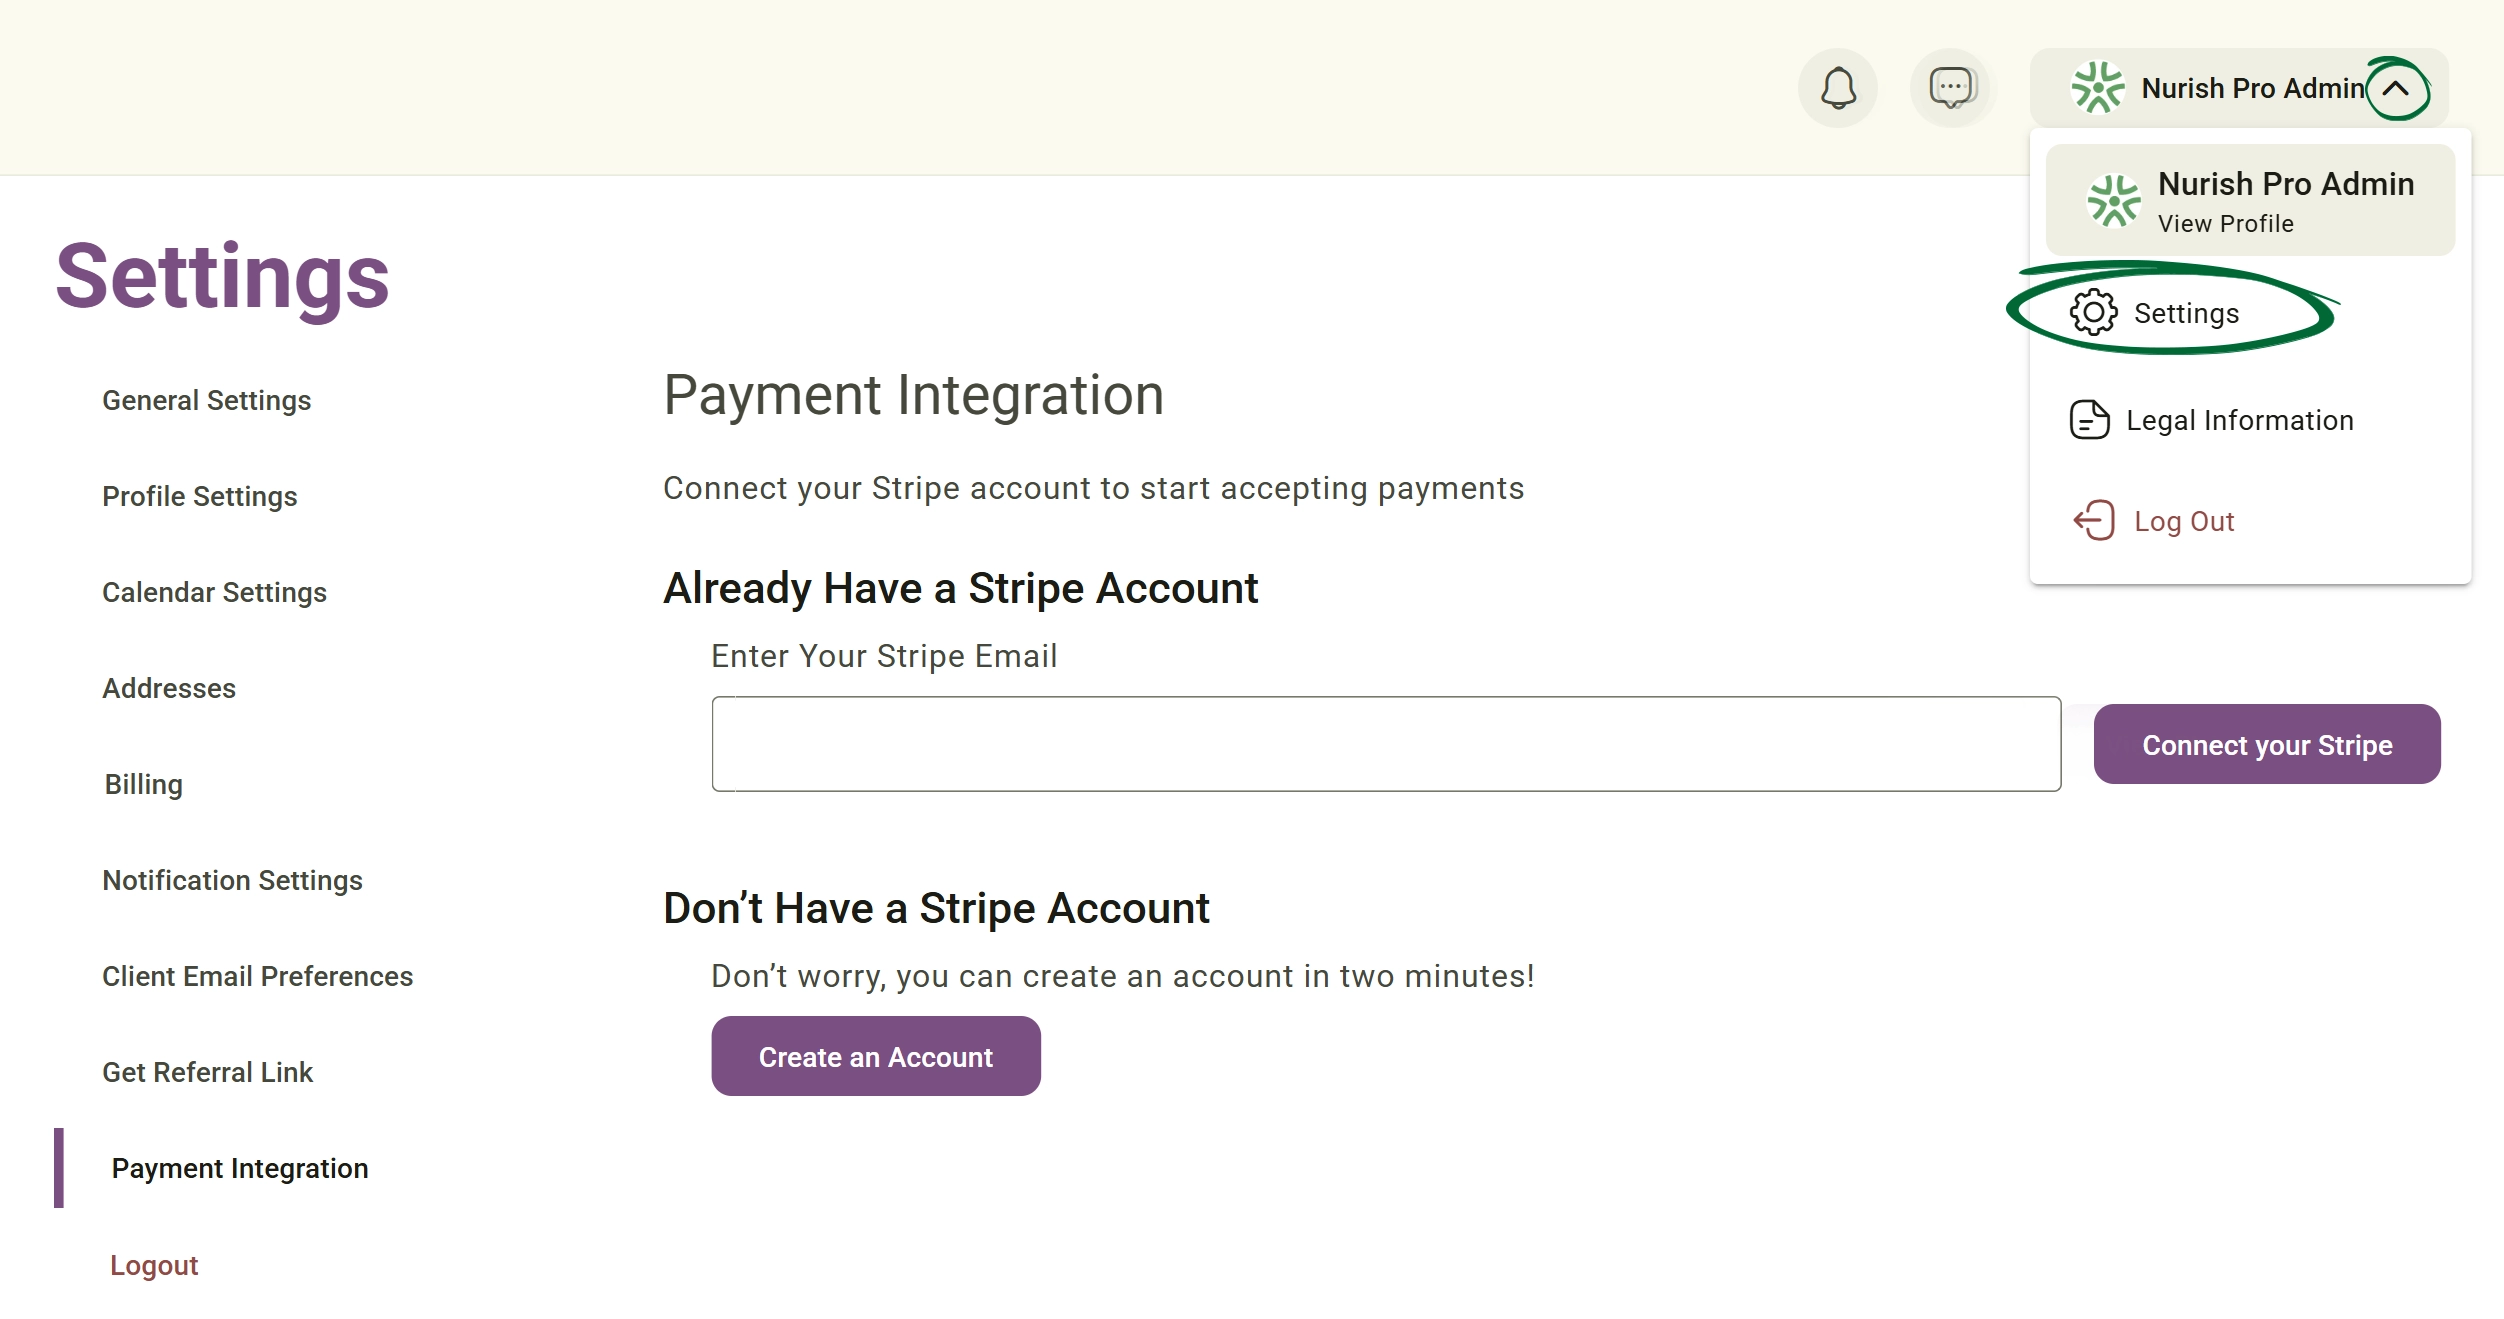
Your billing details reflect the payments made for your monthly or yearly Nurish Pro subscription. From this section, you can easily manage your subscription plan, view or download invoices and receipts, and track your complete billing history in one place.
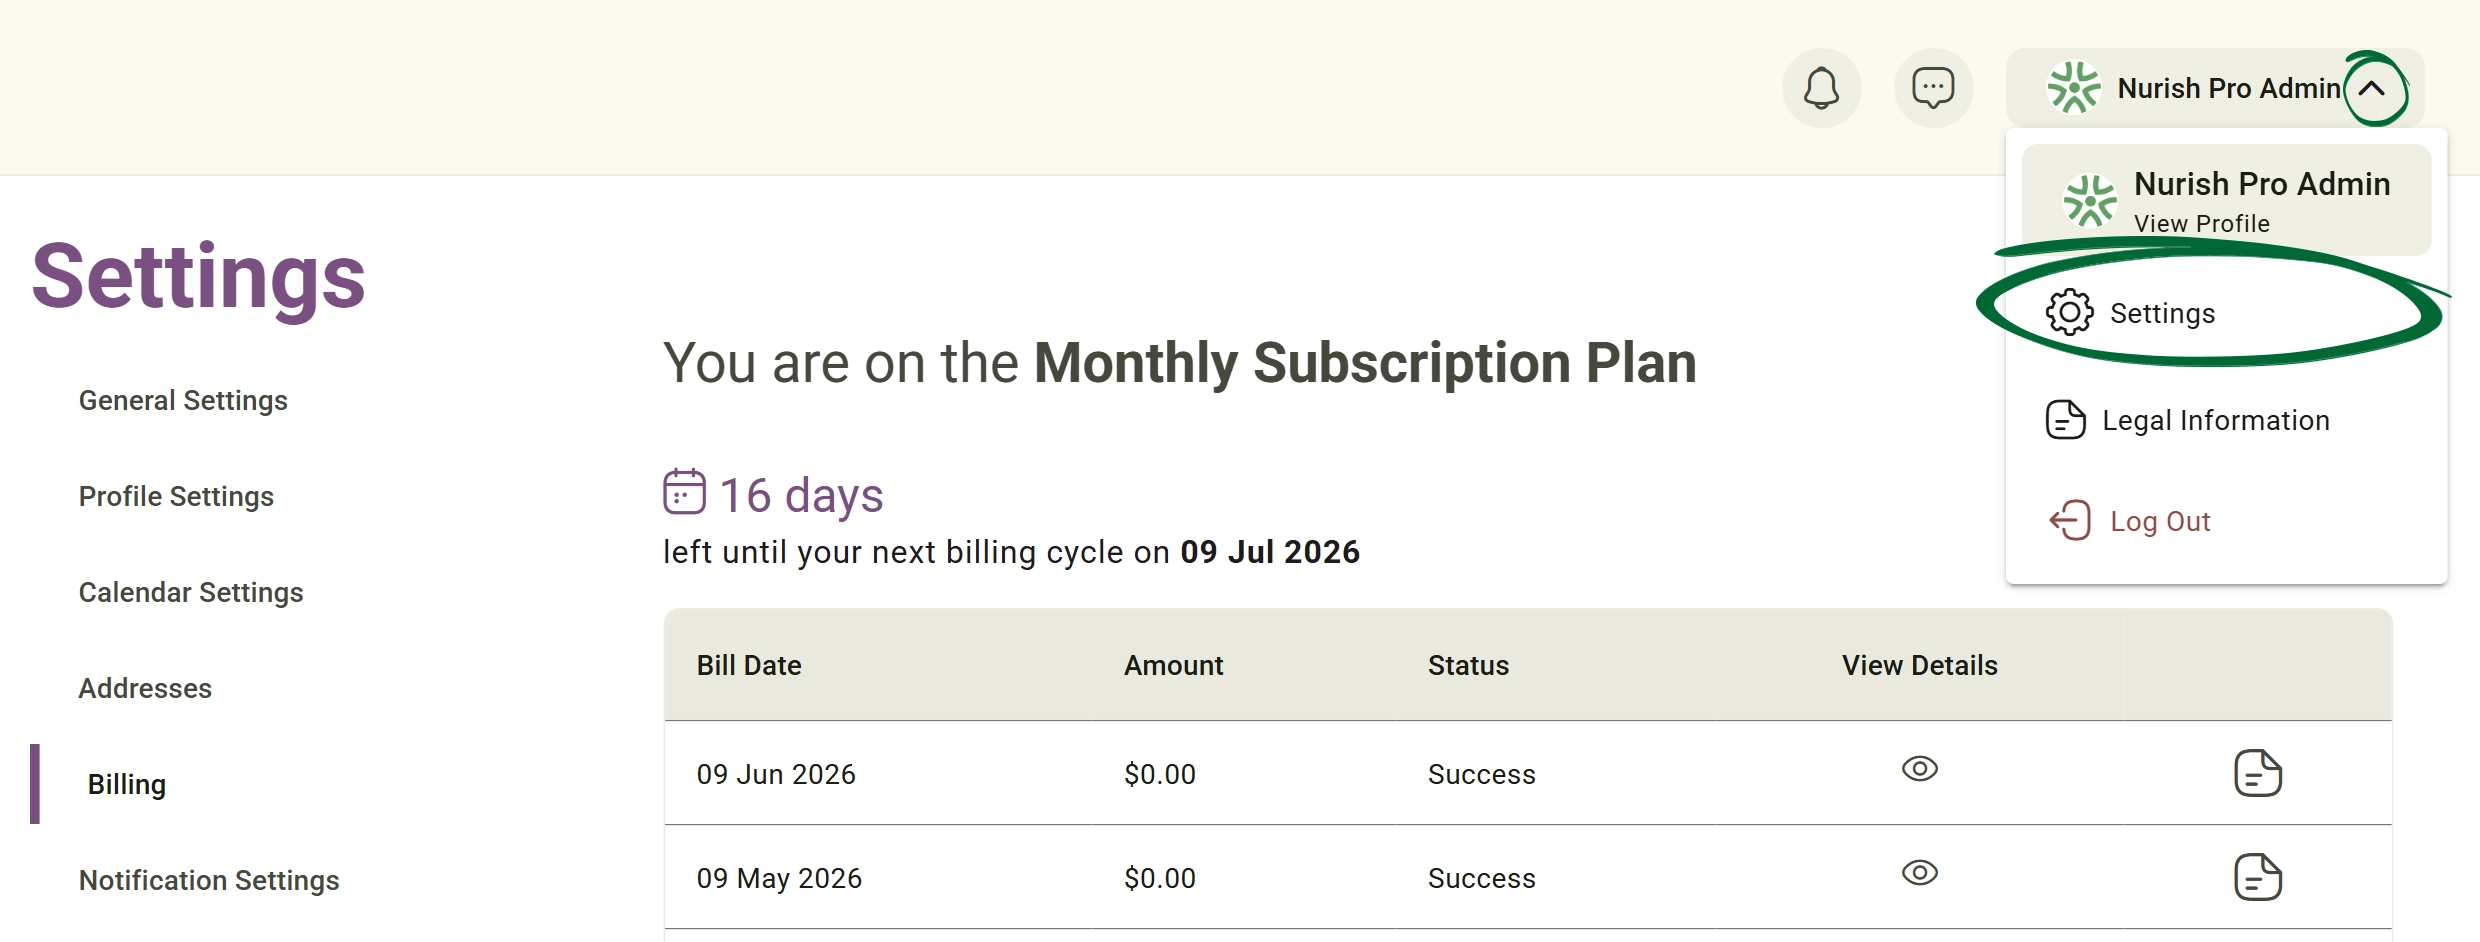
Track your past transactions, including the Bill Date, total Amount, payment Status, and View Details.
Note: In a specific bill, you can:
- Press the document icon to Download receipt
- Press the eye icon to navigate you to the stripe receipt, where you can download the receipt or the invoice, view the invoice and payment details

You can cancel your active subscription at any time before your next renewal date.
-
How to Cancel Your Subscription:
- Click the Cancel Subscription button under your active plan details.
- Select a feedback reason for leaving to help us improve the platform experience.
- Confirm your cancellation.
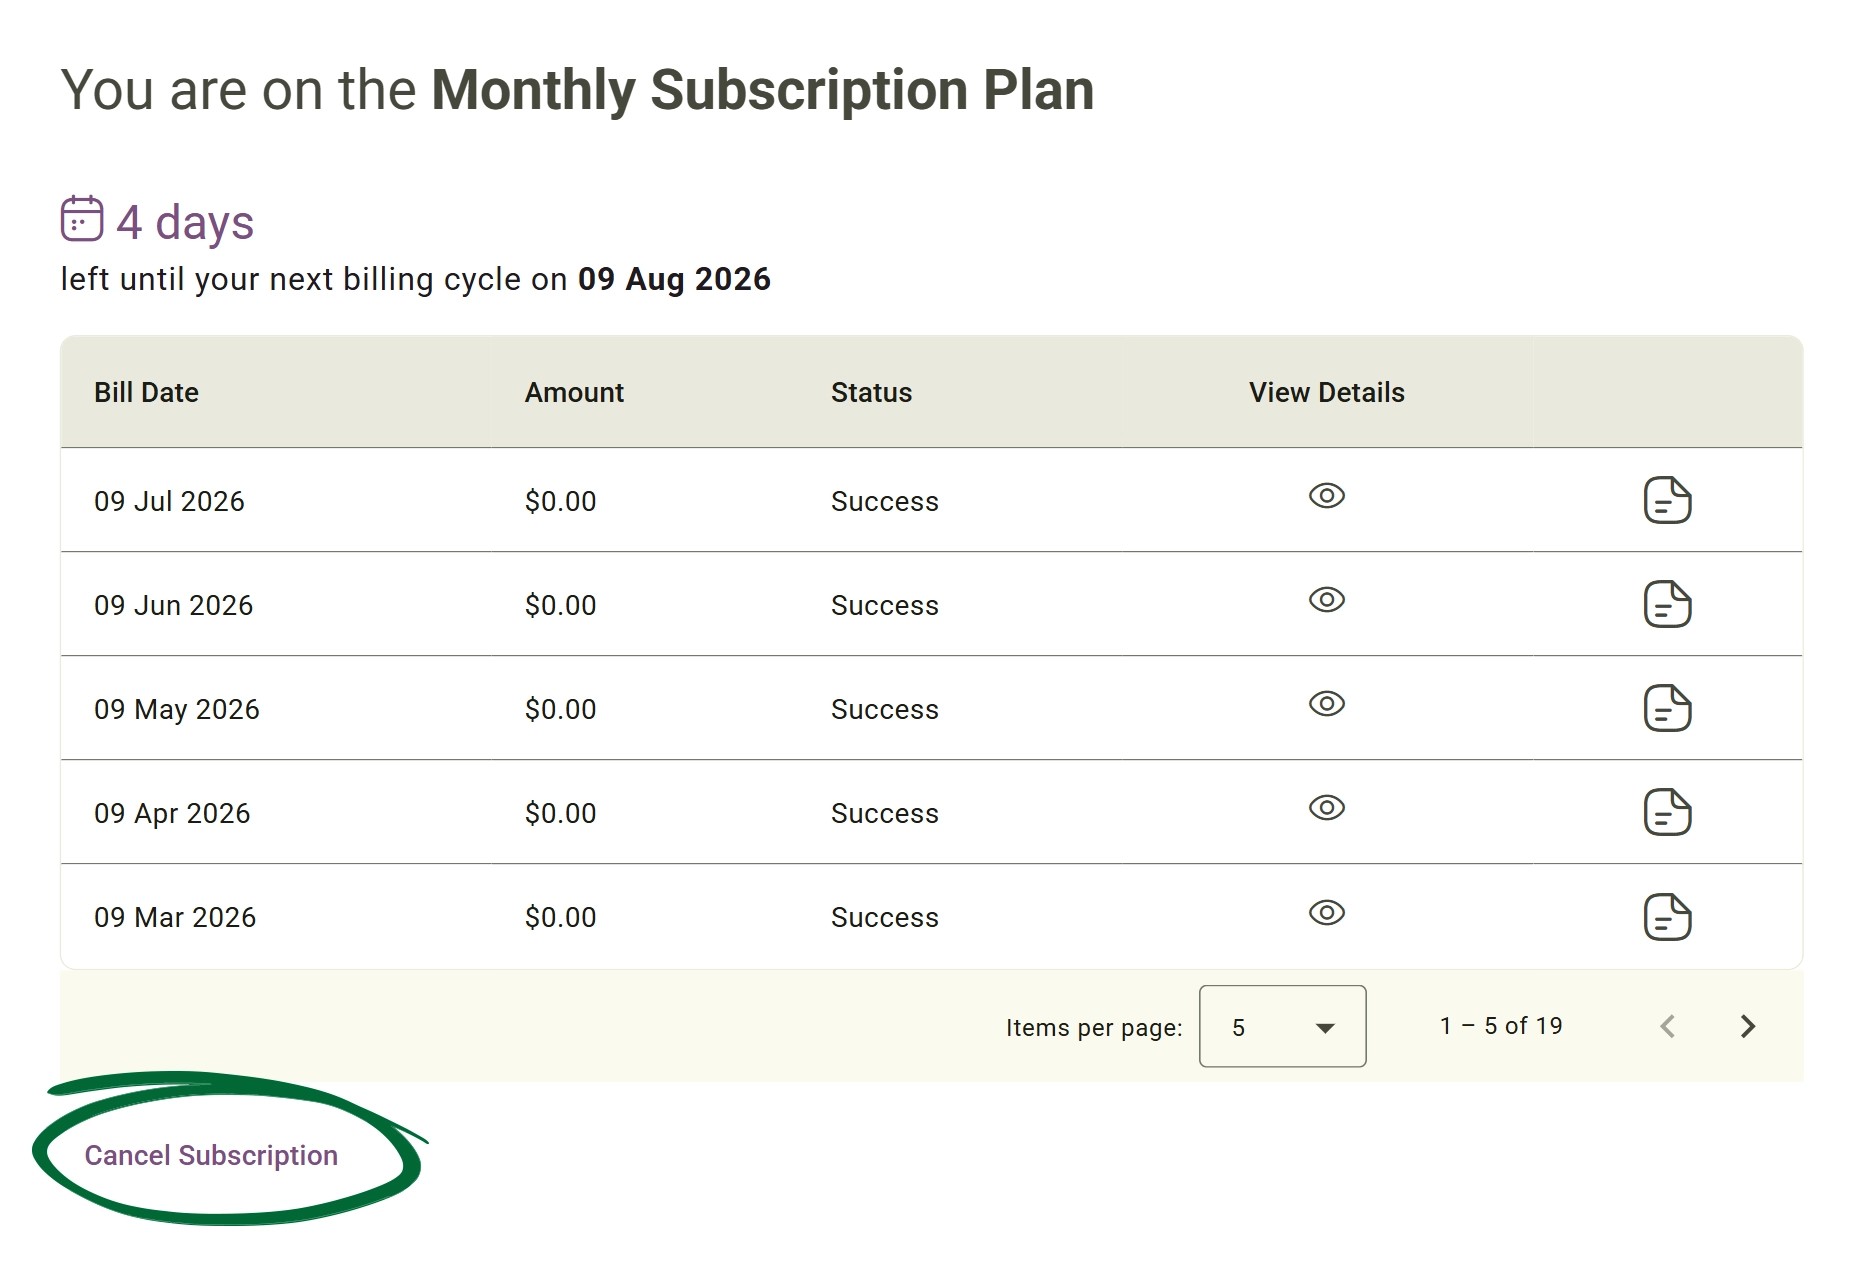
Note: You will continue to have full access to all platform features until the end of your current billing cycle, and your data will remain safely stored.
-
How to Resume Your Subscription:
- Return to Settings → Billing at any point during your active grace period.
- Click the Resume Subscription button to seamlessly reactivate your plan.
Q: Can I change my Notes Model at any time?
Q: Can I add multiple professional associations?
Q: Can clients reply directly to automated emails?
Q: Can I manage multiple clinic locations?
Q: Can I customise automated email templates?
Q: Does Nurish Pro store my payment card information?
Q: Can I disconnect my Stripe account?
Issue: Cannot find a subscription invoice
Issue: Calendar synchronisation stopped
Issue: Clients are receiving too many emails
Issue: Unable to receive online payments
Next Step
Your settings are fully configured and ready. Proceed to the main dashboard to begin managing and updating your workspace.
Go to Settings